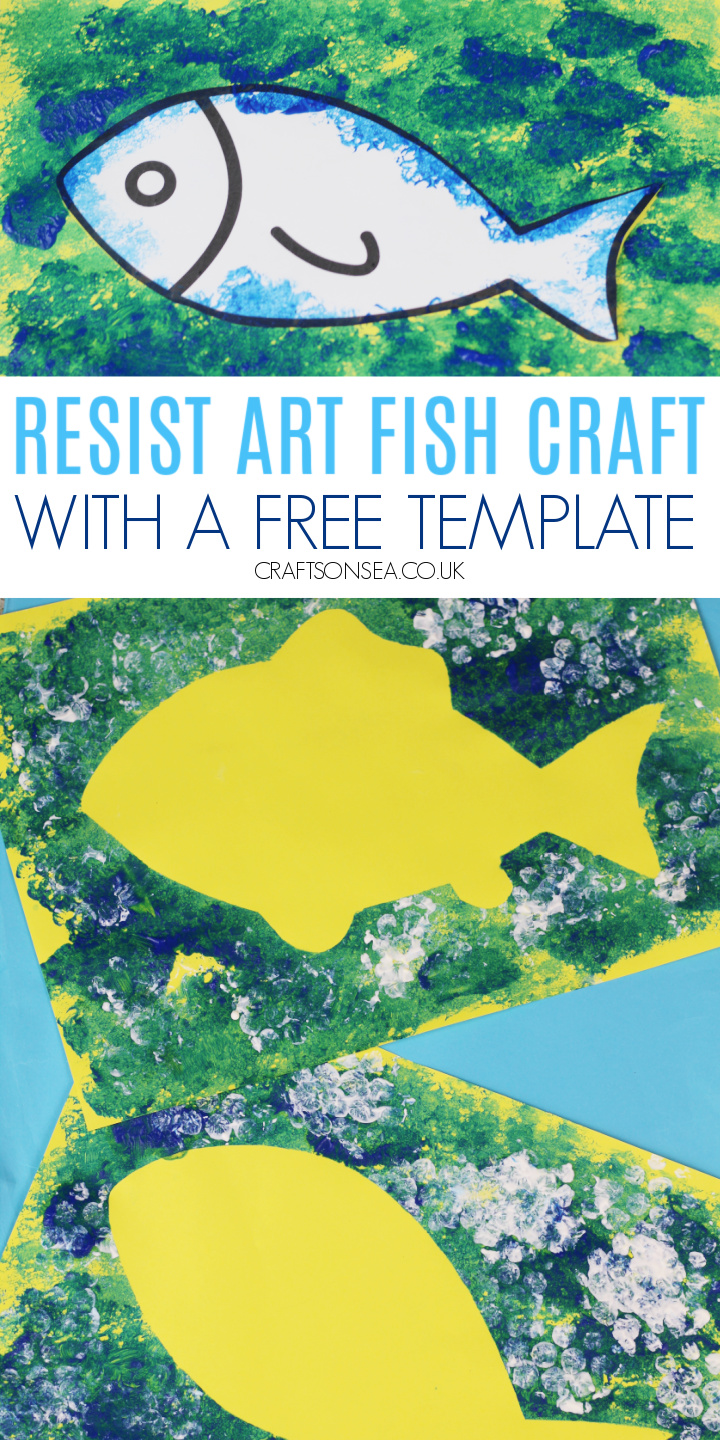
Looking for an easy but fun activity to try? This resist fish art for kids is perfect for all fans of under the sea crafts and using our free fish template makes it easy for you to set up too.
To make this colorful fish craft I’ve used a really simple technique using a material that I already had at home as a nice alternative to paintbrushes, but if it’s something that you don’t have in yours don’t worry, I’ve shared lots of alternatives for things that would work just as well.
What You'll Find on This Page
What is resist art?
Resist art is where part of your paper or canvas is covered by something so that your paint can’t go on that area.
For this craft I’m using a paper template but there are loads of different materials you can use, I love this simple tape resist craft from Busy Toddler and some other materials you could use for resist art include wax and glue.
Free Fish Template
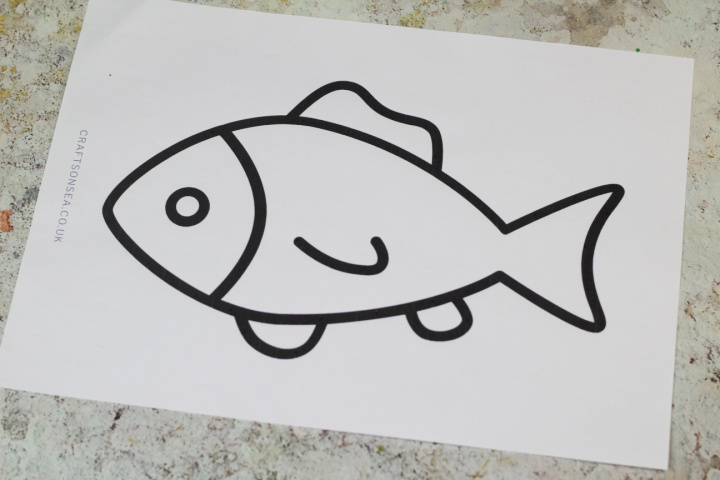
For this craft you can obviously draw your own fish but if you’d like to grab ours then you can print our free fish template.
Using a printable is also handy if you’re in a classroom setting and don’t fancy drawing 30 fish or if you’re a bit uncertain about your drawing skills and as well as the template itself you’ll also find lots more fish craft ideas.
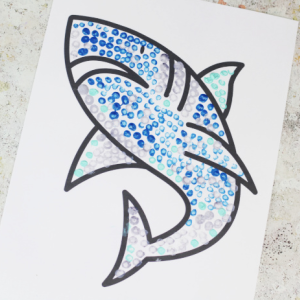
Instead of using our paper fish template for this craft you could also use one of our other sea creatures templates such as our shark template, whale template or seahorse template or use all of them to make some big ocean theme art.
Fish Art Materials
- Paper
- Kids washable paints
- Fish template
- Reusable plate or tray
- Sponge and/or bubble wrap
- Washi tape or sellotape
How To Make Your Resist Art Fish Craft
Print out your fish template. You can of course just draw a fish yourself but using a template can make this a bit easier.
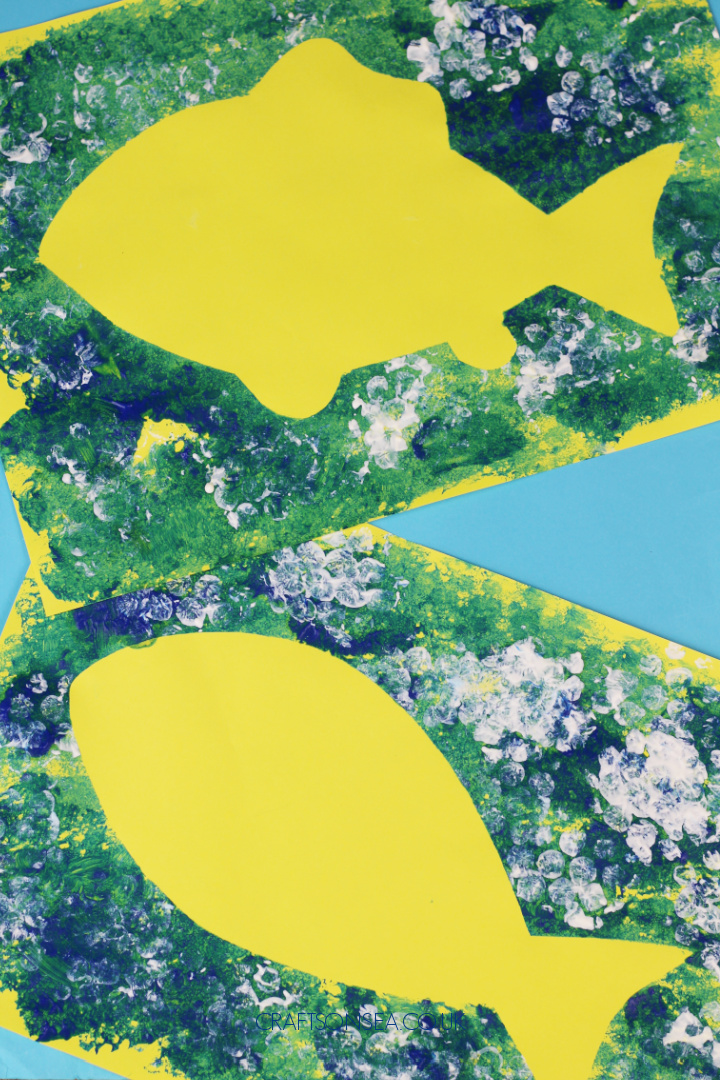
Cut your fish template out. I wasn’t sure if I’d like this craft more showing the fish’s fins or not so I made a version of each so you could see what they look like.
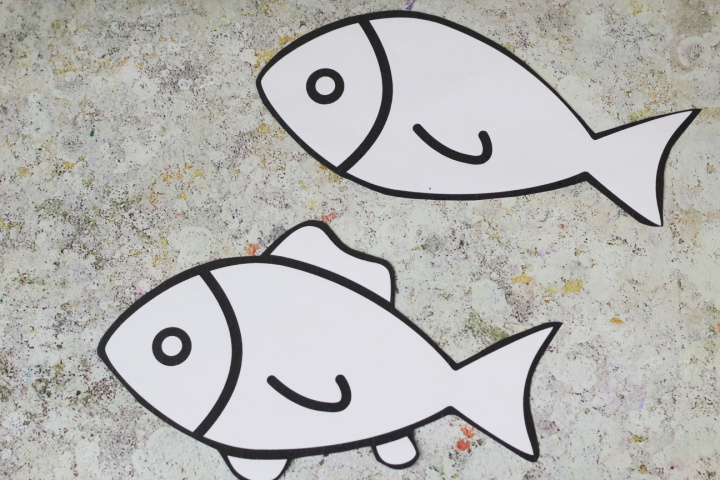
Take a piece of washi tape or sellotape and make it into a loop shape. You want this tape to hold your template in place but (annoyingly) you also don’t want it to be too sticky or when you try and remove your fish template the paper underneath it can tear.
I would suggest that once you’ve made your loop touching it to your hands or clothes or whatever a few times so that it looses a bit of that stickiness.
I also find that generally washi tape is less likely to tear paper than sellotape so if you do use sellotape just make sure that you really try and reduce the stickiness a bit more.
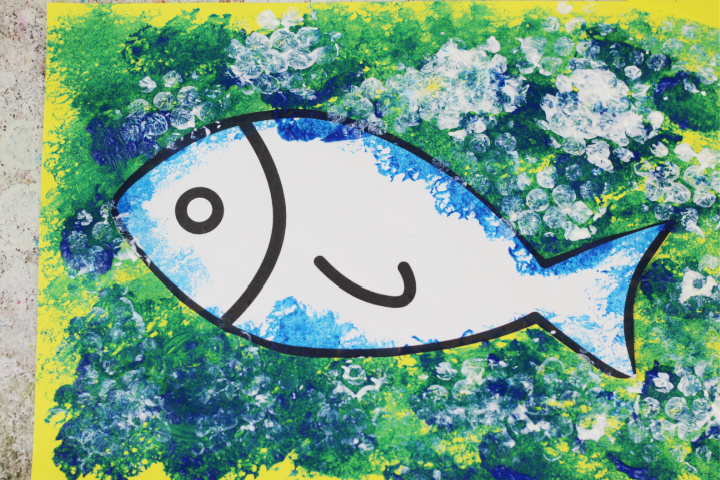
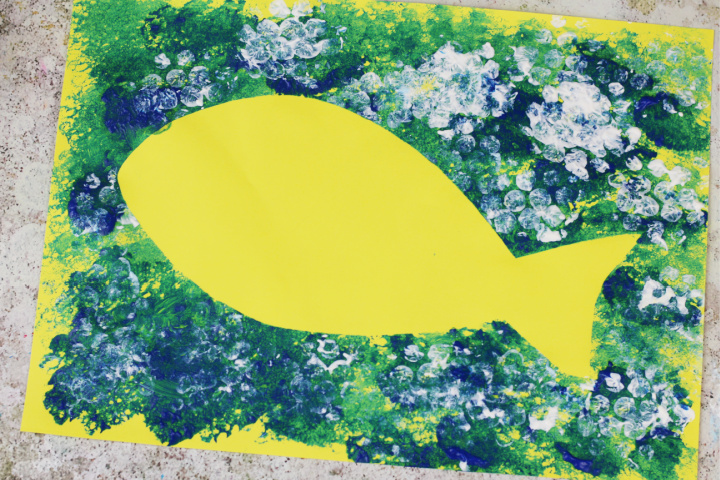
Once you’ve done this stick your fish into place on some paper or cardstock and you’re ready to start painting. For this craft I’ve used some yellow paper so that my fish will be yellow but you can use whatever colour you like.
Two things to remember are that paper is a lot more susceptible to liquids than cardstock so if your child is likely to go in really heavy with the paints then card can be a better option so it doesn’t get saturated with paint and tear.
The second point is that when you choose the colour of your paper or card this may affect the colours that your paint shows, for example because I’ve chosen a yellow paper some of my blue paint looks a bit green on it – all the blues and greens you can see in my picture are actually the same paint it’s just different amounts of it. Just a word of warning therefore that if you choose a dark colour it might be difficult to see your paint on it.
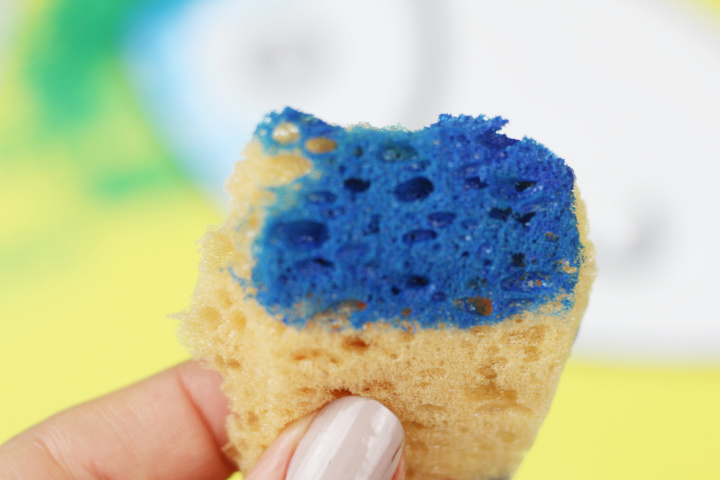
Right, with that out of the way let’s get back to the painting! Pour some paint onto a reusable plate or tray and then dab your sponge into this before dabbing it all over your picture.
You want to make sure that all the edges of the template are covered so that once it’s removed you will have the shape of your fish.
I’ve used blue paint for this art project to make it look more like the ocean but you can go with a different color depending on what your child would like. Different shades of blue would be great as would some greens or turquoise.
Once you’ve finished painting with your sponge you can then use some bubble wrap or another material to add some texture. I’m always happy when I can upcycle something we have at home to use for a craft so this was perfect for us.
I’ve used bubble wrap dipped in white paint to look like bubbles but silver paint or a different shade of blue would be good as well.
My kids would probably go for something like purple or red at this point, I tend to follow the path that doesn’t lead to an argument 😉
If you don’t have any bubble wrap (or indeed a sponge) then some good alternative materials could be pom poms, dot markers, some scrunched up foil, a shower sponge or finger painting.
Finally when all your painting is complete carefully remove your fish template from your artwork. I find this easier to do when the paint is still wet in case the paint dries on it and it ends up tearing. You could also draw a little face on your fish if you like.
More Ocean Themed Kids Crafts
Both of the crafts I’m sharing here are made using our free templates that I’ve linked to above. First up is this cotton bud painted shark craft. It’s easy peasy to make and you could use this painting technique for your fish craft too.
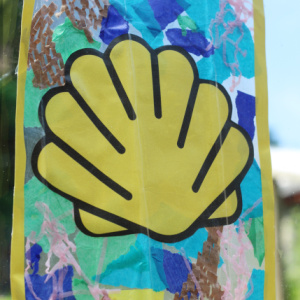
Or why not try out this shell suncatcher craft that would look great displayed in a window during the summertime.
Leave a Reply