
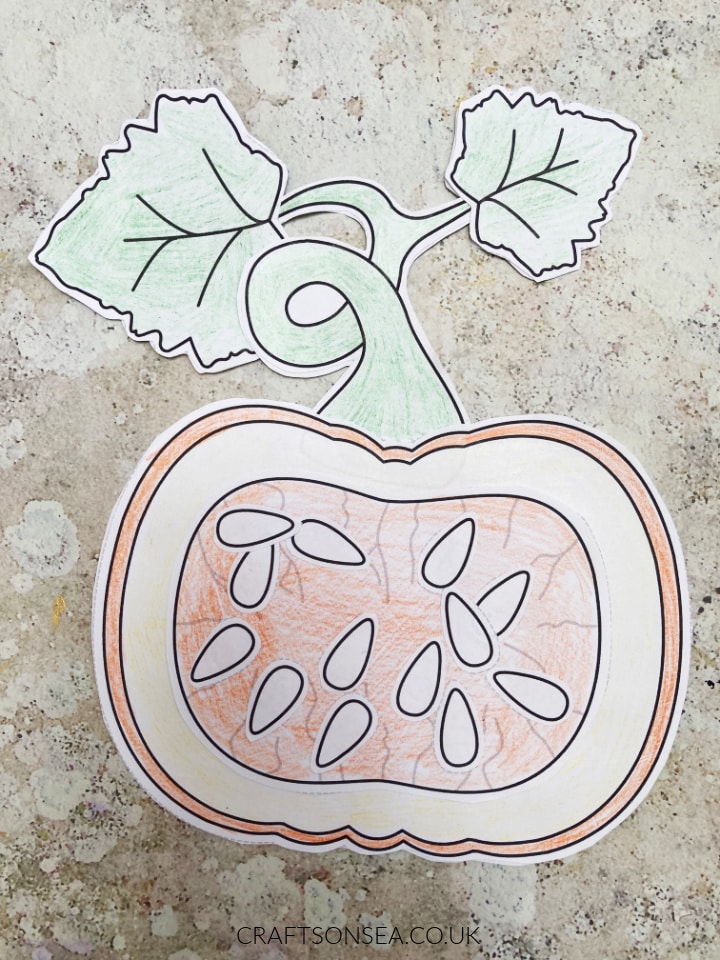
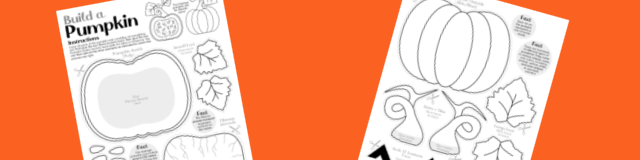
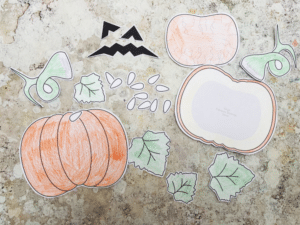
This build a pumpkin printable is perfect for fall crafts, just print, color cut and paste to make your own paper pumpkin that shows both the outside and inside of a pumpkin.
Our printable craft isn’t just fun for kids to make, it’s educational too and a great way to help kids learn about the different parts of a pumpkin and to explore what’s inside of them.
It’s free to download and you can print as many copies as you like so it’s perfect for use at home or in classrooms and preschool as part of a harvest classroom activity or pumpkin life cycle unit.
What You'll Find on This Page
Build a Pumpkin Craft: Learn About the Inside of a Pumpkin
I think that pumpkin crafts are some of the most versatile for this time of year, they’re great for fall overall but they’re also really good as a harvest, Thanksgiving or Halloween activity, they really are one that just keeps giving throughout the season!
This cut out pumpkin craft is designed to be two sided so that you can learn the parts of a pumpkin.
Of course you can choose to just make it one sided by gluing the parts onto a piece of paper instead (making it great to display or put in workbooks) but personally I think it makes a nice change to have a paper craft that you can turn over and look at the different sides of.
In this printable you’ll also notice that we’ve included black cut out eyes and a mouth to turn this into a jack-o-lantern craft but obviously if you are making this as an educational craft to learn the parts of a pumpkin or if you are making this for harvest or Thanksgiving then there’s no need to add that to your craft – go with what works best for you.

Craft Supplies Needed
- White paper
- Coloring pencils, crayons or colored markers
- Scissors
- Glue
Step-by-Step Pumpkin Anatomy Craft Instructions
Start by printing both pages of the PDF onto white paper. If you want your craft to be extra sturdy (for example if your child will be playing with it) then white cardstock is a great option but generally normal printer paper is fine.
Grab your coloring materials and color in all the separate parts of the pumpkin across both pages. Remember that you don’t need to color in the seeds as these are white.
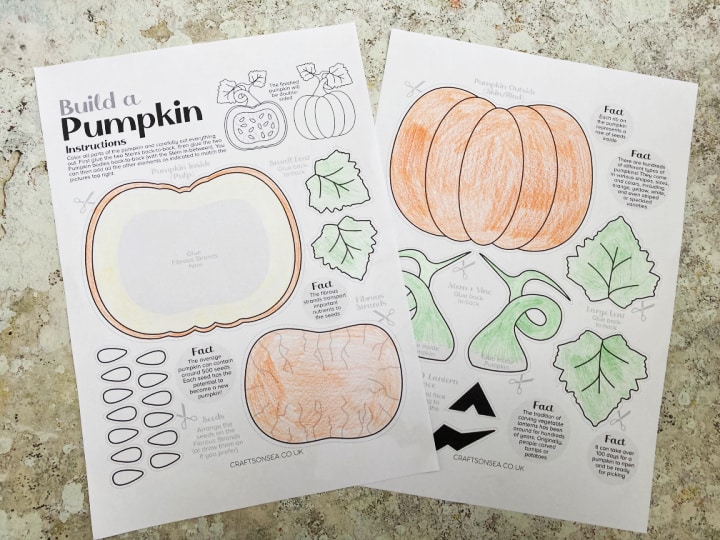
Next cut out all the separate parts following the dotted lines around each item, again, you only need to cut out the eyes and mouth if you will be turning this into a Jack O’Lantern as well.
In the top corner of the first page you’ll find a picture showing you what the two finished sides should look like and this can be helpful to keep with you for guidance as you make your craft.
If you are making this as a double sided craft then take your two pumpkin stem’s and glue them together so that they colored in sides are on the outside and then glue the leaves onto either side too.
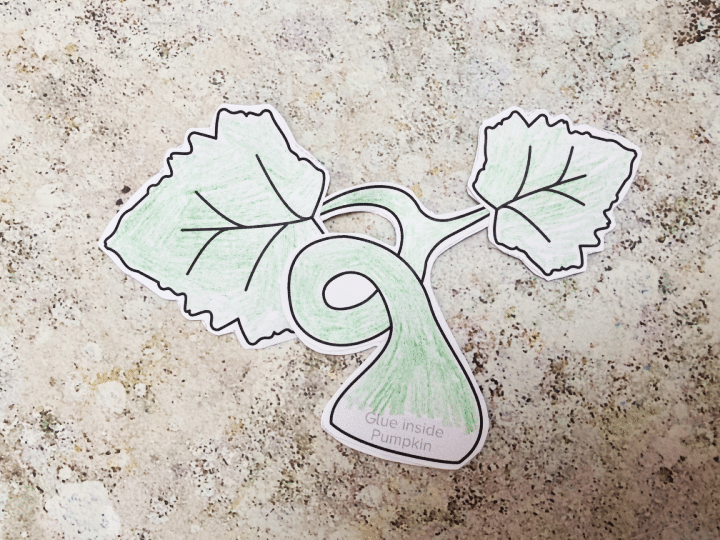
Glue both sides of the pumpkin over the bottom of the pumpkin stem as indicated on the printable so that the stem is on the inside of the pumpkin.
Looking at the inside of the pumpkin first, stick the section with the fibrous strands onto the pumpkin’s inside and then stick all of the individual pumpkin seeds onto this section.

If you want to turn your pumpkin into a lantern then turn your paper pumpkin over now and stick on the eyes and mouth. Your pumpkin craft is finished!

More Pumpkin Crafts and Printables for Kids
On this site you’ll find loads of easy pumpkin craft ideas with different activities suitable for harvest or Halloween as well as some that can be modified to use for either.
This cut and paste Jack O’Lantern craft is great for scissor skills and you can design your own pumpkin with loads of eyes, noses and mouths to choose from.
We also have a plain pumpkin template that’s perfect for making some simple crafts together or using as a simple coloring page.
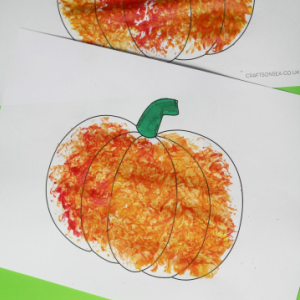
You’ll find lots of ideas for ways that you can use it including this foil painted pumpkin that’s perfect for little hands to create as well as being a good way to learn about color mixing.
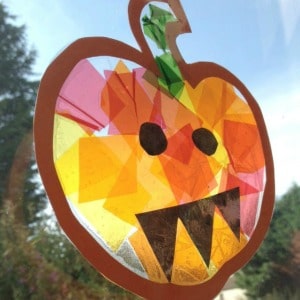
Finally this pumpkin suncatcher is one of my favorite crafts that I’ve made with my kids and the one you can see here was made by my son who was a preschooler at the time.
It’s a really easy and fun way to make your own Halloween decorations and is a great introduction to color mixing too.
How To Download Your Free Build a Pumpkin Printable PDF
To get your free pumpkin craft template just subscribe below in the box. We won’t send you spam and you can unsubscribe at any time.
Enter your details below, then confirm your email and your free pumpkin anatomy craft will appear straight away in a pop-up window.
Please make sure to check ALL your email folders for the confirmation email and make sure you press the confirm subscription button.

Build a Pumpkin Printable Craft
Equipment
- Scissors
- Glue Glue stick or PVA / school glue
- Coloring materials crayons, coloring pencil or colored markers
Materials
- Pumpkin craft PDF
- Paper white
Instructions
- Print the pumpkin craft PDF onto white paper.

- Color in all the different sections of the pumpkin on both pages.

- Cut out the different pumpkin parts carefully, following the dotted lines.
- Glue the two parts of the stem together and stick the pumpkin's leaves onto either side of this.
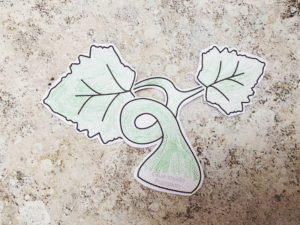
- Glue the two main parts of the pumpkin together with the stem and leaves in the middle of these.
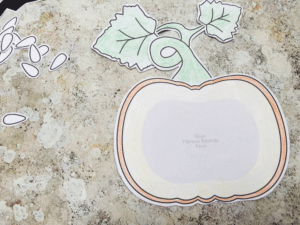
- Glue the section with the fibrous strands into the middle of the inside of the pumpkin and then add the pumpkin seeds.

- Optional: Turn your pumpkin craft over and add the eyes and mouth to make a Jack O'Lantern.

Leave a Reply