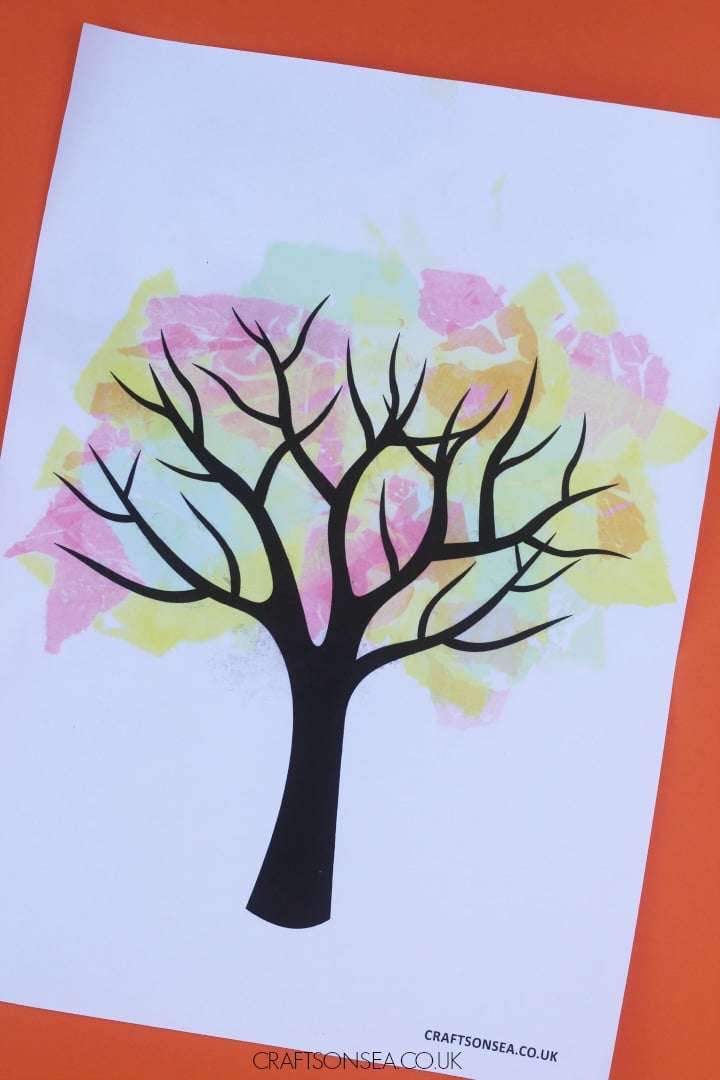
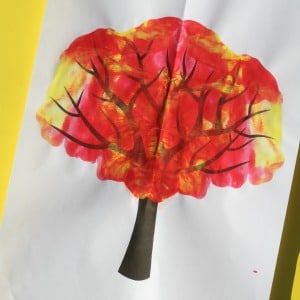
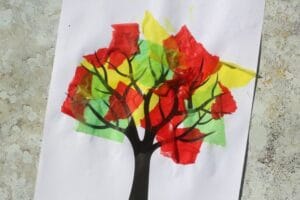
Fall is the best season for being inspired by the colors of leaves and I’m pretty much in love with how this bleeding tissue paper fall tree craft came out.
This fall craft is so pretty but it’s an easy activity to do as well. Yes, you will need to do a little bit of preparation (don’t you always though) but using our free tree printable will help to cut down on time as you don’t have to draw that yourself.
We have included affiliate links to some of the products and resources and as an associate we may earn from qualifying purchases.
What You'll Find on This Page
Tissue Paper Fall Tree
The fall season is such a beautiful time of the year that it’s no surprise that so many of us enjoy making fall tree art with our kids. It’s a beautiful time of year and I find that it really gets me excited about creating some fun activities to do with my kids.
We’ve tried out lots of methods over the years (and you’ll find some of them at the end of this post) but I’m totally of the opinion that you can never have too many ideas when it comes to kids art – it’s always good to try out a new technique or just do something different to keep the kids busy!
Bleeding paper is a really cool technique but it can be messy so do make sure that you prepare the area that you make it in.
Tip: When making bleeding tissue paper art make sure you protect all surfaces so that the ink doesn’t stain them.
I’ve definitely stained my fingers before making tissue paper art and there’s been a couple of close calls for our dining table too so do grab that table protector before you get started!
Like these tissue paper trees? Make sure that you pin an image or bookmark a page so that you can return to it when you’re ready to make it.
What is bleeding tissue paper?
Bleeding tissue paper is where the dye from tissue paper bleeds onto another material, normally some paper underneath it. To bleed tissue paper you need to get it wet which is normally done with either a water sprayer or a paintbrush and water.
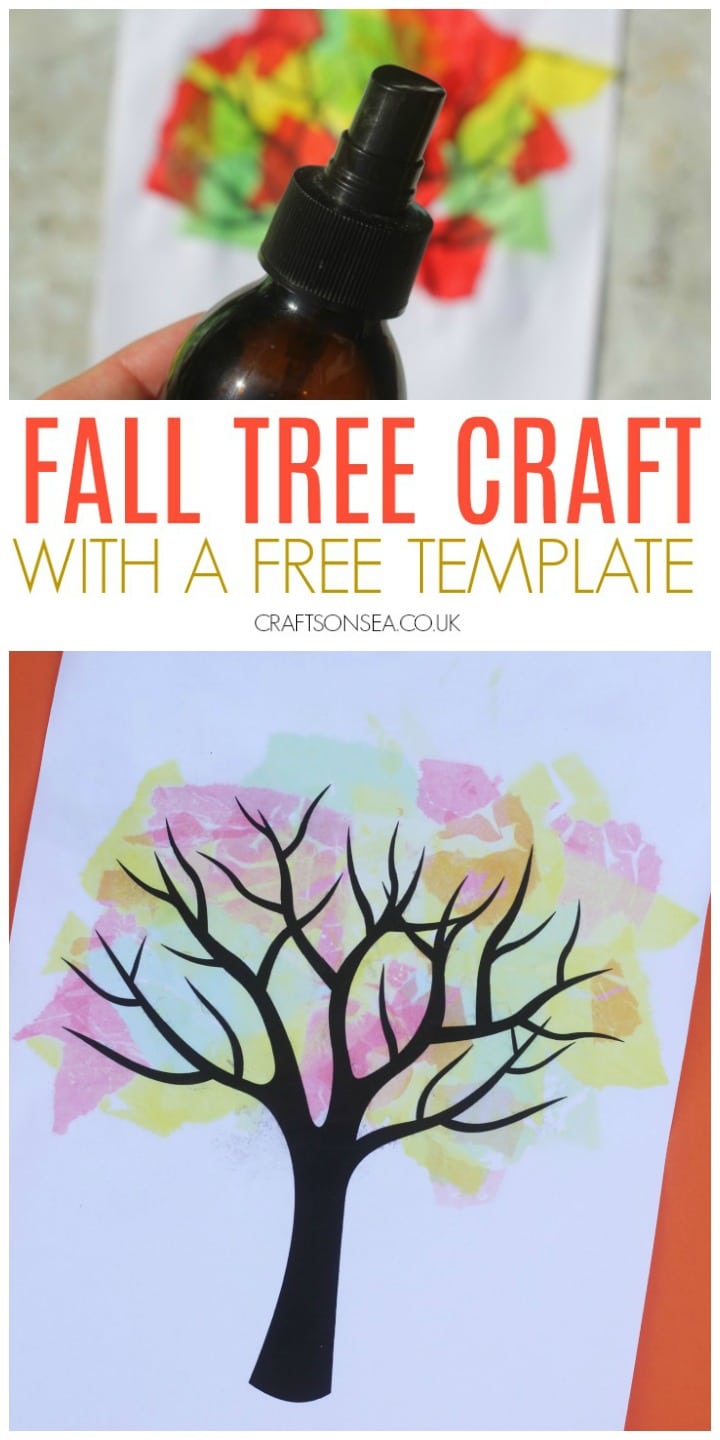
For this craft I’ve used a water sprayer that used to be for skincare (washed first obviously) but you can also buy similar ones online.
Will all tissue paper bleed?
Yes and no. In my experience of buying normal, cheap coloured tissue paper from the shop, the tissue paper has always bled. My stained fingers the other week confirm this.
However, it doesn’t always bleed the same amount all over and I often end up with some blank patches when bleeding tissue paper. Some colours also seem to bleed more than others. If your happy with the potential of some blank areas then I’d go for normal tissue paper (especially if that’s what you have at home) but if you want to make sure you get a certain look then you can buy specific bleeding tissue paper.
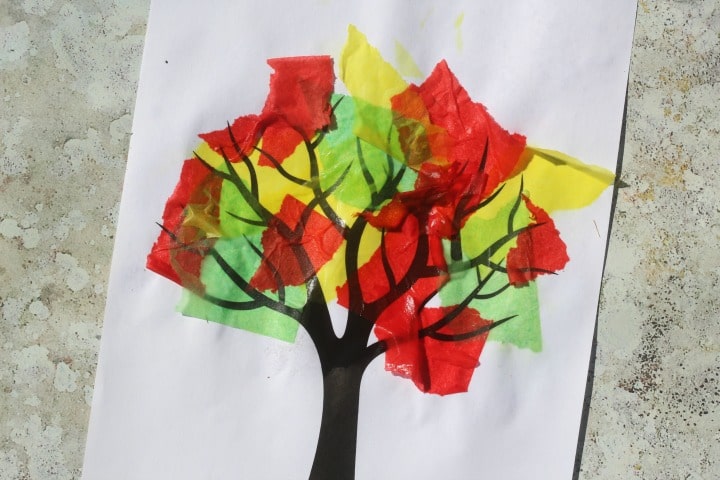
For reference, in the main picture on this post I’ve done the process twice as I wanted to see what the build up in colors and shades would look like but the image in the instructions below shows how the tree looked after one layer of wet tissue paper.
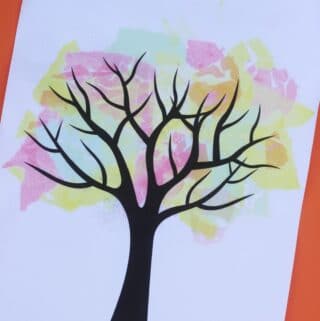
Free Tree Template
Our tree trunk template is one of our most popular free downloads as it can be used for so many different art and craft projects across the year.
This tree template is free to download for classroom and individual use and you can print as many copies as you’d like so it’s perfect if you want to make this craft at school, preschool or kindergarten and don’t feel like drawing out a tree thirty times!
Fall Tree Craft
To make your bleeding paper fall tree start by printing out the template that I’ve shared above onto white cardstock or printer paper – I’ve used paper for mine as it’s more porous.
Of course if you don’t want to use a template then you can draw your own tree trunk using a black or brown marker or if you want something with a bit more texture have kids glue down brown construction paper or cardboard to make the trunk. Need something quick though? The template is for you!
Next tear your colored tissue paper into pieces (you can also use the pre-cut tissue paper squares) and place them all over the branches of your tree.
Grab a water spray and use it to get all of the colored paper wet and then leave this for the ink to leak out of it and onto your main picture below to give the red, greens, yellows and oranges of the fall leaves. This can be a fun way to teach about color mixing too.
Younger kids such as toddlers and preschoolers might need a little bit of a hand with using a water sprayer due to the hand strength needed but normally they are ok with this and it’s very much a fun process art to make together!
Once the tissue paper has finished bleeding you can remove it from your tree and do another layer if you wish to build up the fall colors.
More Fall Tree Crafts
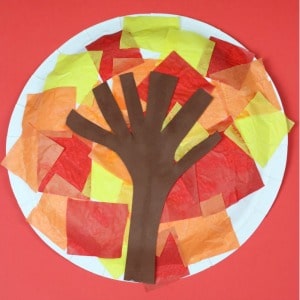
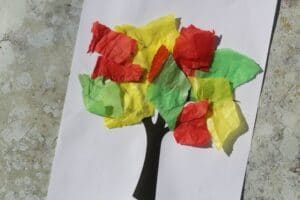
Got some tissue paper left over? Make this simple paper plate fall tree craft, you could even draw around your child’s hand to make this more of a keepsake.
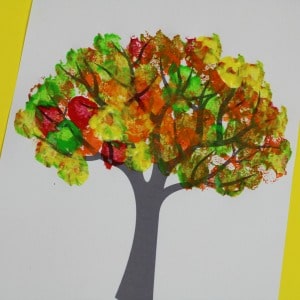
Print off more of your tree templates and try out more fall tree ideas! There’s four easy ideas in this post about autumn tree painting ideas including this pretty one below.
Want something super simple that’s possibly even mess free?! Check out this paint splat tree craft.
Bleeding Tissue Paper Fall Tree Craft
Equipment
- Water sprayer or water and paintbrush
Materials
- Free tree printable
- Coloured tissue paper
Instructions
- Tear your coloured tissue paper into pieces.
- Place the tissue paper onto the branches of the tree printable.
- Either spray the tissue paper (as I have) or wet it using a paintbrush and water.
- Leave the tree for the ink to bleed from the tissue paper and then remove the tissue to see the finished effect.

Leave a Reply