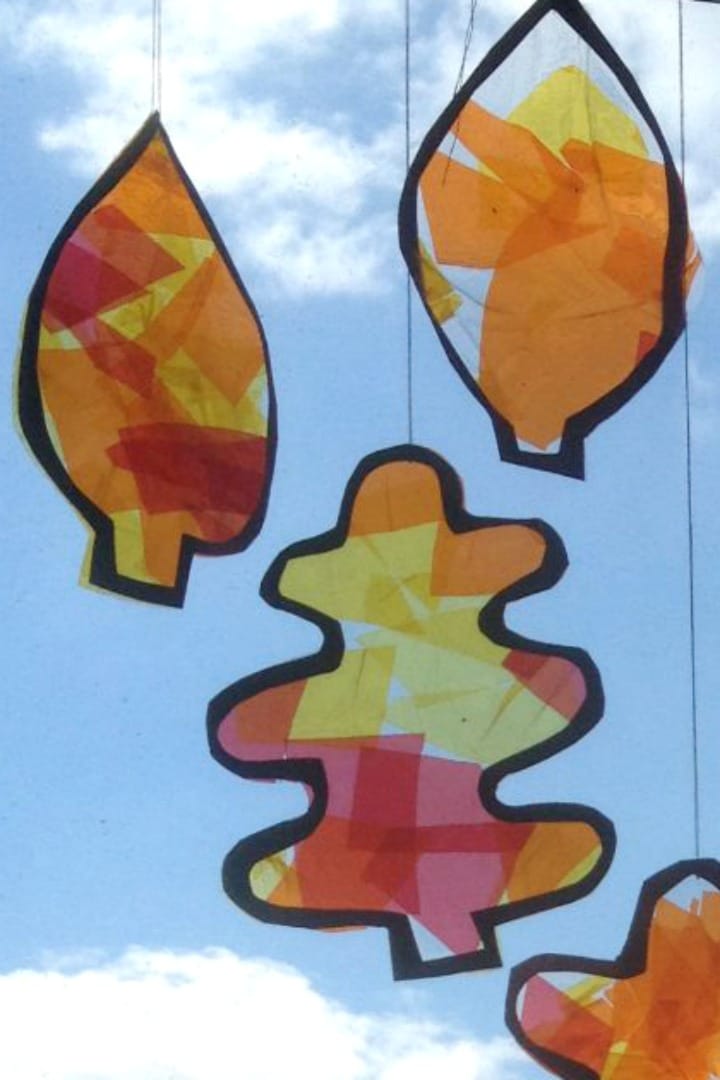
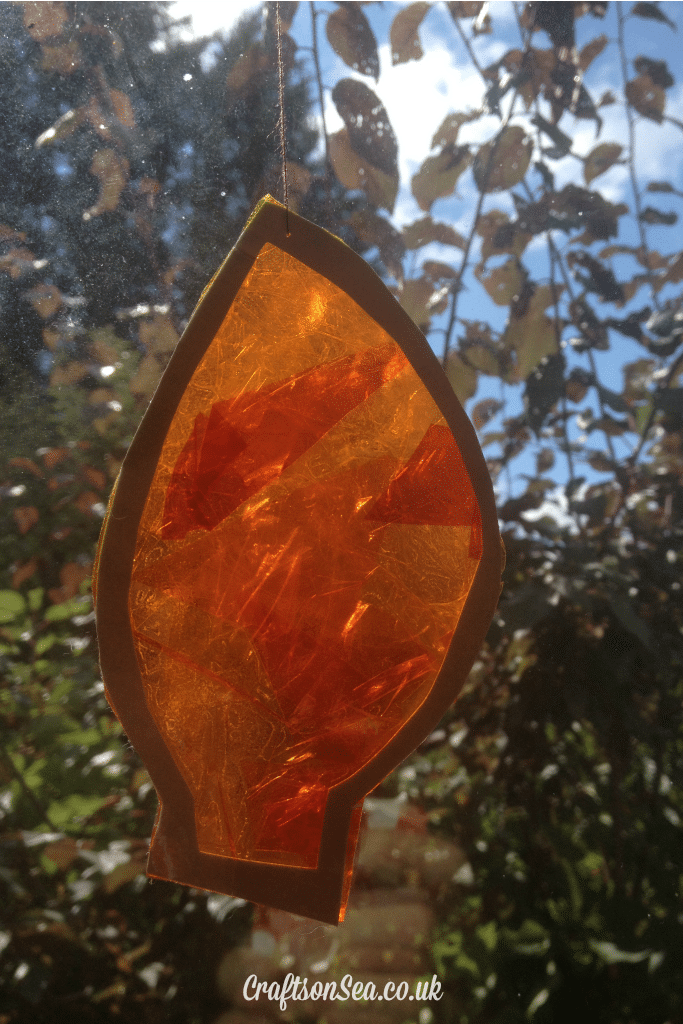
Need a simple craft that your kids will enjoy making and you’ll want to keep on display afterwards? These easy Fall leaf suncatchers hit the mark perfectly!
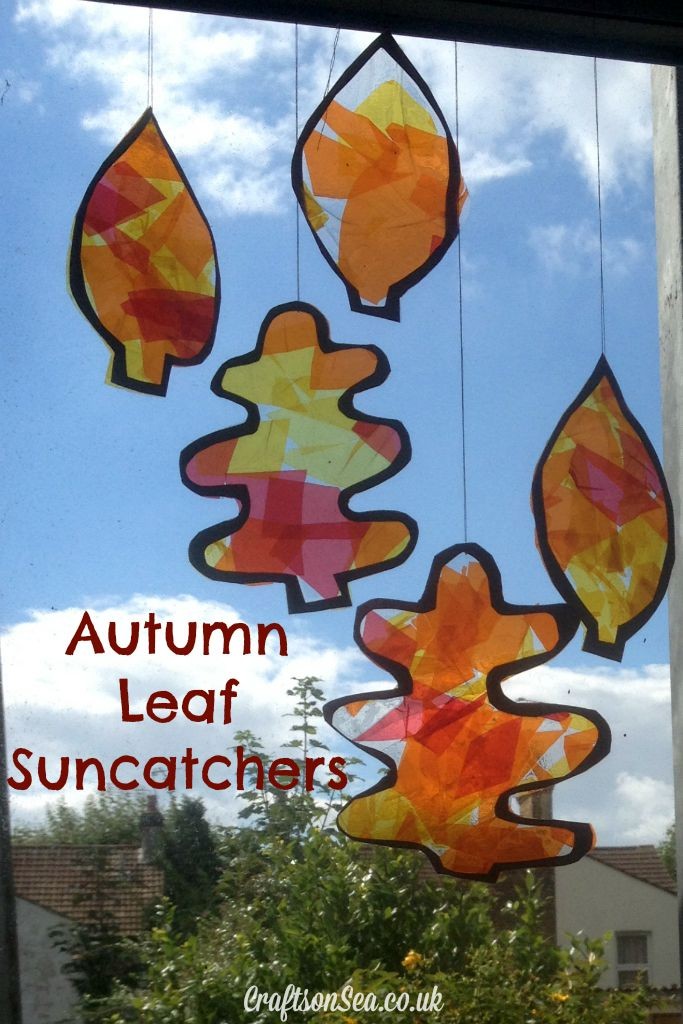
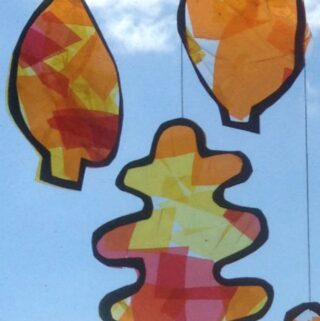
I know that these are a hit with kids because my children made the ones in the pictures and I know that they were popular because that’s a picture of them hanging in their window where they stayed displayed for months!
We have included affiliate links to some of the products and resources and as an associate we may earn from qualifying purchases.
What You'll Find on This Page
Fall Leaf Suncatchers
This fall craft is easy, much easier than you might think. Yes, you’ll need to do a little prep work (don’t you always really?) but these leaf suncatchers were first made by my kids when they were one and four so they’re totally suitable for younger kids to make including toddlers and preschoolers.
It’s also a great way to practice scissor skills with your child or for an excuse to chat with them about colour mixing – what will happen if you put the red and yellow together?
As is often the case for younger kids they will need a little help with some parts and of course you will need to supervise but the results are great and this is a craft that we had displayed up in our home for ages.
It’s also worth noting that we don’t make tissue paper suncatchers. You can of course use this if you have a lot of tissue paper at home (got to get through that stash!) but the materials we used made our suncatchers a lot brighter when the light hit them.
Supplies Needed To Make Fall Leaf Suncatchers:
Clear contact paper (Also known as sticky back plastic)
Needle and thread
You could also use our free autumn leaves template if you don’t want to draw your leaves freehand, or try out our new larger oak leaf template to give your kid more room to fill in with their colours.
How To Make Autumn Leaf Suncatchers:
This is a post I originally shared a couple of years ago but I thought I’d share it again as it was so popular with my kids and I’ve added a little video to show how easy they are to make.
If you scroll to the bottom of this page you’ll also find links to some of our other favourite autumn crafts and activities.
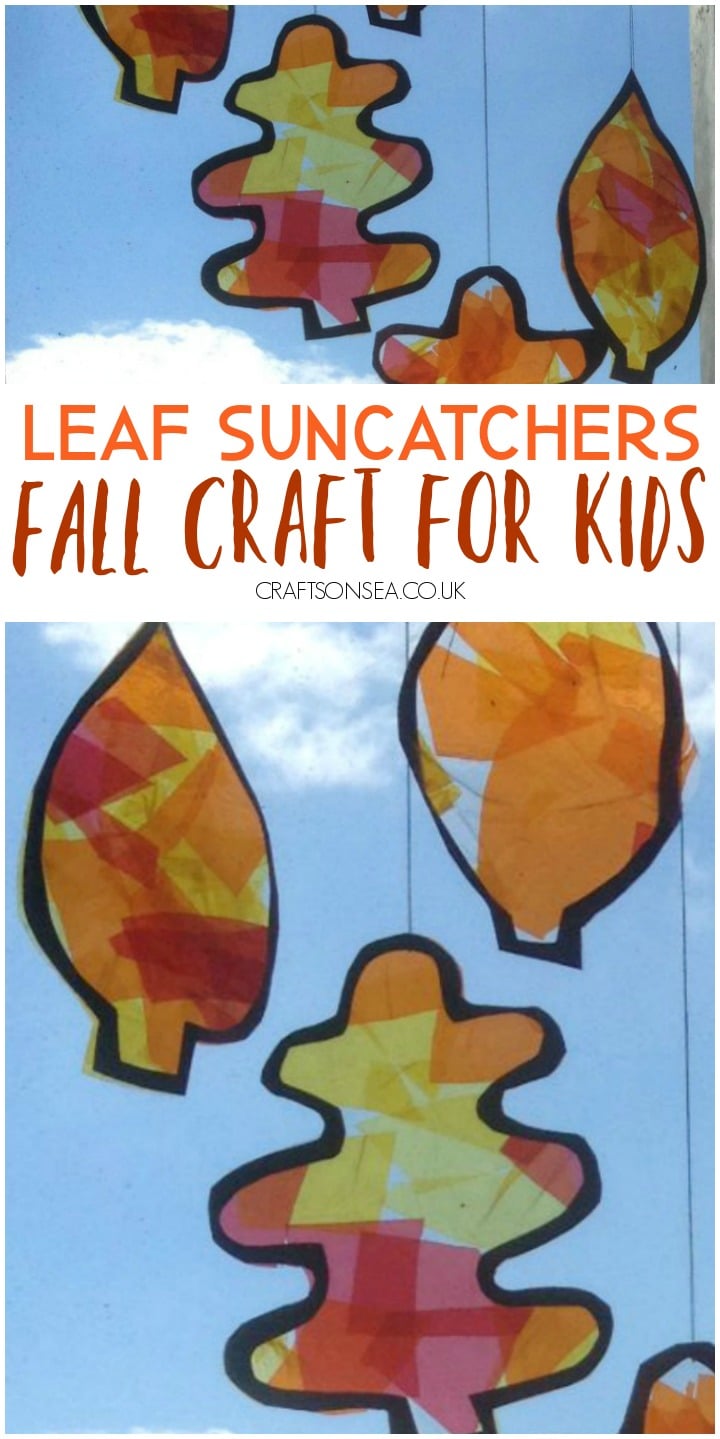
Want to make sure you don’t forget this idea? Bookmark this page or pin an image now so that you can have this to hand later when you need it!
You can also check how these fall suncatchers are made in the video on this page as personally I find it helpful to get a visual idea of a craft sometimes but you’ll find lots of tips for making this craft in the instructions below.
Now, normally at this point I talk about the importance of prepping your activity before your child gets started. Well, that totally didn’t happen when we made this craft!
I managed to cut out two templates in advance but as soon as I suggested this activity both of my kids were desperate to get involved so I was cutting, sticking the templates down and trying to keep the peace at 100 miles an hour.
It was a bit of a more stressful way than prepping in advance but it’s good to know that they both really wanted to make these!
If you can, I would prepare your templates and contact paper in advance as it will make life that bit easier for you.
My main regret with this craft is just that I didn’t take enough photos, they looked fabulous and I wish I could show them off a bit more.
The first thing to do is to cut out some leaf shapes from coloured card or construction paper.
Keep it as simple as possible and allow about a 1-2cm border round the edges. If you’d rather use a template for this make sure you print out our free autumn leaves template (it’s great to give to the kids for painting or colouring too!)
We used black cardstock but any colour would look great and it would be fun to try this in reds, yellows or oranges too.
Contact paper can be tricky to work with just because it’s so darn sticky! To keep it in place I start by washi taping two corners to the floor or table and then removing the covering paper and sticking the other corners down.
As my youngest was only one I stuck down more of the sides for her as she loves contact paper and is liable just to tear it all up.
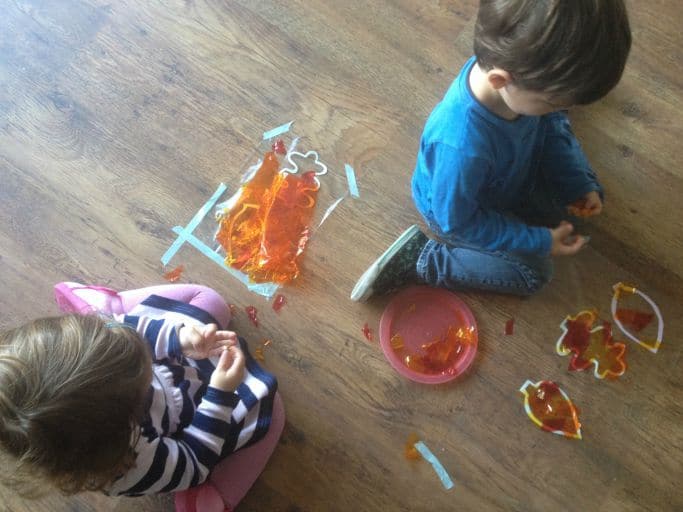
Place your leaf shapes carefully down on the contact paper and then let your kids fill the insides of the shape with the coloured cellophane.
I’ve recommend coloured cellophane* rather than tissue paper because the colours you will get are so much brighter and if you are practising scissor skills then it’s also really easy to cut as well.
It doesn’t matter if the cellophane goes outside of the shapes (making this a great activity for toddlers too) and likewise it’s fine if the colours get piled on top of each other – I think the colour change it makes make them look even more autumnal.
Plus this gives you the chance to discuss how different colours are make – what happens if you put a bit of red cellophane and a yellow bit together?
This is my one year old’s leaf, she loved just sticking on the biggest bits she could find!
One you are finished, seal them by placing another bit of contact paper on top, smoothing out any bubbles and then cut your autumn leaf suncatchers out.
Using a needle and thread carefully make a hole in the top of the leaf and then tie a knot so that you can hang them up!
How To Make Leaf Suncatchers With Different Age Groups:
If you are making this craft with very young children you can cut the cellophane into shapes for them while older children will be able to cut it themselves.
Older kids can help to cut out the leaf shapes themselves if you’d like a bit of a hand with the preparations. A wobbly oak leaf shape is a bit hard but why not get them to help with something like a a poplar leaf shape? The inside is harder to cut out than the outside so this can be a good craft to share doing.
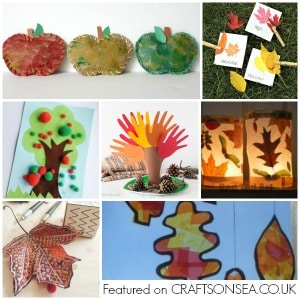
More Autumn Crafts For Kids
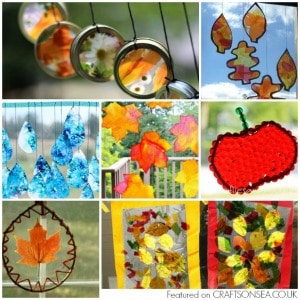
We love this round up of 15 autumn suncatchers kids can make for more pretty things to hang in your window!
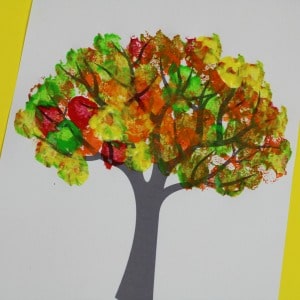
Or a autumn craft that you can adapt depending on what you have at home, check out our autumn tree painting ideas that use our free tree template.
Finally we love this round up of autumn activities for preschoolers with over 45 awesome ideas!
Autumn Leaf Suncatchers
Equipment
- Scissors
- Optional: needle and thread
Materials
- Sticky back plastic (contact paper)
- Cellophane
- Colored card or construction paper
- Washi tape or sellotape
- Optional: leaf template
Instructions
- Cut the leaf shapes out from card or alternatively use our leaf templates
- Stick some contact paper down using sellotape or washi tape to hold it in place
- Cut out pieces of the coloured cellophane
- Stick the cellophane onto the contact paper
- Seal the leaves by sticking another piece of contact paper on top
- Cut out the leaf suncatchers and attach to your window (using a needle and thread if you wish or sellotape / bluetack)
Notes
Leave a Reply