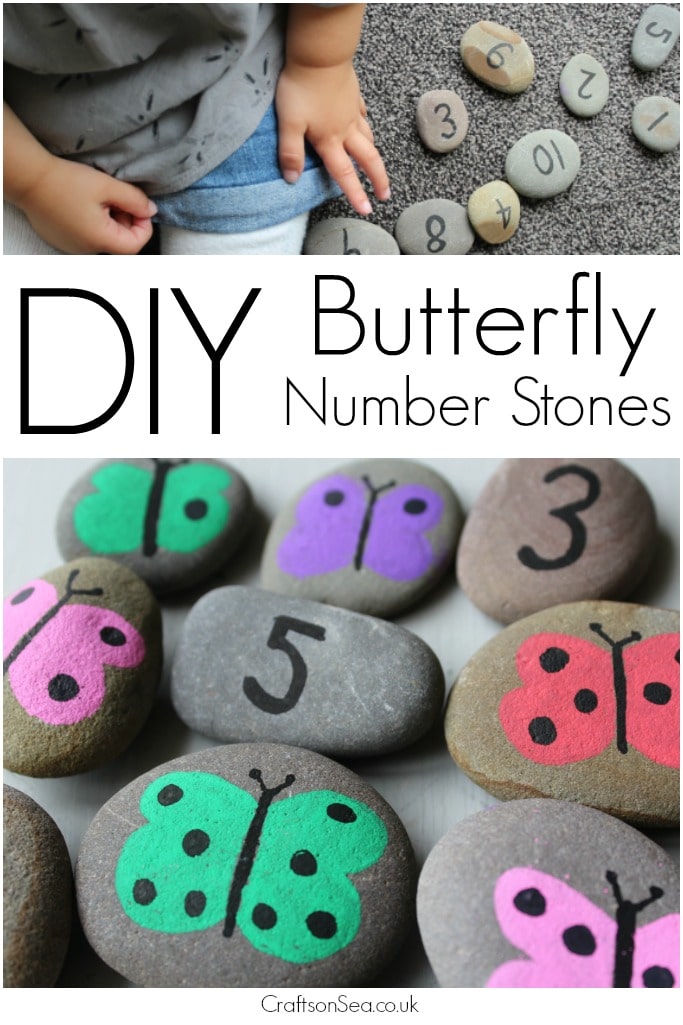
I think that after making our DIY story stones last week I might have become a little obsessed with painting on stones, it’s such a quick and easy way to make something that the kids can use and of course they look really pretty too! These DIY number stones can be made in about ten minutes and today I’m sharing my tips on how to make them as well as some ideas on how you can use them with kids of different ages and abilities. I’ve been using this set with both my two year old and my five year old so they’re good for activities for toddlers as well as school age children and they’ve both enjoyed this pretty little way to do some learning!
This post contains affiliate links
What You'll Find on This Page
You will need:
Stones – look for flat ones that will sit nicely on a table and give you enough room to draw
Pens – I’ve been using these ones (US link / UK link) which paint really well onto stone and are great if you want to do one colour on top of another
How to make your DIY number stones:
On the front of each stone I drew a butterfly, look for the flattest side to do this. I chose butterflies because they’re pretty simple to draw and my artistic skills are not always amazing. Plus everyone likes butterflies, right?! I did each butterfly first and then started doing the dots on each of them and the numbers once I’d finished that to make sure the paint had time to dry between each drawing.
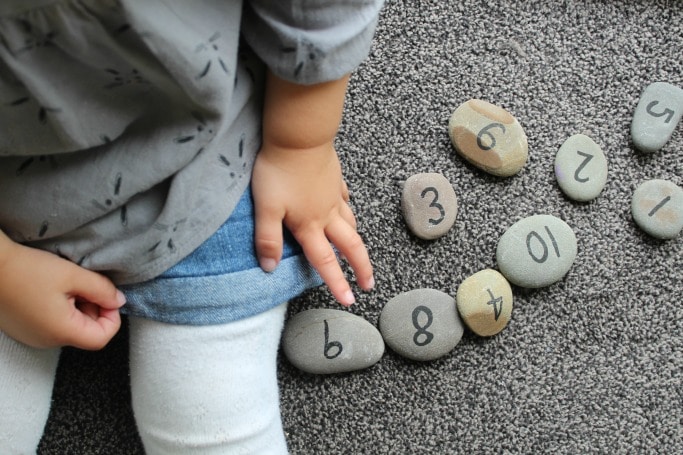
On each butterfly I drew a number of dots from 1 to 10 and then I wrote the corresponding number on the back of the stone.
How we’re using them:
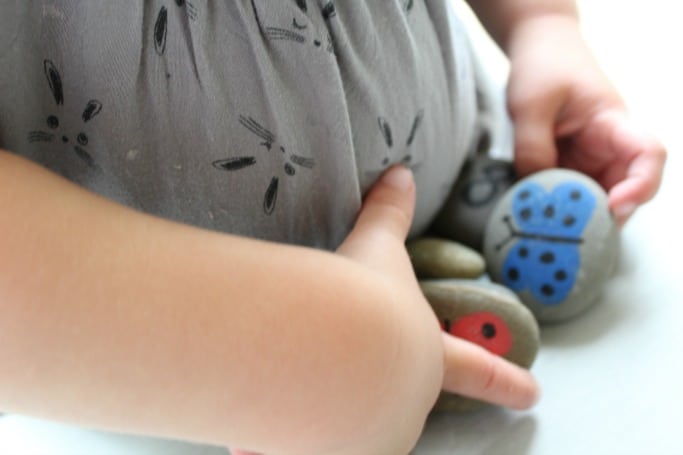
At two years old my daughter is starting to learn number recognition so we looked at the numbers on the back of them to see how many she recognised, I was actually surprised by how many she got right. She loves butterflies so these are a cute way that I can help her practice. She’s also very interested in colours so using different coloured pens for the butterflies gave her an excuse to talk about this. At five years old my son enjoyed showing his sister how to count all the dots on each butterfly and how it corresponded to the numbers on the back. To support his learning we also did some simple addition, looking at the numbers on the back of each stone to make a sum and then adding up the dots on the other side to make sure his workings were correct. He also suggested using them for subtraction too!

You may also like:
Leave a Reply