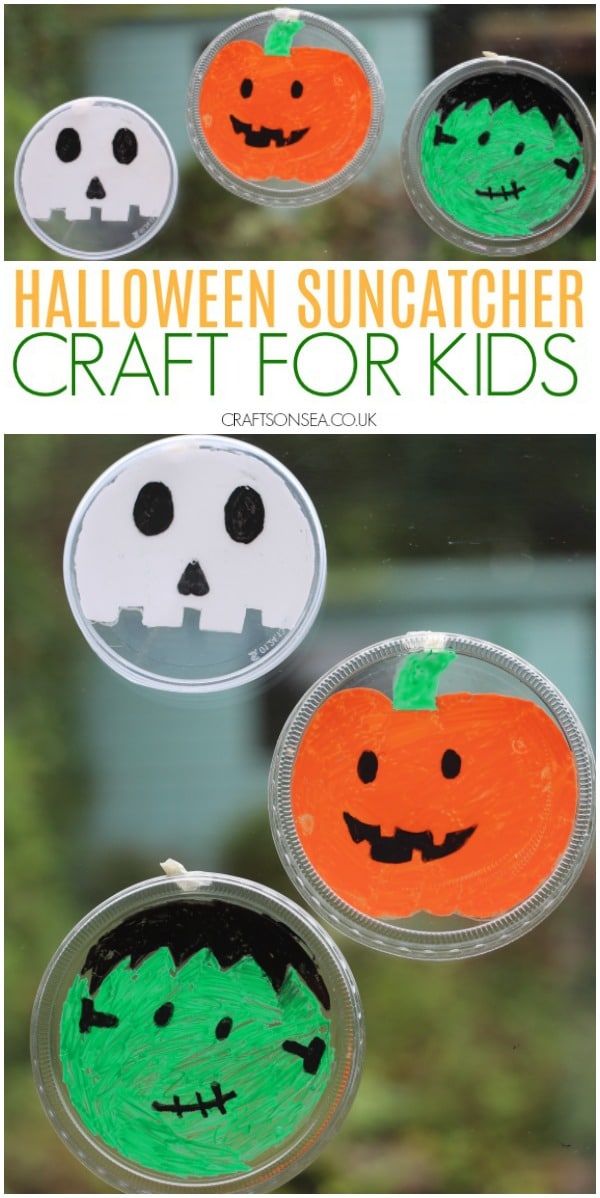
I must admit that I am more than a little bit in love with this sweet Halloween suncatcher craft! I’m always a fan of things that can be made from the contents of our recycling bin and just like our stained glass weather suncatchers these were easy to make and a great way to decorate for Halloween.
What You'll Find on This Page
Halloween Suncatchers Materials
*This post contains affiliate links*
Plastic lids – ours are a mixture of yogurt and hummus ones but you’ll soon start to notice them on loads of products
Chalk pens – I’ve previously tried this with felt tip pens and permanent markers, neither of which worked and gave a bit of a dull smudged look. The pens that I’ve used are these ones.
Double sided sellotape/ blutack to secure your suncatchers to your windows.
Lets Make It!
These Halloween suncatchers are really easy to make but if you don’t want to forget this idea make sure you bookmark this page or pin an image for later. Want more fun Halloween craft ideas? Check out the links below or take a peek at my book of easy Halloween crafts for kids!
If you’d like to watch a video to see how I made these you can check it out below, but if written instructions are more your thing you’ll find them straight after the video.
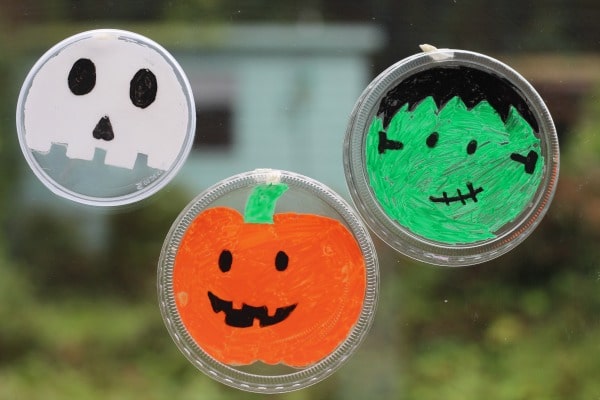
Before you start your Halloween suncatchers think about what design you’d like to draw. I’ve gone for a skull, a Jack O’Lantern and Frankenstein’s monster but you chose whatever suits you, you could always look at some Halloween paper plate crafts for inspiration.
On one side of your plastic lid draw the outside of your shape- depending on your design you may also want to colour this in as I have. Now turn your plastic lid over and add the details- for mine this was the eyes and nose for the skull, the eyes and teeth for the pumpkin. For Frankenstein’s monster I did the hair and face colour on one side and then drew the bolts, eyes and mouth on the other.
The pens only take a moment to dry but do be careful if you are using two colours next to each other as if you don’t allow them a moment to dry they will bleed into each other. One of the benefits of the pens I’ve used though is that once The ink is dry you can layer colours on top of each other, I love doing this to make white rims around black eyes.
As soon as the ink on your plastic is dry they are ready to go up in your window!
More Halloween Crafts For Kids:
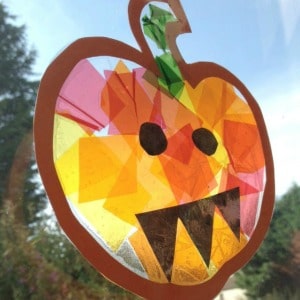
If you enjoyed making suncatchers why not try this different technique for making a stained glass style suncatcher that’s a great way to teach about colour mixing too.
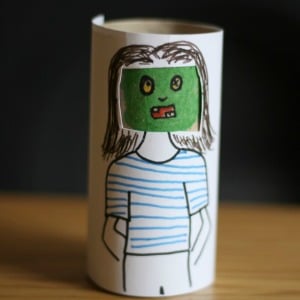
Or we loved making these cardboard roll Halloween crafts that turn from normal to zombie.
Finally for more inspiration why not check out this round up of witch crafts with loads of fantastic ideas.
Leave a Reply