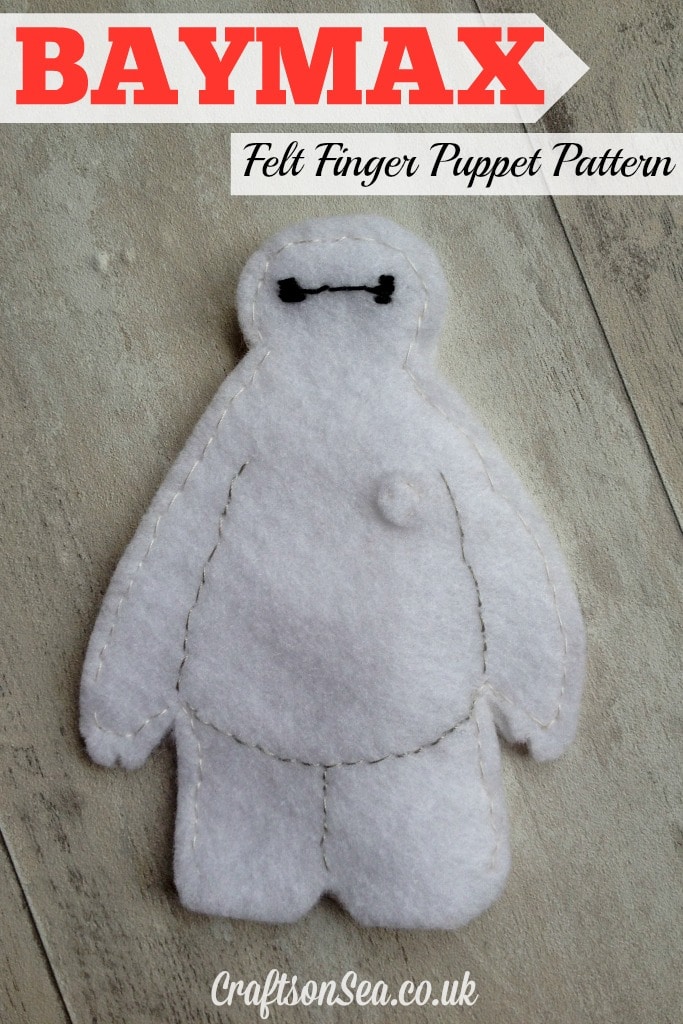
Do your kids like Big Hero 6? My son loved it and has been pretending to be Baymax for the last couple of weeks! It’s been a little while since I shared any of my felt finger puppets but as soon as I told my son I was thinking of making a Baymax puppet he was checking in on my progress five times a day. Gotta love it when your boss is half your size! Getting the template right for this one was a bit tricky so I’ve included a free pattern for you to download so that you can quickly make a Baymax felt finger puppet of your own!
What You'll Find on This Page
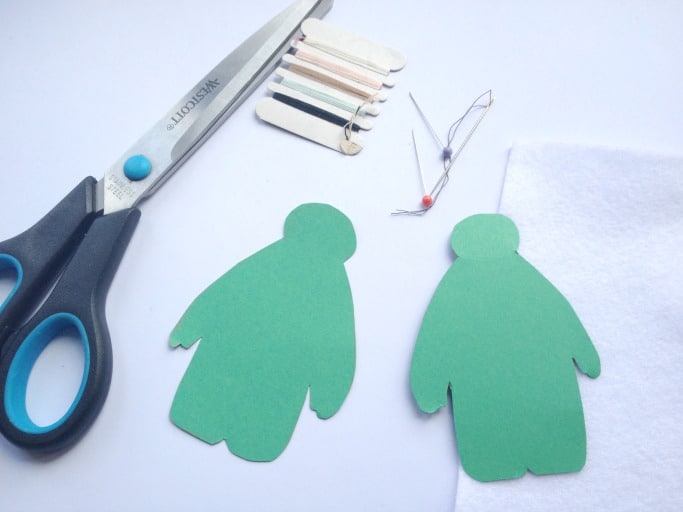
You will need:
One Baymax Finger Puppet Pattern
White Felt
Cotton – white, grey and black
Fabric Scissors
Pins and Needle
How to make your Baymax Finger Puppet
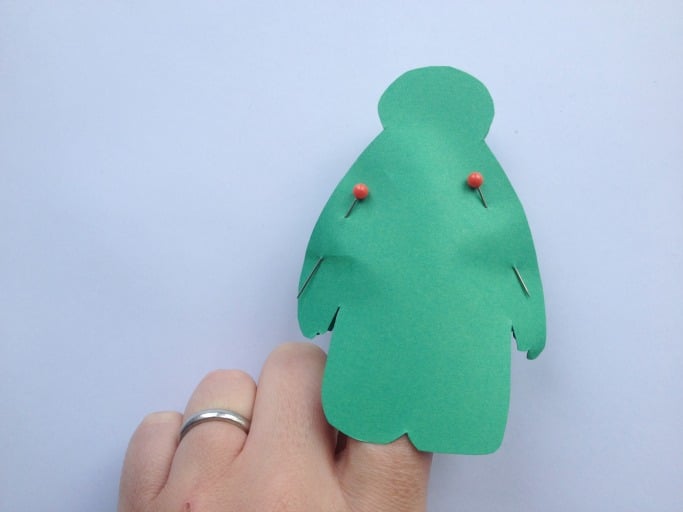
First print out your Baymax finger puppet pattern and cut the template out. Pin it onto white felt and cut the template shape out. You have two choices at this point depending on how sure you are of your cutting skills, you can use your template to cut out another shape to make the back of your finger puppet or you can pin your cut out felt shape onto another piece of felt and cut around that to ensure that they match. I tried both ways! The most important thing is that once you have both pieces, pin them together at the side and make sure that they fit comfortably onto your finger. I have huge hands so if you’re really petite you might want to trim your template back a little bit. As you can see I did this with the template first as I tried quite a few templates out before settling on the size of this one.
Before sewing the two pieces together decide which will be Baymax’s front and sew on details. I did his body shape first using a pale grey cotton and backstiching to form a line around his tummy. Because you are only using very small and detailed bits of thread I recommend tying a knot at each end to secure your stitching. To make the button on his chest, cut a very small circle from white felt and sew this on using white thread.
Baymax’s face was understandably the bit that caused the most nerves for me! It’s always worth remembering that if you do sew a bit and aren’t totally happy with it you can always unpick your stitches. Another, even more important reminder is that your child will be happy that you have made a gift just for them and they are hugely unlikely to criticise your sewing skills! My son has never mentioned it if a couple of stitches look a bit wonky!
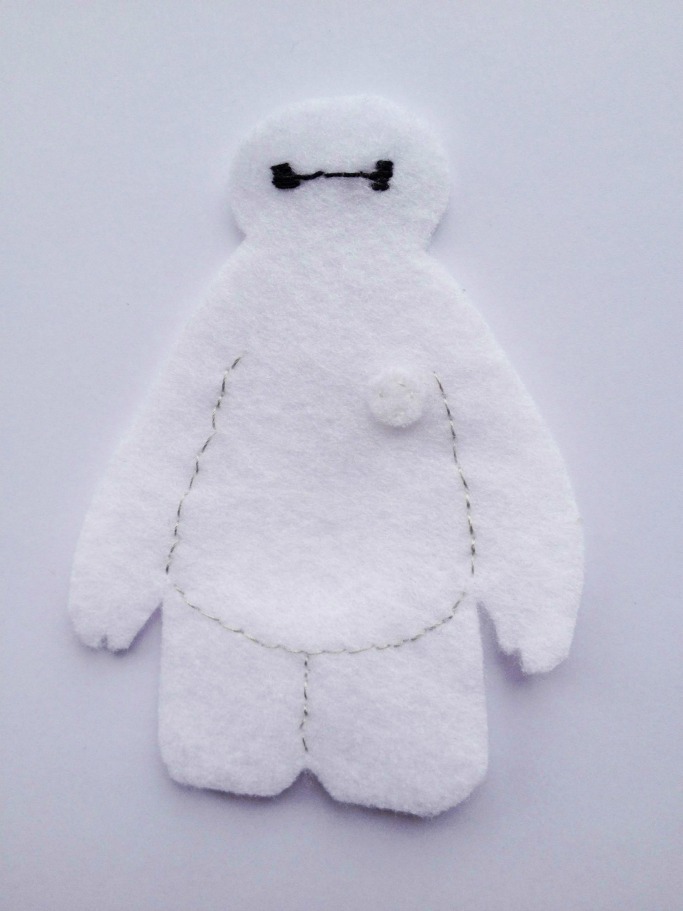
To sew Baymax’s face I used a thick black cotton and did a backstich between my start and finish points. Using the same thread I then did several stitches of the same size under each other to make eye shapes. I think this worked pretty well!
To finish your finger puppet, pin the two parts together and then sew around the outside in white cotton again using a backstitch the whole way. Make sure that when you are casting on and off you do this from inside the finger puppet so that you don’t leave any long threads hanging out.

And that’s it! You super cool Baymax felt finger puppet is now ready to play with. Go you!
You may also like:
Felt Finger Puppets
Things to sew for kids
We love Baymax. He is such a cuddly character! Brilliant ideas!