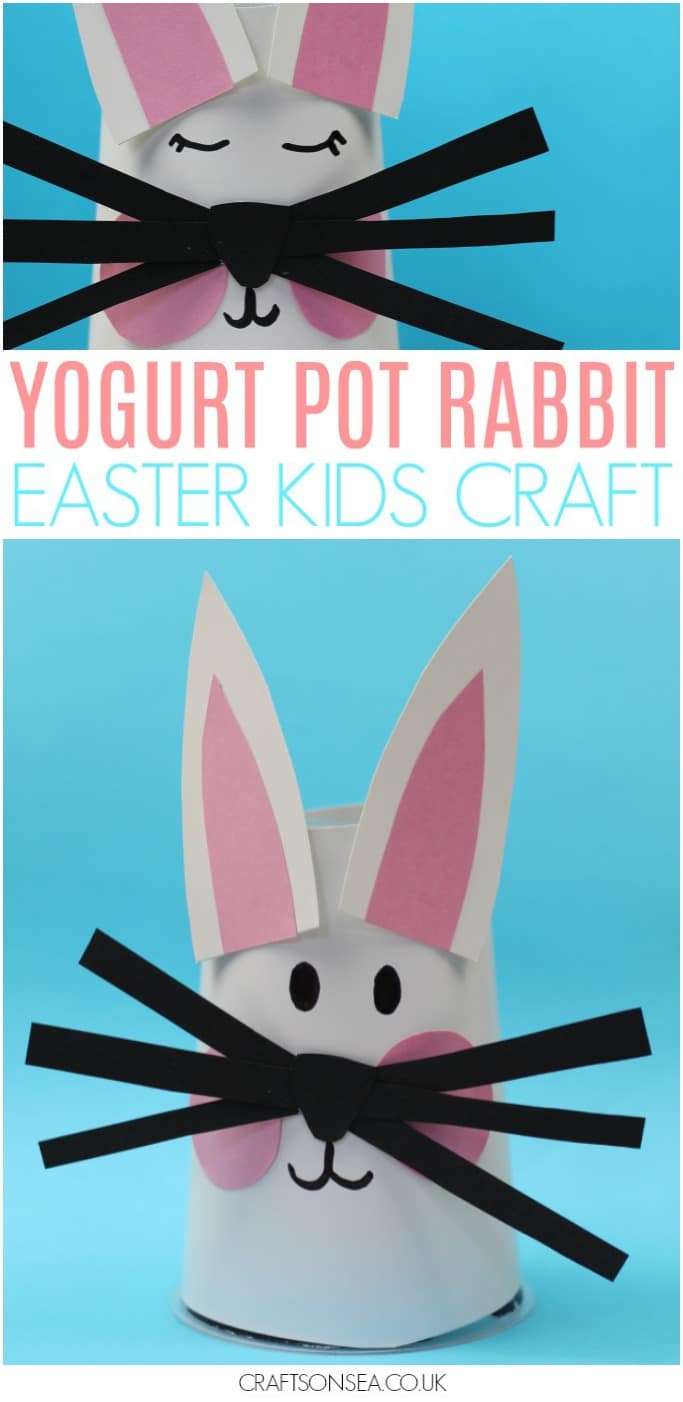
This yogurt pot rabbit craft for kids is super cute, maybe too much as I could’t decide quite how to finish it, I’m a bit in love with what my daughter calls ‘girl eyes’ but I’ve shown the rabbit with normal ones too as they’re a lot easier for kids to make! This rabbit craft is fun to make and a great way to get a second use out of an old yogurt pot!

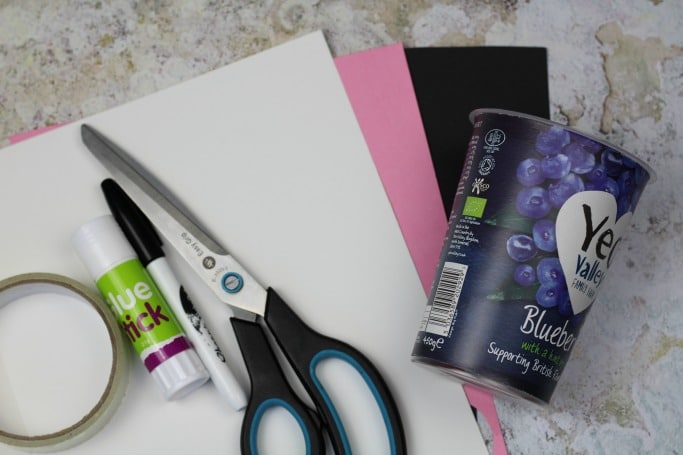
Yogurt pot rabbit craft materials:
Yogurt pot (the large ones work best)
White card
Pink card
Black card
Black pen
Scissors
Glue stick
Selotape
Let’s make it!
Ok so the first way we can change up this craft to what works for you is how we get a white base, in the likely event that you don’t have plain white yogurt pots to hand you can either paint them white or wrap a piece of white card or paper around them. If you go for the white card option then it works best if you wrap the card around first so you can see where you need to cut it, once that’s done secure it with sellotape at the back.
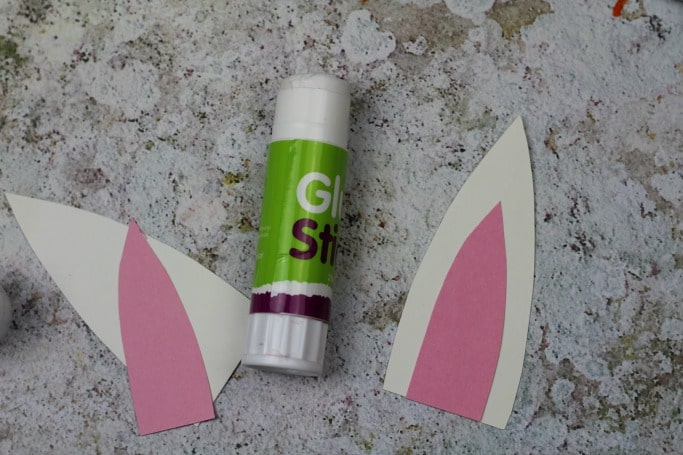
Next up cut out your rabbits ears from white card and then cut the same shape out but slightly smaller from pink card and stick this into the middle.
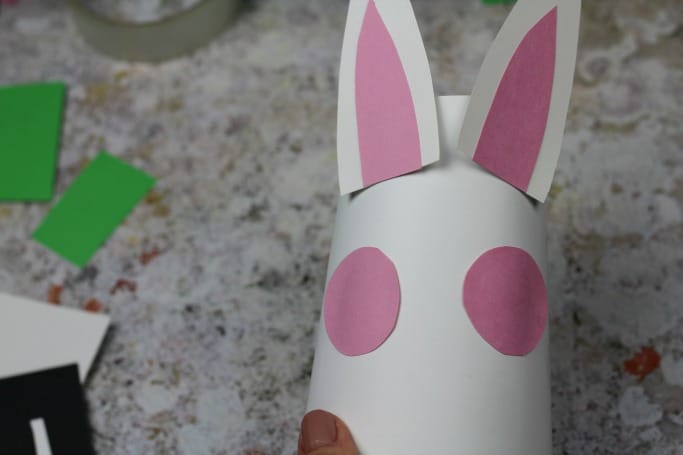
Stick your rabbits ears to the top of their head using a glue stick (as it’s an uneven surface if you use PVA glue for this they’re likely to slip off) and cut out some pink cheeks for your rabbit and stick those onto it’s face too.
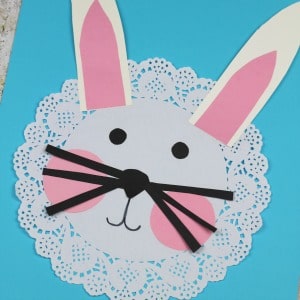
Next cut out a triangular shape for your rabbits nose and some long strips for it’s whiskers. Glue these onto your rabbits face and then use a black pen to add a mouth.
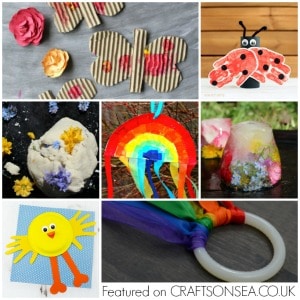
If you like this craft make sure that you bookmark this page or pin the image below so you don’t forget about it – everyone needs some cute ideas to hand at Easter when the kids want to get creative!
Want more ideas? Why not check out this cute chick craft that my daughter loved making too.

Or for more rabbit craft ideas you can’t go wrong with this sweet doily rabbit craft.
Fancy some spring ideas for the little ones? Check out this round up of over 50 spring activities for preschoolers.
Leave a Reply