Hello! I love upcycled stuff, mainly ummm, because I am a bit tight but also because I hate throwing stuff away (starts slight rant about landfill…) Vicky’s blog Vicky Myers Creations is one that I love because she is so passionate about using her sewing skills to create something new and gorgeous out of something that would otherwise be forgotten. I hope you love the tutorial she’s done for me today, do comment and let me know! And of course do check out her blog too and don’t forget to follow Vicky on twitter and on Pinterest too!
Hi, my name is Vicky – I am delighted to have this opportunity to guest blog for Kate. For the last 18 months I have been creating bags out of former clothes. I love the challenge of creating something new out of something old, responding to the fabric to see what I can create.
The ‘Valuing our clothes’ report from Wrap includes news that around 350,000 tonnes (31%) of used clothing out of a total of 1.13 million tonnes are sent to landfill. There are so many different uses for used clothing, reusing as clothing, recreating into new items – even actions as simple as your household cloths being used as, using as packaging.
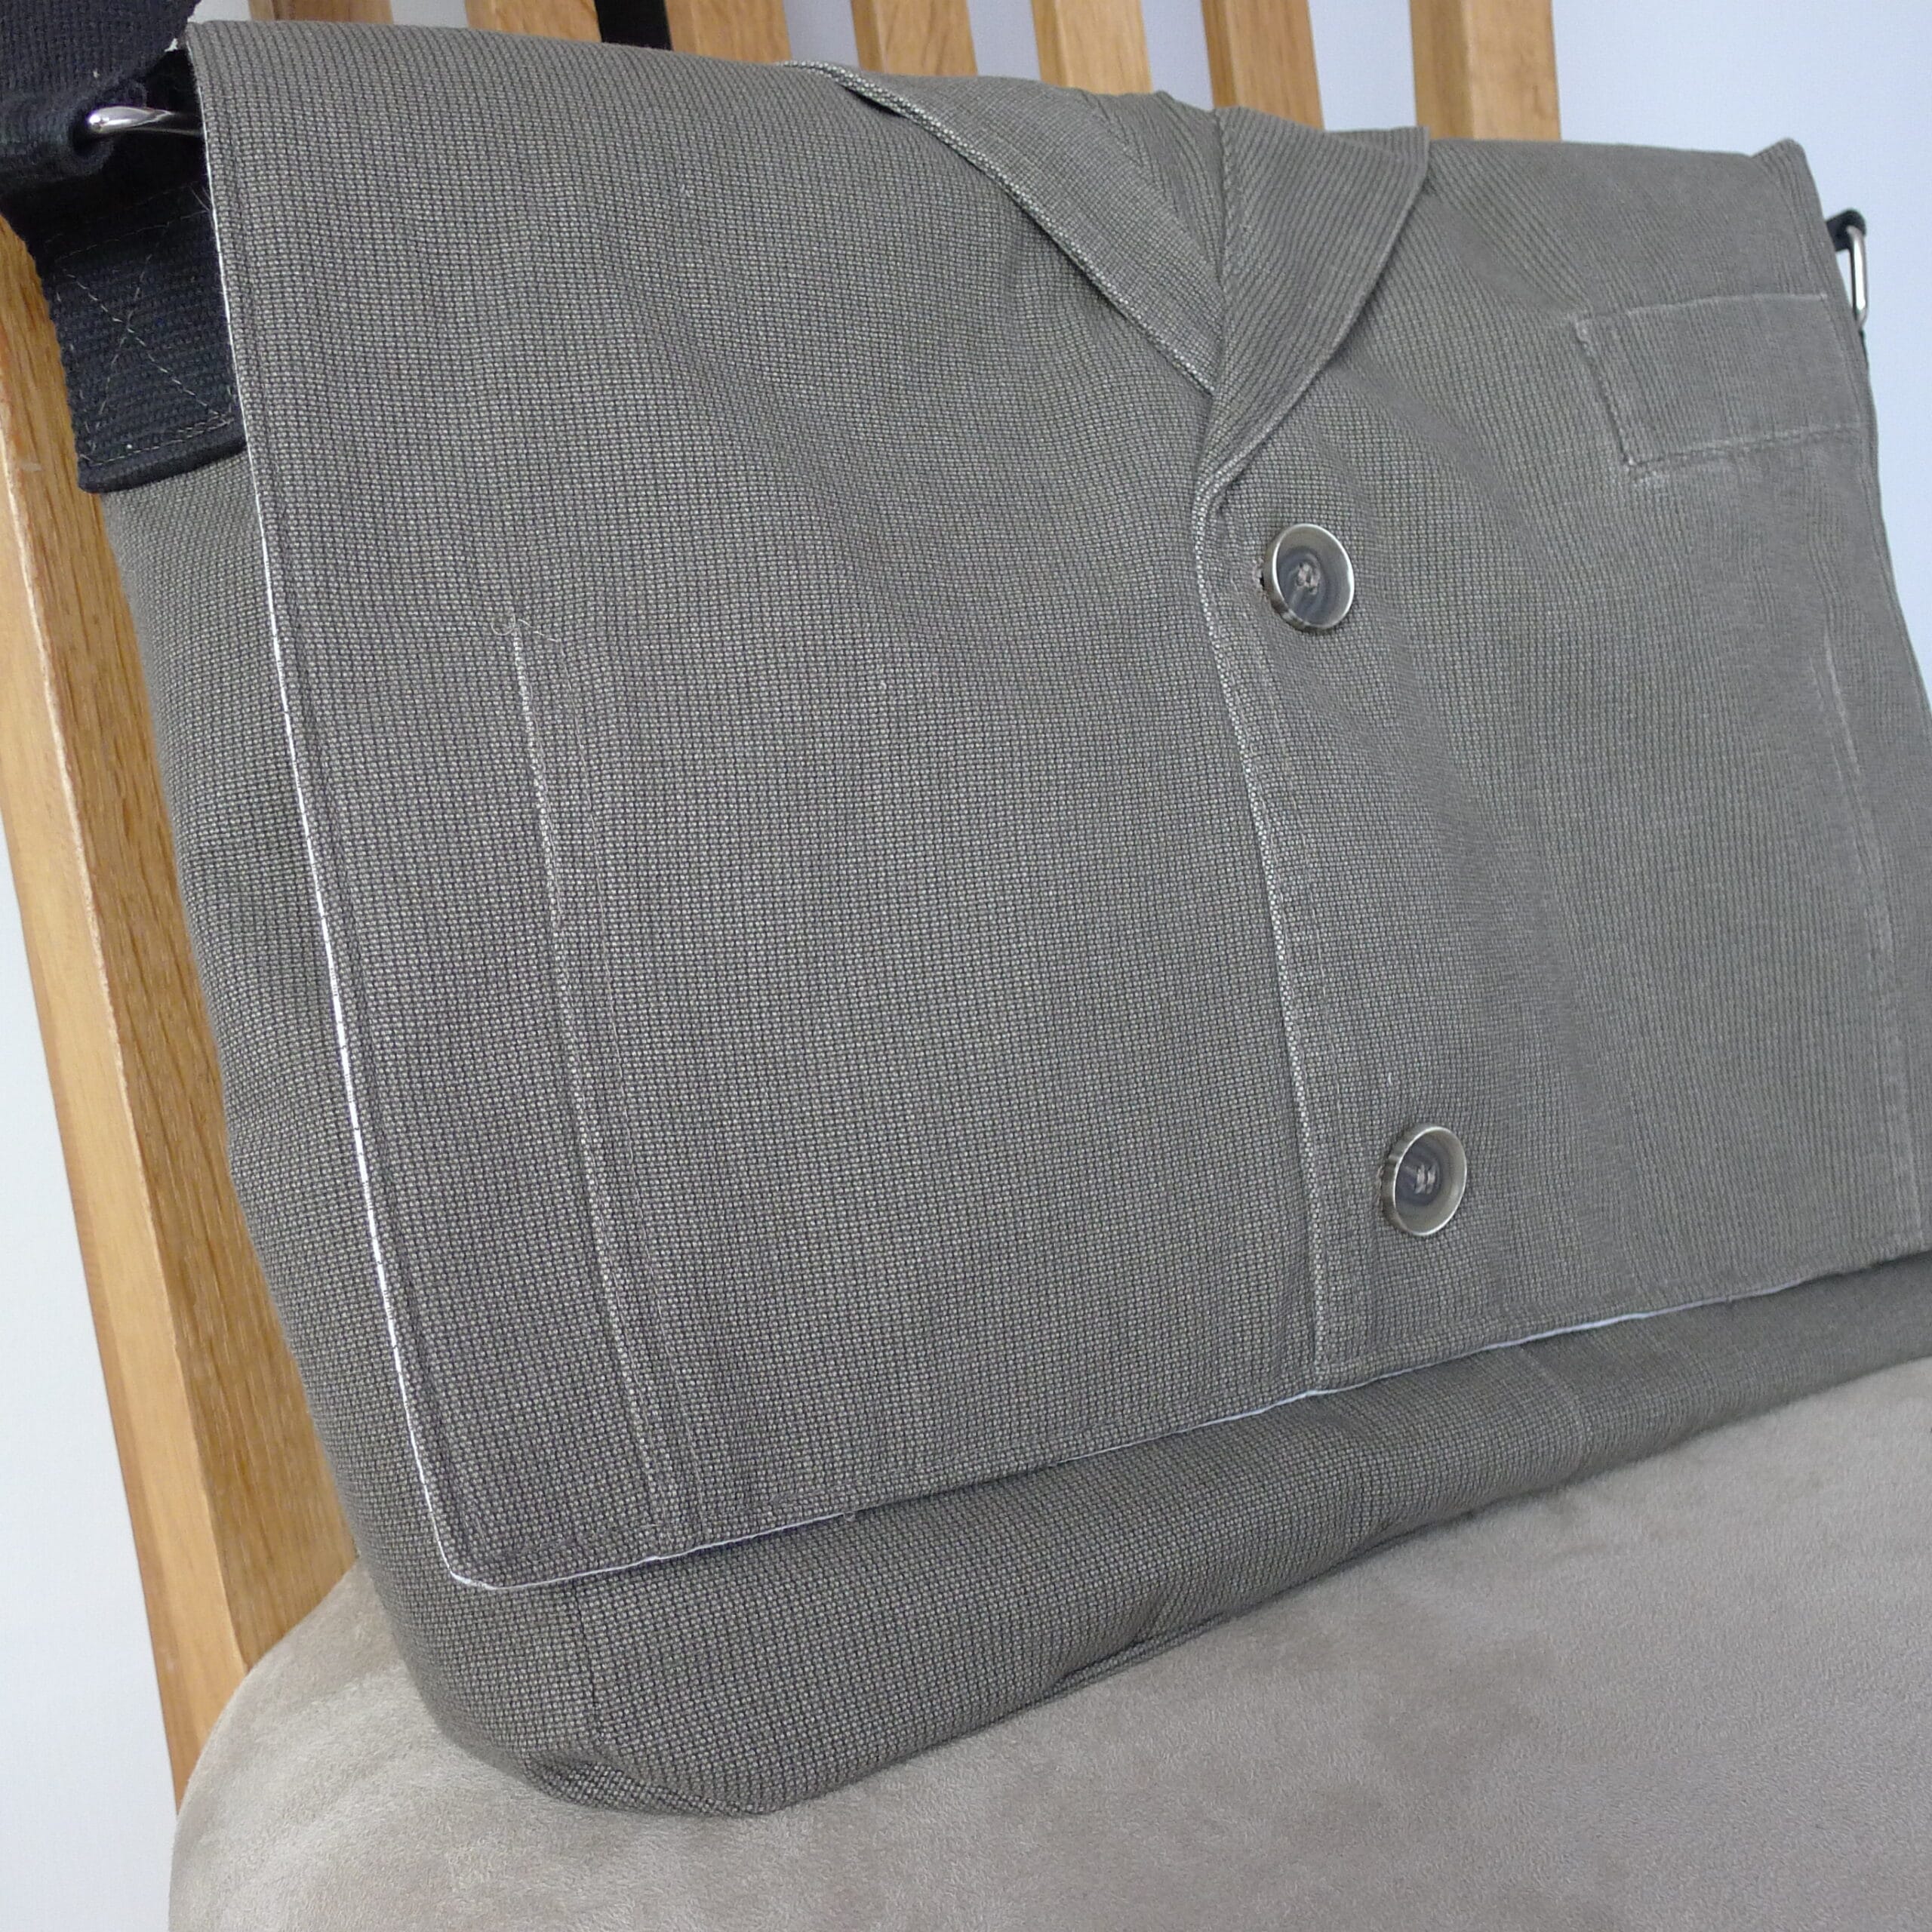
Recently I was faced with the challenge of making a mans bag. My man is not a bag man, and my dad carries a Travel Men’s Leather Wrist Bag so no help there! The most popular mans bag seems to be a leather satchel/messenger bag, used in the work environment.
My customer liked my idea of creating a bag out of a man’s jacket, using the front collar for interest. I used his former messenger bag for measurements, utilised the strap, and raided my fabric stash (this included a great quality jacket and a work shirt).
Here are some simple directions if you fancy making one yourself. You will need one large jacket and large shirt, magnetic snap and handle. I suggest scouring the charity shops for a bag with strap you can customize, often cheaper than buying from a bag supplier.
What You'll Find on This Page
Create Pattern & Cut Out
Create a pattern template – cut a template for the front/back panel, the flap and the side panel. This bag is 28 cm by 36cm. Create your side panel pattern longer than you anticipate, just in case.
Cut out heavy weight interfacing, four pieces for front and back, and two for the flap (these two are for the main fabric and lining fabric). Cut the interfacings the size of the bag, and do not allow seam allowance. Your sewing machine will thank you as it reduces the bulk when sewing up.
Cut out the front and back piece from the back of the jacket. I tend to use the interfacing as the pattern, ironing it on first. Cut round, now allowing seam allowance
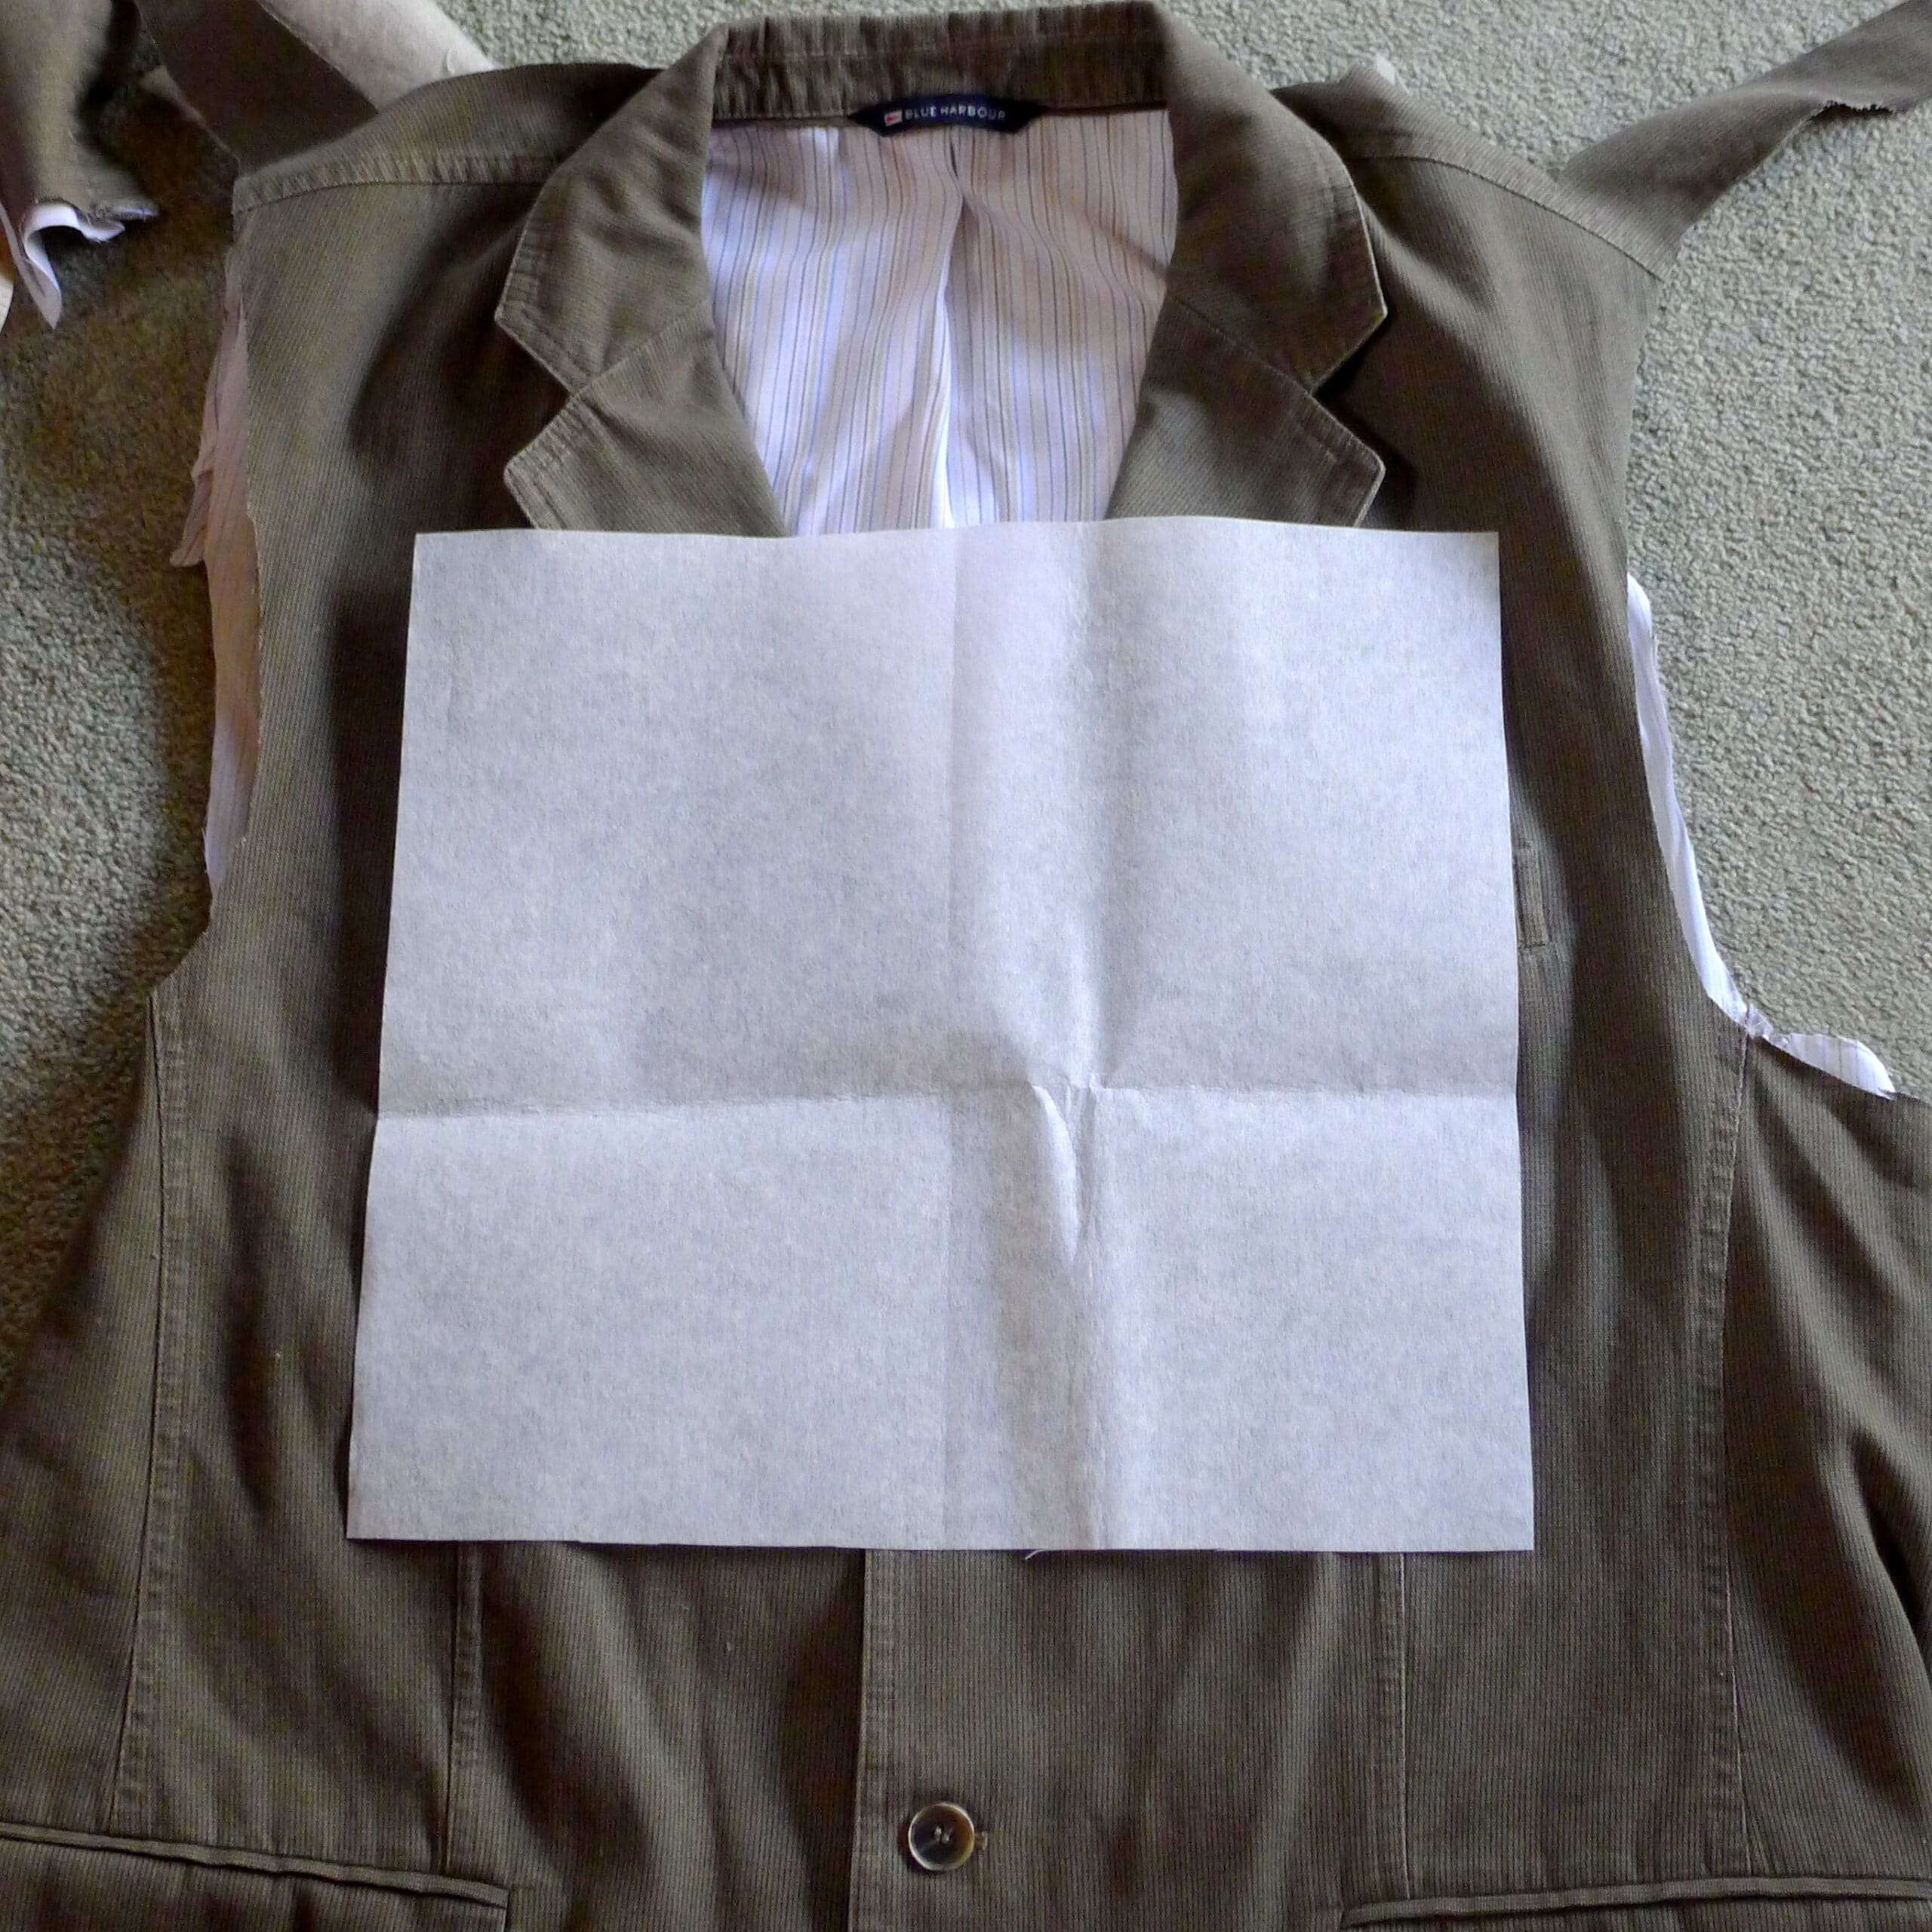
Cut out the flap from the front of the jacket. I suggest folding your pattern/interfacing in half length ways and ensuring it lays down the middle of the buttons.
Piece in behind the collar neck opening, top stitch for strength.
Iron on your interfacing to all pieces.
Main bag
Create the main body of the bag, sewing your side piece all round the three sides of the front, and then the back. Tip – start by finding the centre of your side piece, and match it the centre of the front piece
If you wish to insert an internal pocket to your lining do so now.
Create your lining bag, but ensure you leave a long opening along the bottom of the front of the lining piece. This will enable you to turn the bag right side out later.
Flap
Create your flap, for this bag I stitched three sides right sides together, turned out.
Insert Magnetic Snaps
Pin the flap to the back of the bag and lay flap over the front.
Mark position of magnetic snaps, allowing for the width of the bag.
Insert magnetic snaps into underside of flap (through the lining), and the front fabric on the front pocket
Turn in the unstitched side of the flap, and top stitch round the flap
Assemble the bag
Insert the main bag inside the lining bag, right side together.
Stitch along the top
Turn out to the right sides and top stitch along the top of the bag.
Hand stitch opening of the seam on the lining

Sew the flap onto the bag
Sew on your handle to the sides of the bag
You’ve done it… excellent one recycled messenger bag:)
For regular recycling sewing tutorials, pinterest boards for more ideas, and my Etsy shop follow me at Vicky Myers Creations
Alternatively if you would like to buy an upcycled mans bag there are some gorgeous bags made from old fire hoses available from Elvis & Kresse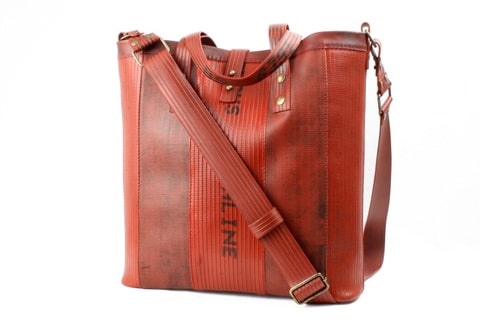 Or you could buy one from me on Etsy!
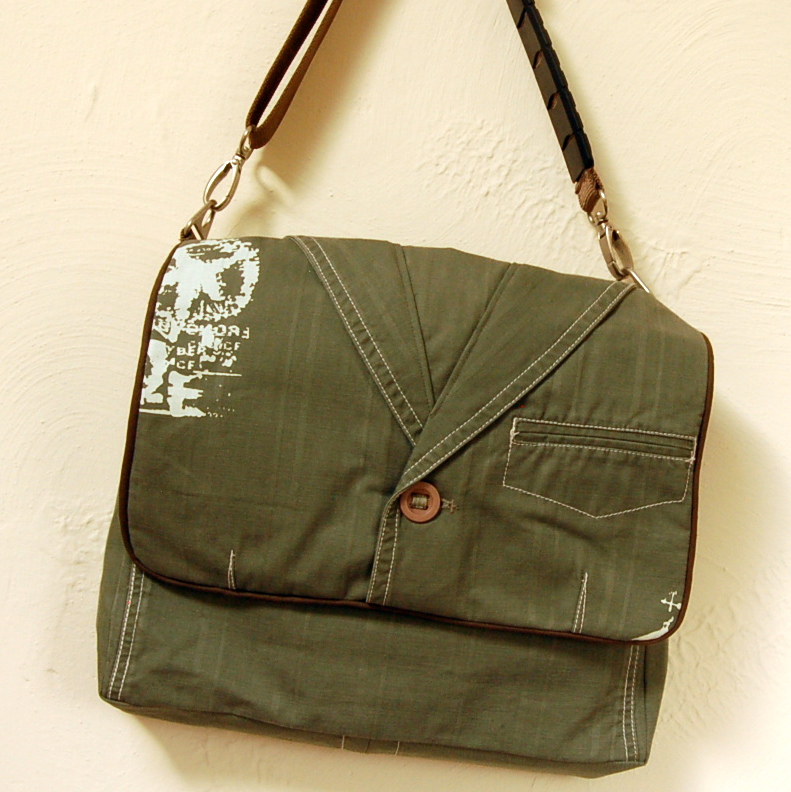
This is great!! Really original! Would be a fab Christmas present for the OH… xx
Would love to know if you do make one 🙂
Love this. Really funky and unique bag design
Yep, you can guarantee no one else will have one the same 🙂
How cool is that?! Love it!
Really cool bags!
thanks for sharing <3
MammaNene @ SergerPepper.com
I know, such a great idea!
how totally fabulous and amazing and cool!
It’s great isn’t it! 🙂
I can’t get over how brilliant this is. And a great gift idea too. I really want to give this a try! X
If you try it make sure you let me know!!
Omigosh, that’s amazing. How have I never thought of doing this before. So simple and so cute! I have so many old jackets lying around as well. Definitely feeling the inspiration! Thank you <3