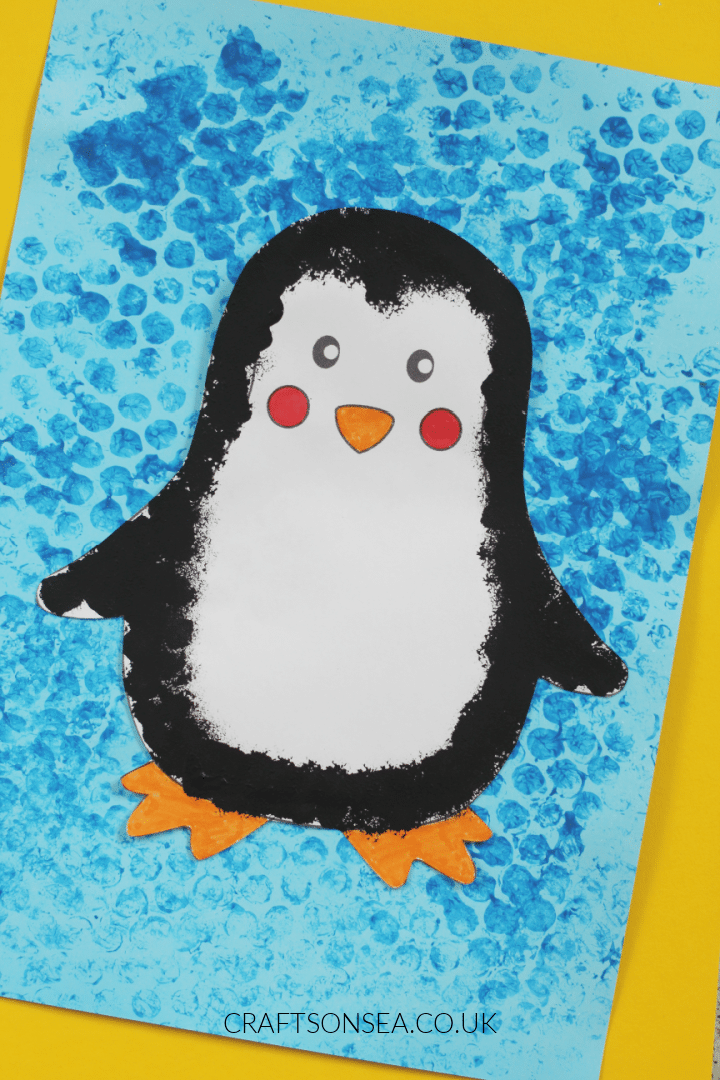
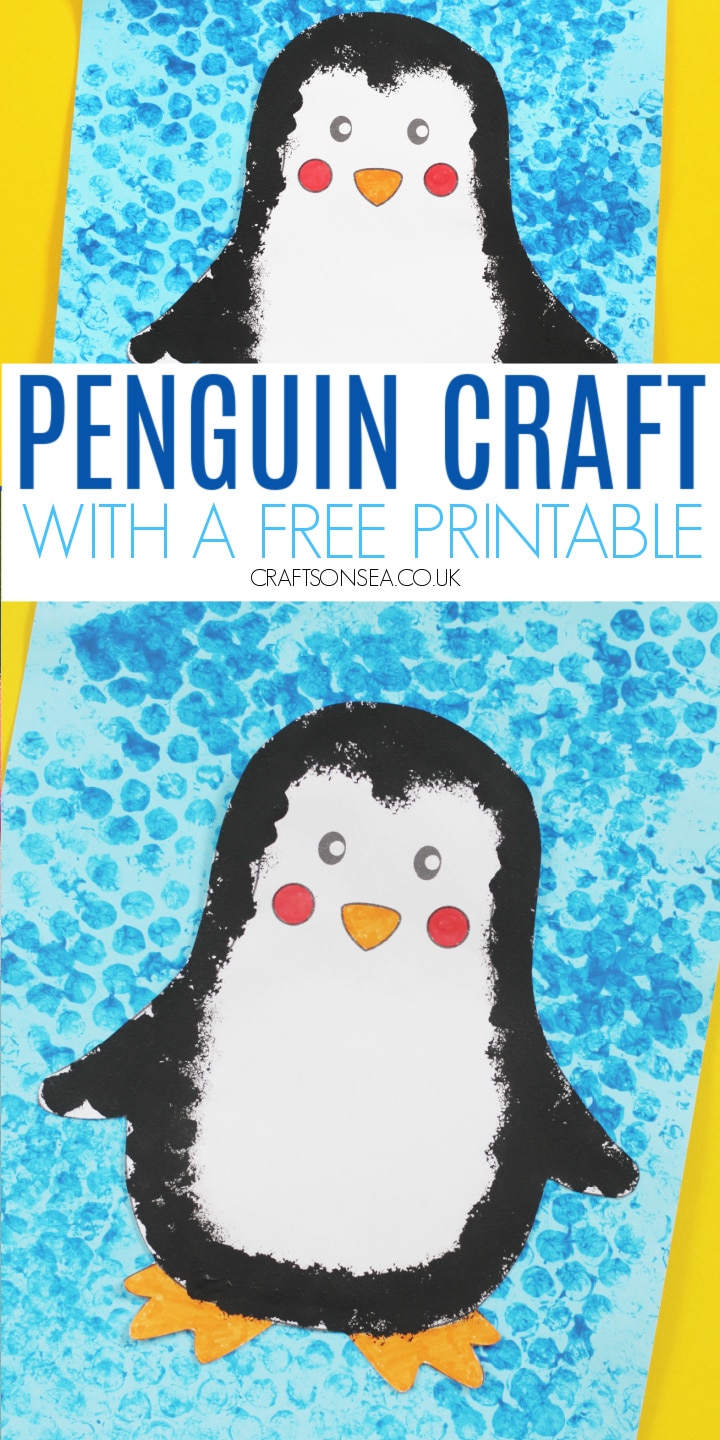
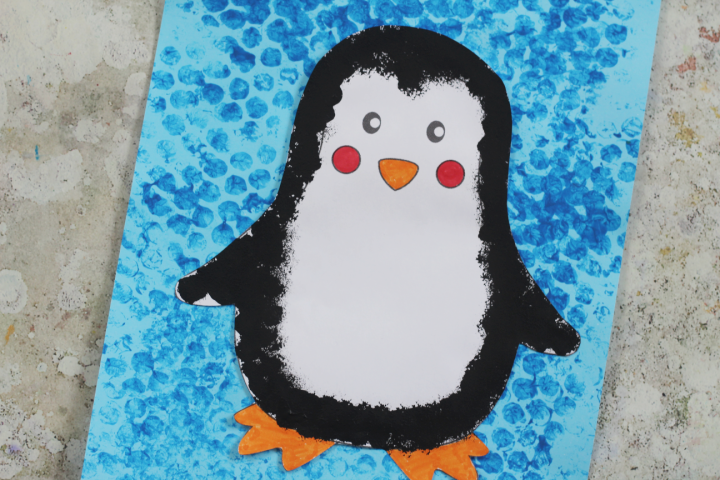
We love penguins and this easy penguin craft uses our free printable template to make it even more simple for you to create with your child.
I’ll be showing you how to make this craft using step by step instructions but I’ll also be sharing how you can adapt it to make it suitable for your child’s age so that you can focus on having fun together.
We have included affiliate links to some of the products and resources and as an associate we may earn from qualifying purchases.
What You'll Find on This Page
Penguin Craft
Penguins are a great topic for winter crafts and I think that they’re one that pretty much everyone likes, after all penguins are so cute!
This craft has two different parts to it, coloring the penguin itself and decorating the background. This makes it a really easy one for you to adapt as you can do both parts as I have or you can choose the part that you think your child will enjoy the most and just go with that.
I’ve also shared some more ideas below for ways that you can adapt this craft so you can change it to include materials that you already own or can find easily or change this activity up in a way that you think will be more fun for your child. Go with whatever works for you!
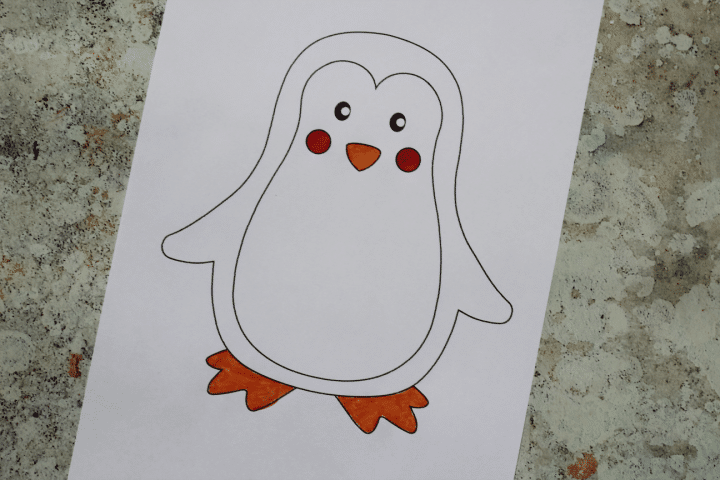
Penguin Craft Template
To create this craft I’ve used our free printable penguin template.
You can print and use the template as many times as you like which is perfect if you want to make this with a group.
More Penguin Crafts For Kids
We love making cute penguin crafts and as a mom I think that as the winter forces us to stay indoors that little bit more they’re a good way to keep your kids busy too.
Our paper plate penguin craft uses popsicle sticks and cardstock to make a moveable little penguin puppet while this cupcake liner penguin craft was originally planned for Christmas but would be a good way to practice scissor skills throughout winter.
I also love this handprint penguin craft from Crafty Morning!
Penguin Craft Materials
- Penguin Template
- Blue cardstock
- Scissors
- Glue
- Black and blue paint
- Tray or plate
- Orange and pink markers
- Bubble wrap
- Sellotape (optional)
Penguin Craft Tutorial
Print out your penguin template onto white printer paper or cardstock and color in your orange beak and flippers with a marker or pencil and the cheeks with a pink marker or pencil.
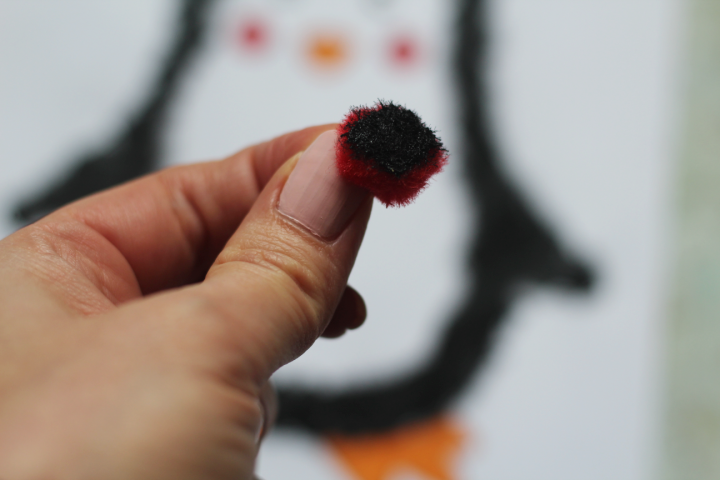
Pour your black paint into a plate or tray, this makes it easier to access. You can hold onto your pom pom using your fingers or if you don’t like the feel of paint you can hold onto this using a clothes peg instead.
Dip your pom pom into the paint and then use this to decorate the parts of your penguin that would normally be black covering all of the outside of his body and wings by dabbing in onto the paper then leave the paint to dry.
While your paper penguin is drying we’re going to print the background.
I’ve found over the years that the easiest way to print with bubble wrap is to make a little mitten like glove with it that you can put over your child’s hand.
Not only does this stop your messy little monster getting too covered in paint (arguably a win for me as well as them) but it means that you get a better print of the round bubble shapes.
To do this just cut out some bubble wrap just over twice the width of your child’s hand and then sellotape it into a little bag shape. You can tape up the top or not depending on what works best for you.
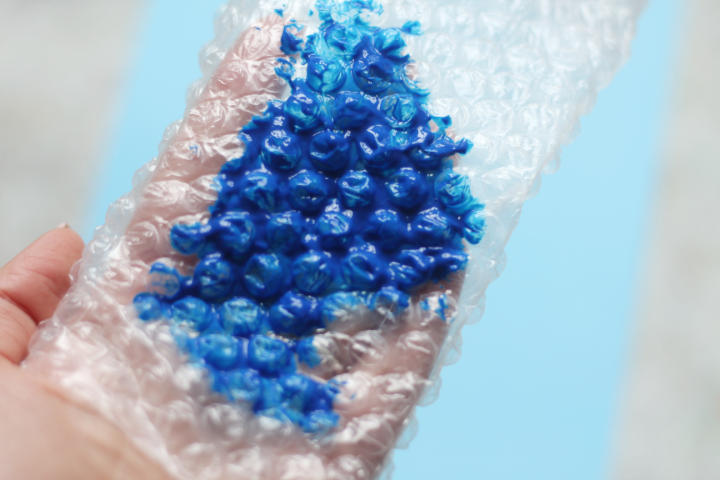
All you need to do then is put your bubble wrap covered palm into some blue paint and then place your hand down onto the colored cardstock or paper to make your bubble wrap prints. Do this until your paper is covered.
Once it is dry grab your glue sticks and stick your painted penguin onto your background.
Ways to Adapt This Craft
Make a really simple cotton ball penguin by glue cotton balls onto the penguin’s belly, the texture of this craft make it a really nice one for preschoolers and kids in kindergarten too.
I’ve used pom poms and black paint as that was what we had at home but for a quicker version that won’t involve you having to wait for paint to dry you could color the penguin’s body using a bingo dauber instead or just color it with a black pen for something even simpler.
Change the blue cardstock that I’ve used to white cardstock or use white paint instead of blue.
Instead of the painted background that I’ve done you could glue your penguin onto blue paper and use white pens or paint to make snowflakes in the background or maybe use some snowflake stickers.
You could also try using bleeding tissue paper for the background to turn this into more of an art project and this would be a great craft for older kids too. You can see how this technique is done in our sled winter art project.
Instead of sticking your painted template onto paper, cut it out and make a paper bag penguin puppet by sticking it onto a paper bag. White paper bags would be great for this or if you use brown paper you could add white paint onto that (or not, your choice!) When we’ve made paper bag puppets before my kids have always really enjoyed playing with them too so this could make a fun little penguin toy for them!
More Winter Crafts For Kids
We’ve shared lots of fun winter crafts and activities and many of them use our free pintables to help you set them up.
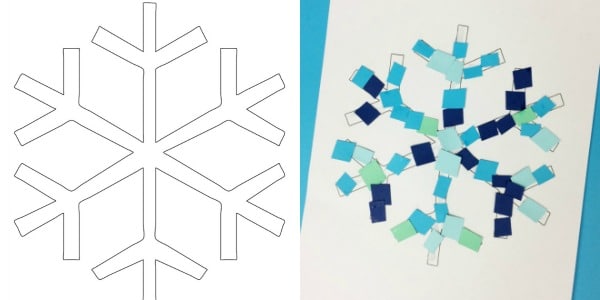
Our easy snowflake crafts are really popular with lots of ideas for ways to decorate a snowflake and using our free template to make them. This is the perfect craft for preschoolers and toddlers as you can add the glue and then they can stick things on by sprinkling if needed.
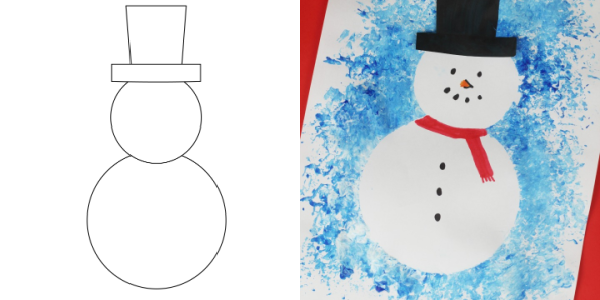
Or why not try making this snowman resist art?
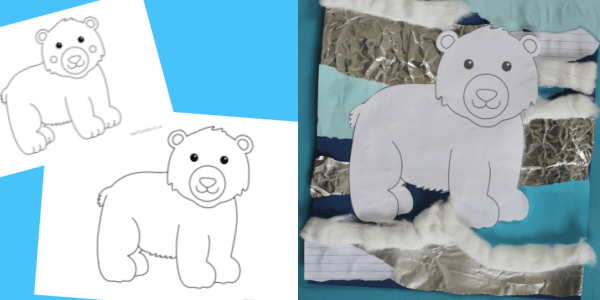
Finally for some inspiration on how to get creative using what you have at home check out our polar bear collage using another of our free craft templates. It’s a really fun way to use old materials like construction paper and aluminum foil.
Leave a Reply