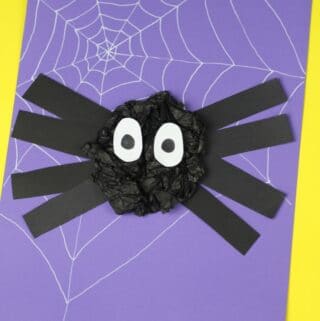
I’m so pleased with the way this easy spider craft turned out! It’s super simple to make so it’s suitable for toddlers or preschoolers too, you can use it to help practice those scissor skills and most importantly I think it looks great!
Did I mention the looking great part?! Halloween is a great excuse to do some crafting with your kids and this simple craft is easy to set up too.
We have included affiliate links to some of the products and resources and as an associate we may earn from qualifying purchases.
What You'll Find on This Page
Easy Spider Craft for Kids (Perfect For Halloween Too!)
Halloween is a great time for crafting with your child and I find that it tends to be one that really inspires their imaginations too.
As a parent I’m not super keen on anything too scary or gory and so our ideas are very much kid friendly!
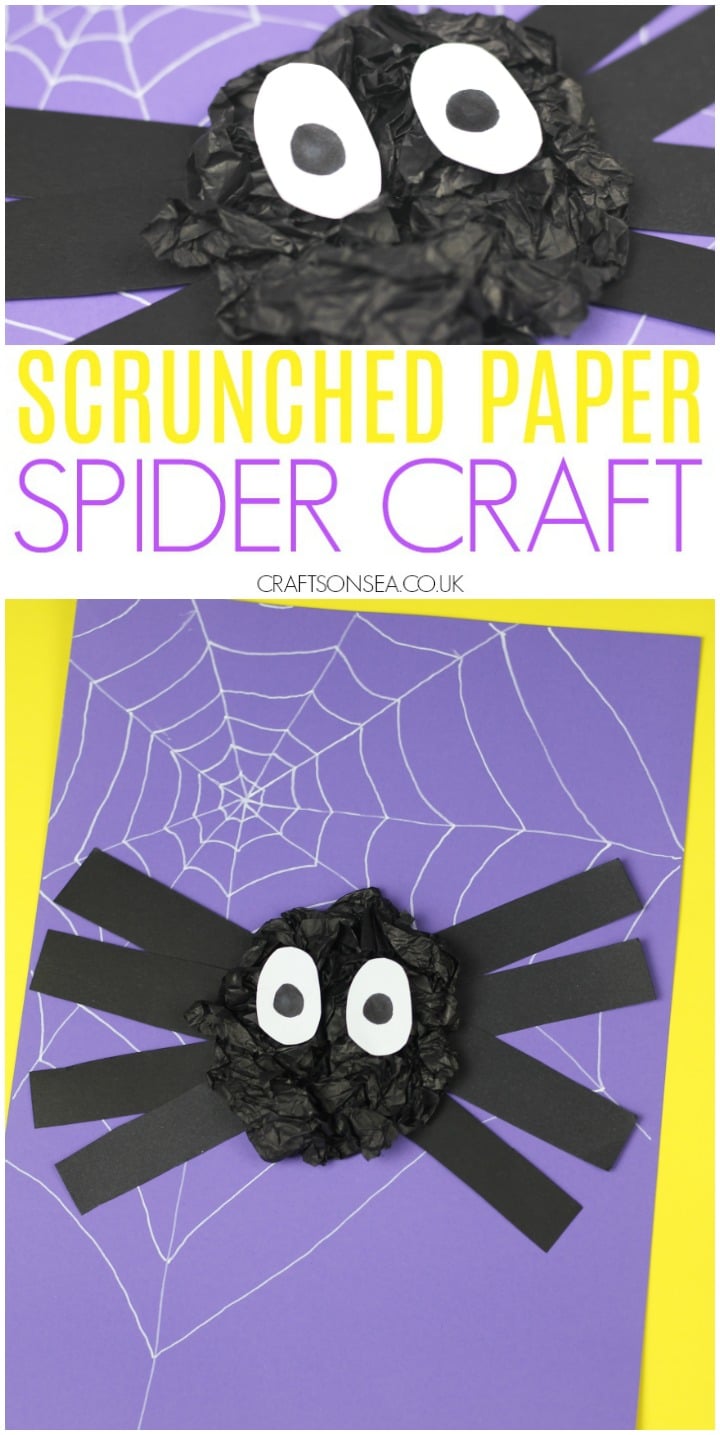
Scrunching paper as I’ve used for this spider craft idea is a really nice technique to try, you could use large or small bits of tissue paper depending on how you would like to make your spider look.
You could also use this as an excuse to get outside and look for spider’s webs to inspire your drawing of the one behind your spider.
We’ve made our tissue paper spider as a easy craft that can be displayed but you could also adapt it and make it on a piece of cardstock or construction paper folded in half and use it to create Halloween card or if you you don’t have any colored cardstock like I’ve used how about using a paper plate for the web instead?
We’ve shared lots of Halloween crafts for kids over the years (did you know I’ve written a book of them?) but you’ll also find some more easy Halloween ideas at the end of this post if you fancy having a morning or afternoon filled with activities.
Materials You’ll Need For This Easy Spider Craft
- Colored card or cardstock
- Black construction paper
- White chalk pen / black marker pen
- Black tissue paper
- Glue
- Scissors
- White cardstock or scrap paper / googly eyes
How To Make Your Paper Spider Craft
To make this craft you’ll need to start with a large piece of coloured card or cardstock. I recommend card for crafts like this rather than paper because large amounts of glue (as kids tend to use!) can make paper a bit floppy or even worse tear.
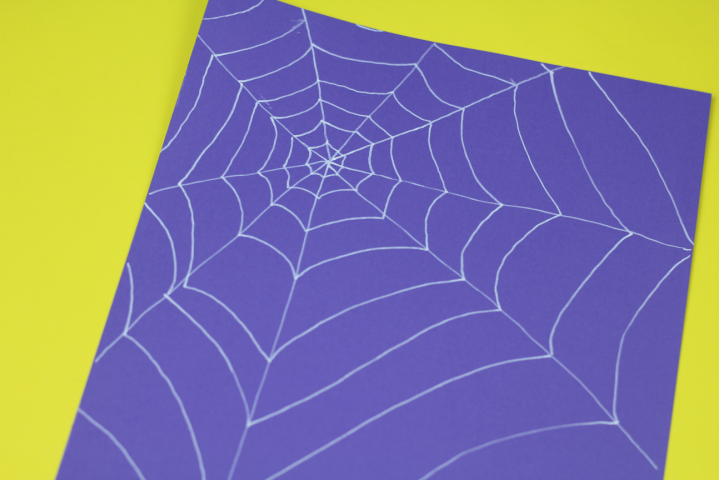
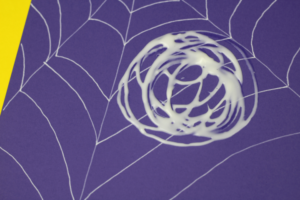
Draw a web shape onto your card, I’ve used a white chalk pen but if you’re using light coloured card then I’m sure a normal black marker would work well.
You might want to help young kids draw the web shape but older kids will be able to do it themselves – or younger kids might want to draw it too!
If you want something quick to help you prepare then this craft would work perfectly with our spider web printable that’s available with our free spider template, this would be perfect if you’re making this with a group as well.
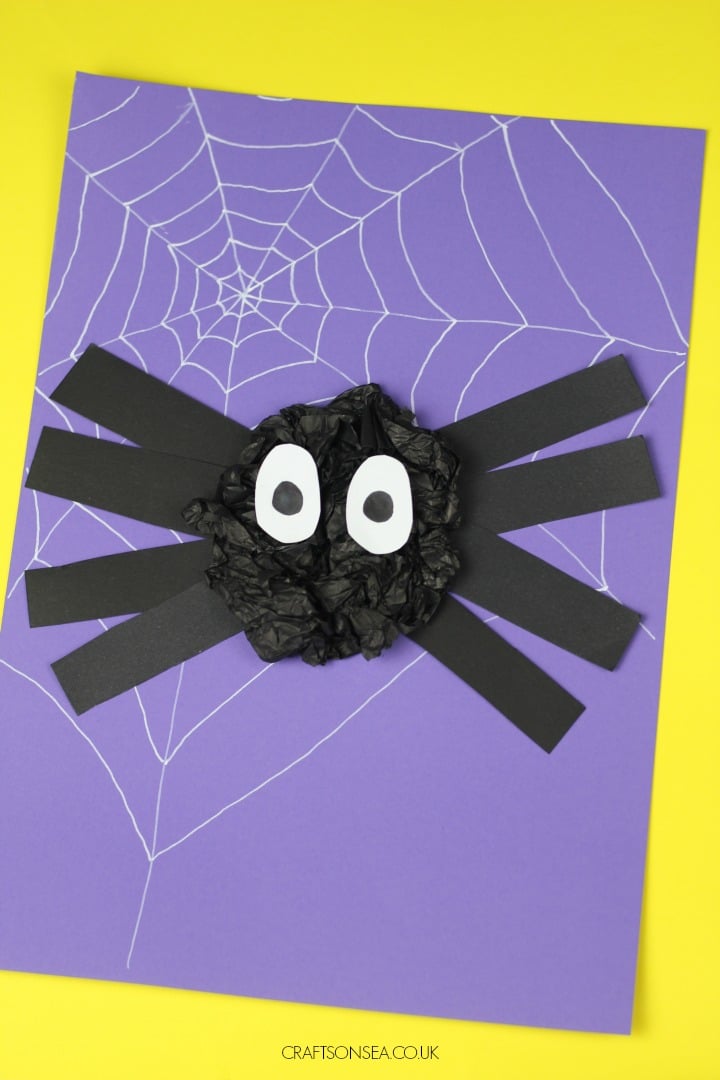
Cut out eight strips of black cardstock or paper using kids scissors and then draw a circle in glue onto your coloured card, fill the circle in with more glue and then stick your black card strips onto it to make your spiders legs.
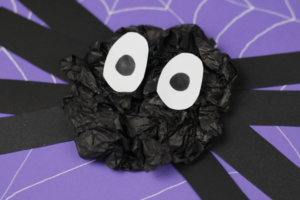
Next scrunch up some black tissue paper and stick this on to make the spiders body – you could try tearing and scrunching different sizes of tissue paper.
Finally cut some circles or ovals from white paper or cardstock and draw a black circle onto them to make them into eyes and stick these onto the spiders body. If you have some googly eyes lurking in your craft supplies then these would also be a good alternative.
More Easy Halloween Crafts for Kids
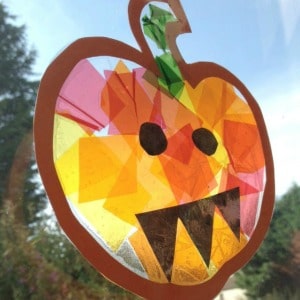
This stained glass pumpkin suncatcher is always a popular craft for Halloween and is a really fun and creative way to help teach colour mixing too. We had ours hung in the window for ages as they make great Halloween decorations.
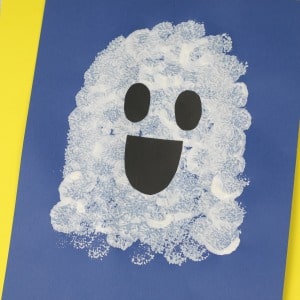
This ghost craft has to be one of my absolute favorites and over the years I’ve seen so many copies of it made by kids, it’s just a really easy craft to make and super effective!
Using pom poms to paint with is really good fun and gives it that slightly see through quality that’s perfect for this time of the year.
Finally we have loads of free Halloween printables with lots of quick prep activities to help this make your best Halloween yet!
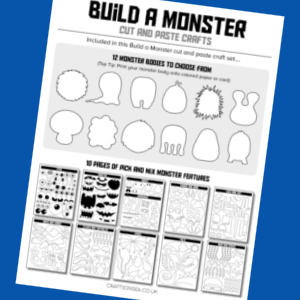
This build a monster craft has 22 pages that you can download with loads of body shapes, eyes, noses, wings and tails so you can create a bunch of spooky and funny creatures.
Equipment
- Glue
- Black marker pen
- Colored pen for the web
- Scissors
Materials
- Tissue paper black
- Colored card for background
- Black cardstock or paper
- White scrap paper or card
Instructions
- Draw a web shape onto colored card.

- Cut out eight strips from black card or paper.
- Make a circle on the web using glue.
- Stick the eight strips onto the edges of the circle to make the spiders legs.
- Scrunch up black tissue paper and stick it onto the glue circle.
- Cut white circles from white card or paper and draw black dots on them to make the spiders eyes.
- Stick the spiders eyes onto its body.
Just want to thank you for all the free downloads of your craft templates.
It’s absolutely my pleasure and I’m so glad you find them helpful x