This shop has been compensated by Collective Bias, Inc. and its advertiser. All opinions are mine alone. #CollectiveBias #BizDevUK16
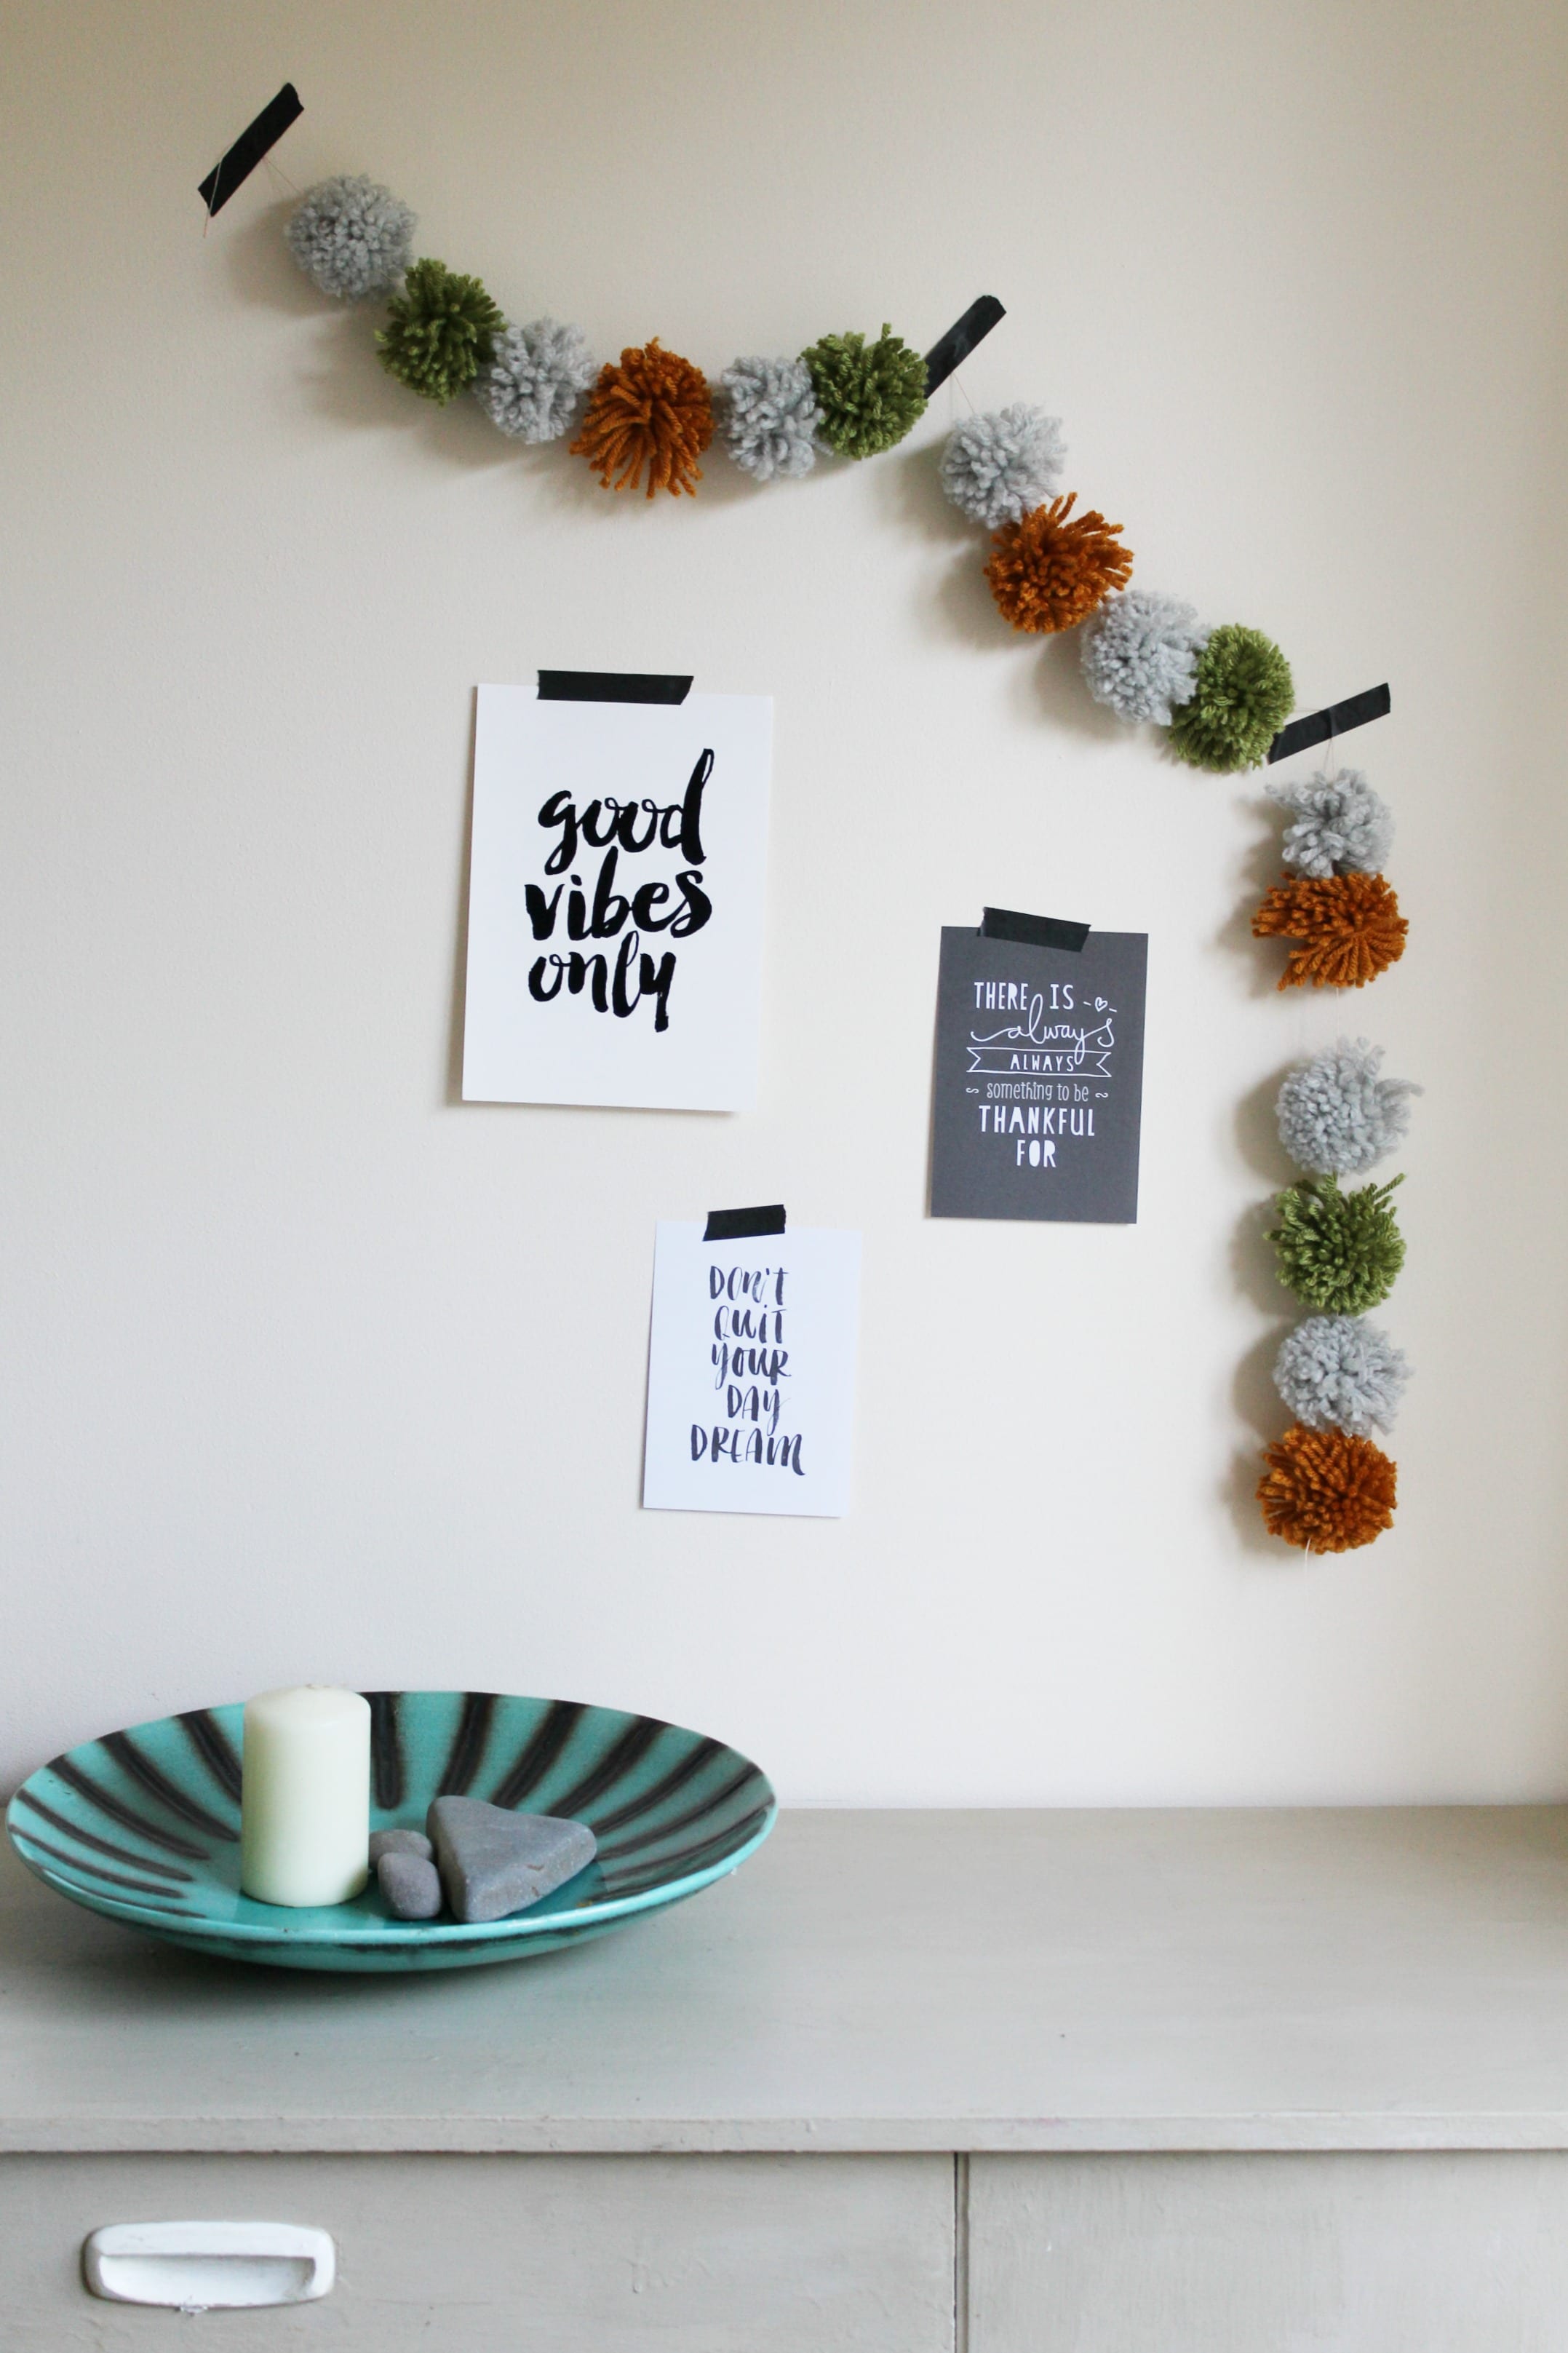
Three months ago we moved house from Essex to Cornwall, I absolutely love it but…we’re renting at the moment. Now that’s not to say that renting is a bad thing and I’m not one of those people who thinks renting is money down the drain either (hello – we have a nice house in Cornwall!) but the thing that I am struggling with is decorating. I find it really hard to personalise our space when I can’t do anything that will leave a permanent mark. I’ve been really wanting to spruce up my work area a bit so I made a few little changes including this super cute DIY pom pom garland which I’m sharing the tutorial for today.
I really remember making pom poms in my childhood using two circles of cardboard from a cereal packet and I used to love it. Also it kinda took forever though, which is less than awesome when you have quite a few to make. I bought a Wo Wo Loom pom pom maker from Coastal Yarns which massively speeded up the process with each pom pom only taking a couple of minutes to make. The pom pom makers are located next to the door and the staff were great at helping me find it and explain how to use it too.
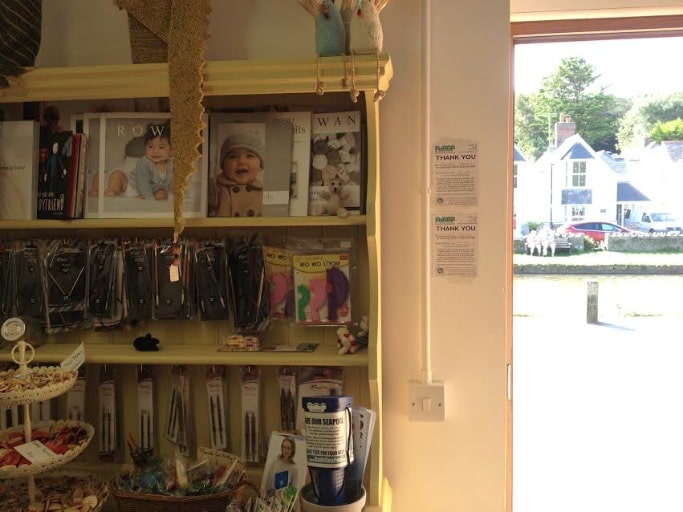
I’ve seen a few pom pom makers that are more expensive (ok, I nearly had a heart attack at the price) but these x x ones were £2.99 for three different sizes which makes it much more justifiable to buy.
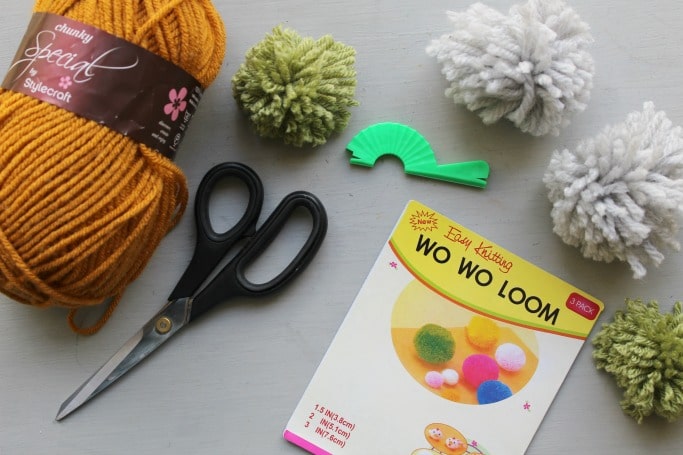
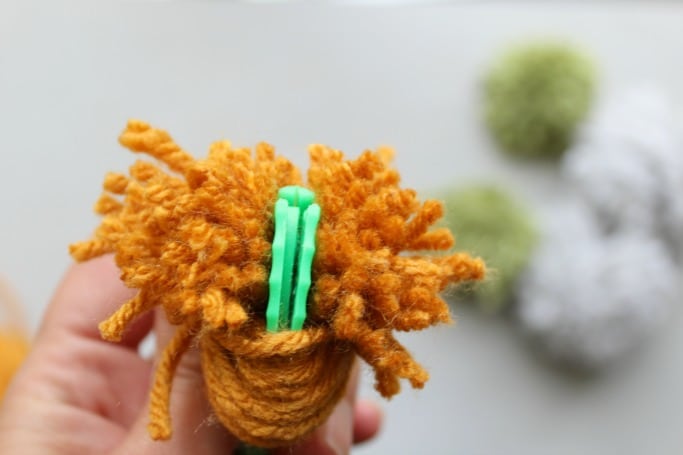
To make your garland first wrap your wool around the pom pom maker following the instructions on the packet.
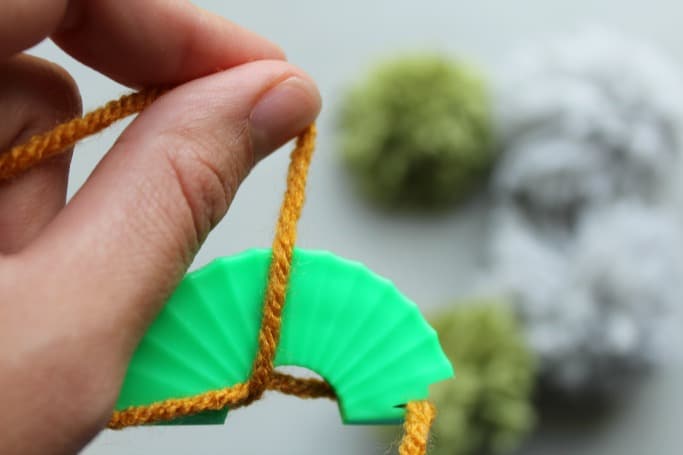
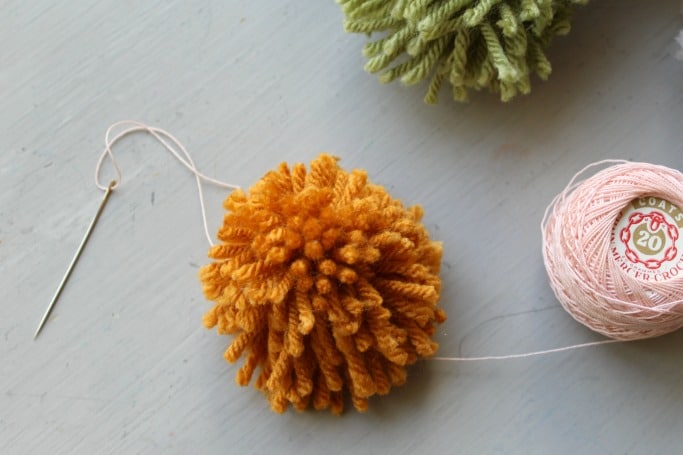
Then you snip along the round side, tying the two long ends in a double knot to make a fluffy pom pom. Make sure you trim off any excess to get a cute round shape that’s not straggly.
Once you have your pom poms, use a needle and thick cotton to ‘sew’ through the middle of each one to attach them to your garland.
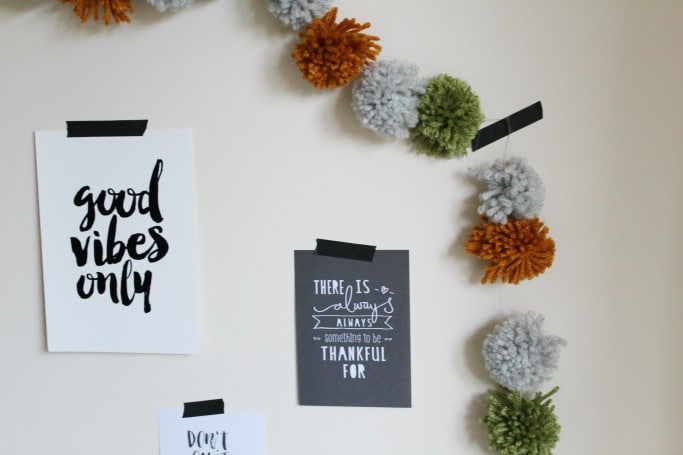
You can now attach your garland to your wall using washi tape. My experience is that washi is an awful lot less likely to remove any paint from your walls than sellotape is but to be extra safe you can always try it out in an inconspicuous place or I often put the washi tape on my hand before I put it on the wall to remove some of the stickiness.
Both my husband and I work from home writing. This is a lot less glamour than it sounds as he writes on an old garden table in our walk in wardrobe and I have the dining table downstairs, this means that my work space also has to be acceptable as a dining table and our crafting area for the kids too! I’ve put all our craft supplies away in this cupboard that we painted a few years ago and have put my pom pom garland above it along with a couple of cute motivational prints to keep me going when I’m on a tight deadline!
I love how this space has gone from drab to cute and inspirational without me having to do anything permanent to it – if you’ve managed to decorate your home without making any permanent changes to it drop me your hints below as I’d love to hear them!
We love making pom pom ad pom pom garlands. I find it really relaxing. It is a great way of using up scrap yarn
Haha! I’m sorry, I couldn’t help but laugh at the image of your husband working away in the wardrobe! The pom poms are lovely too 🙂
Such a great way of brightening up an area. I have one of those pom pom makers but still haven’t gotten around to using it.
what a great idea. I’ve been looking at coloured lights to string around my desk, but considering I probably wouldn’t even turn them on, I think that these pom poms are a much better idea – now to find some perfect coloured wool!
Ahhh my eldest and I still make pompoms the old fashioned way with the pieces of cardboard!