I have had so much fun this week making these two crafts to share! I’ve been working with SelfPackaging to share a couple of the fun cardboard decorations that they make and these DIY cardboard cactuses and cardboard letters have been so good to sit down and enjoy crafting! They’re now all making my home look more cheerful and they’re so easy to make I’m going to share how you can create them too! (Make sure you check out the letters too – perfect for kids bedrooms!)
RELATED – Mosaic Cactus Craft
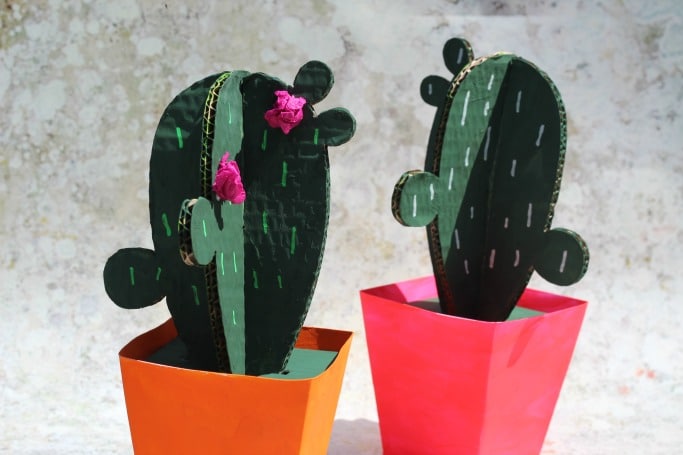
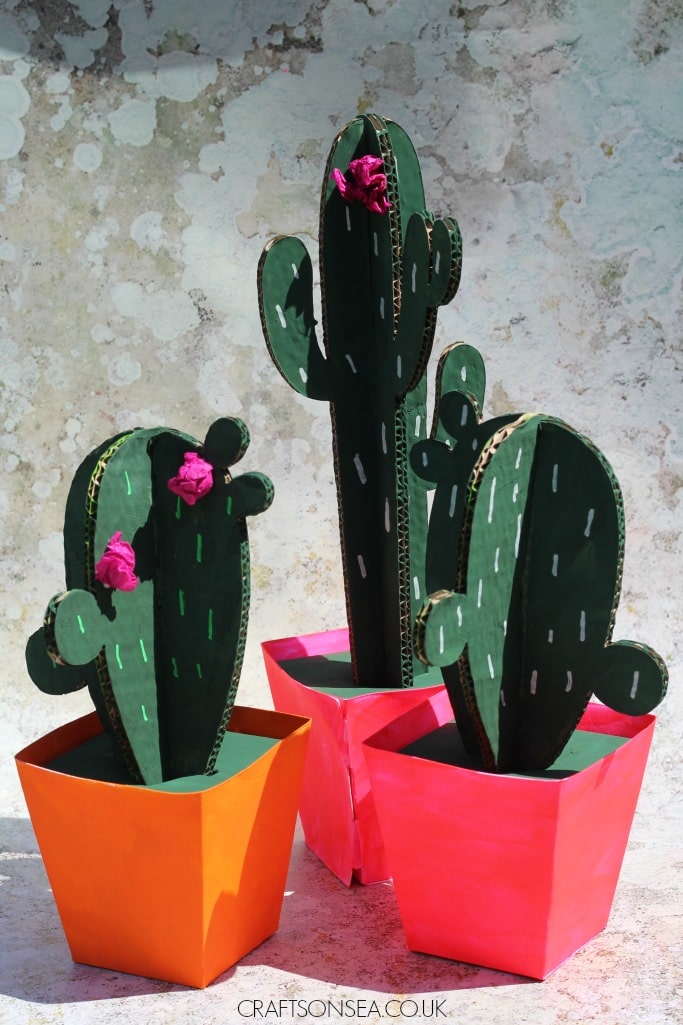
DIY Cardboard Cactus:
To make these cute cardboard cactus’s I used the cardboard cactus with a pot kit and tall cardboard cactus with a pot kits from selfpackaging.com. You can buy them with the pots already coloured but I think it’s quite nice to be able to do them yourself, or of course it’s great for kids who could create a design for their pots.
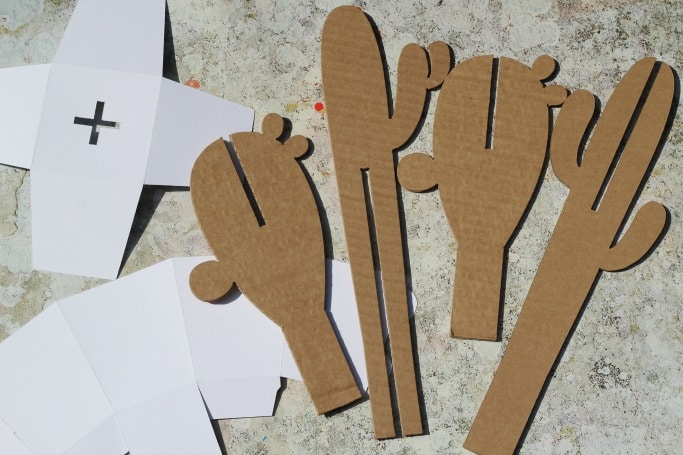 I went for bright orange and pink for my pots because I think they look quite summery and mexican, they’re a great way to cheer up your house too! All the pieces are made from pieces of cardboard and don’t require glue at all, simply paint your cactus and pot and when they are dry the pot folds together with tabs to keep it in place and the cactus slots together and is then held in place by a x shaped hole in the middle of your plant pot. If you fancy doing this craft with kids then this would be a great activity for playdates but it’s really nice as a grown up craft too!
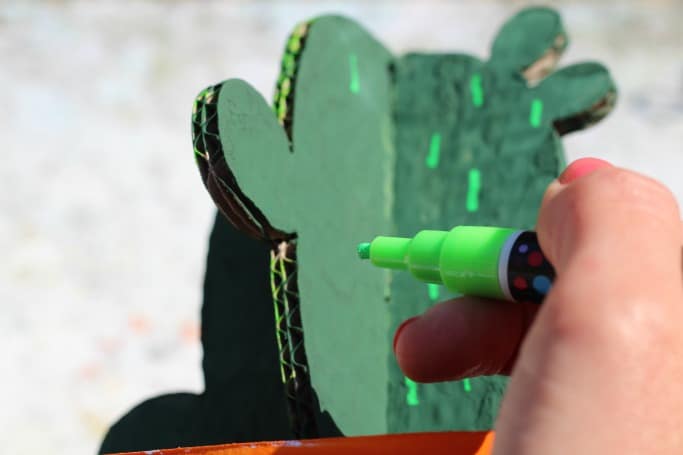
Once all the paint was dry I used white and bright green chalk paints to add some detail to the cactuses – these work better than normal pens on paint and the colours really pop.
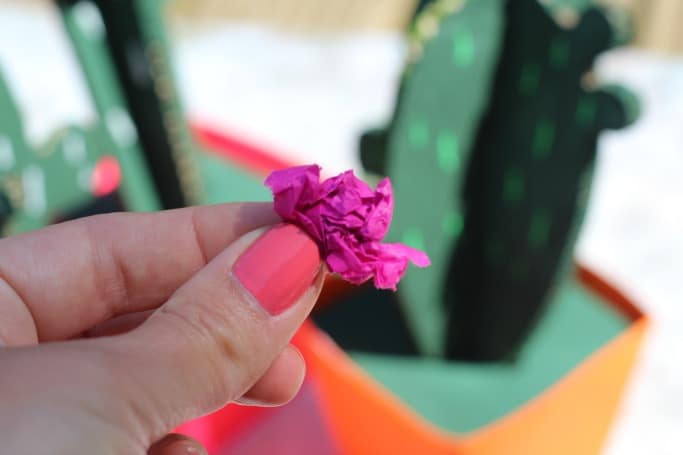
Finally the pink flowers are made with scrunched up pink tissue paper that I’ve stuck on with white glue.
Want to make sure that you don’t forget either of these crafts? Make sure you bookmark this page or pin an image so you don’t forget to make them!
Cardboard Letters:
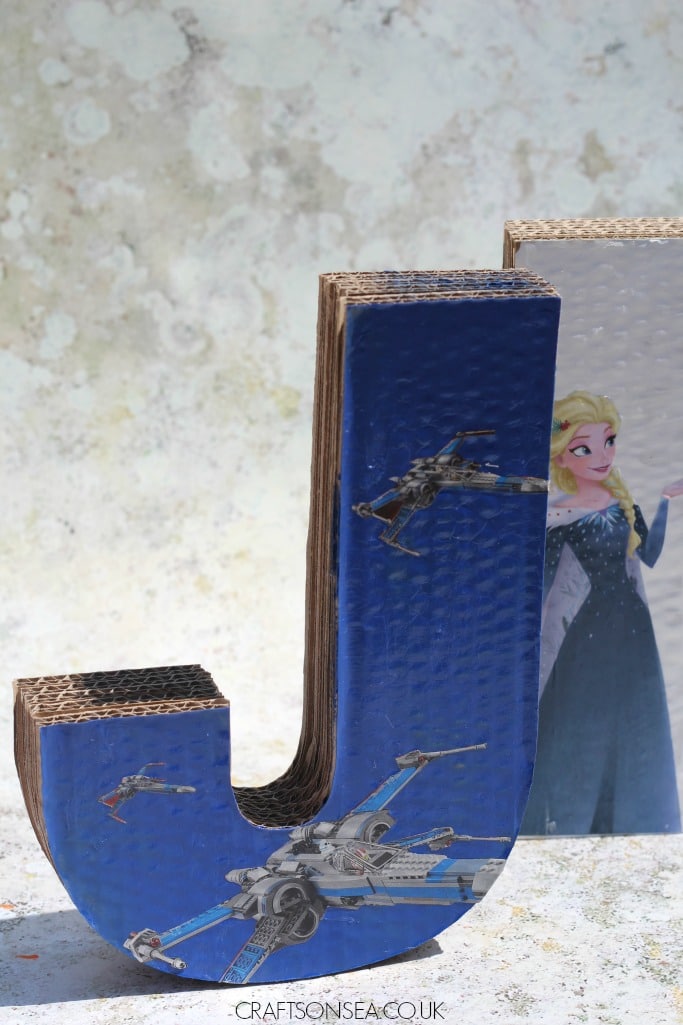
I love these fun cardboard letters as they’re such a fun and cheap way to personalise your kids room (or anywhere else you fancy!). The letters themselves arrive as a few pieces of cardboard but these are really easy to glue together and a white glue bottle is included.

Once your letters are securely stuck together you’re free to decorate! I painted both letters first to fit the colour schemes we have at home – blue and white. I’ve then decoupaged some pictures on from my kids’s favourite comics using some mod-podge. To do this just cut the picture out you want to use and stick it onto your letter using the mod-podge and then do another layer on the top across the whole of the letter to secure your pictures in place.
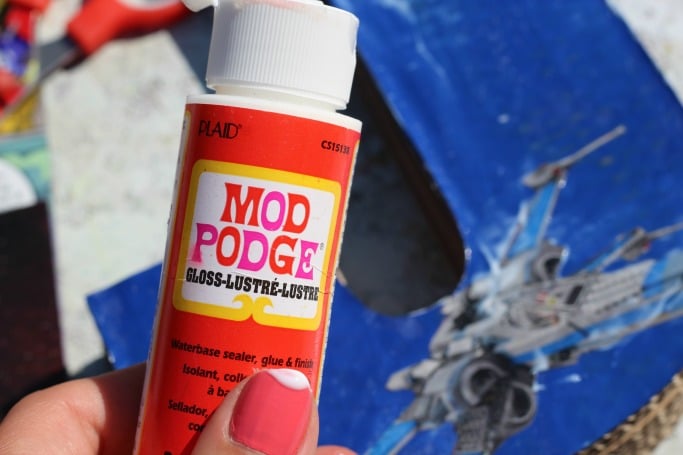
The mod-podge itself it white but it dries to clear really quickly. Once your letters are dry they are ready to decorate your home with.
How would your kids want their cardboard letters decorated?
Sponsored Post
I LOVE the cacti!! They’re so cool 🙂 I run a brownie group and they’d love these, I’ll be pinning for later!
Totally loving the cardbox cut out cactus plant, it really does stand out and looks like a fun activity to do with the kids. We would have to give this a go during the half term break