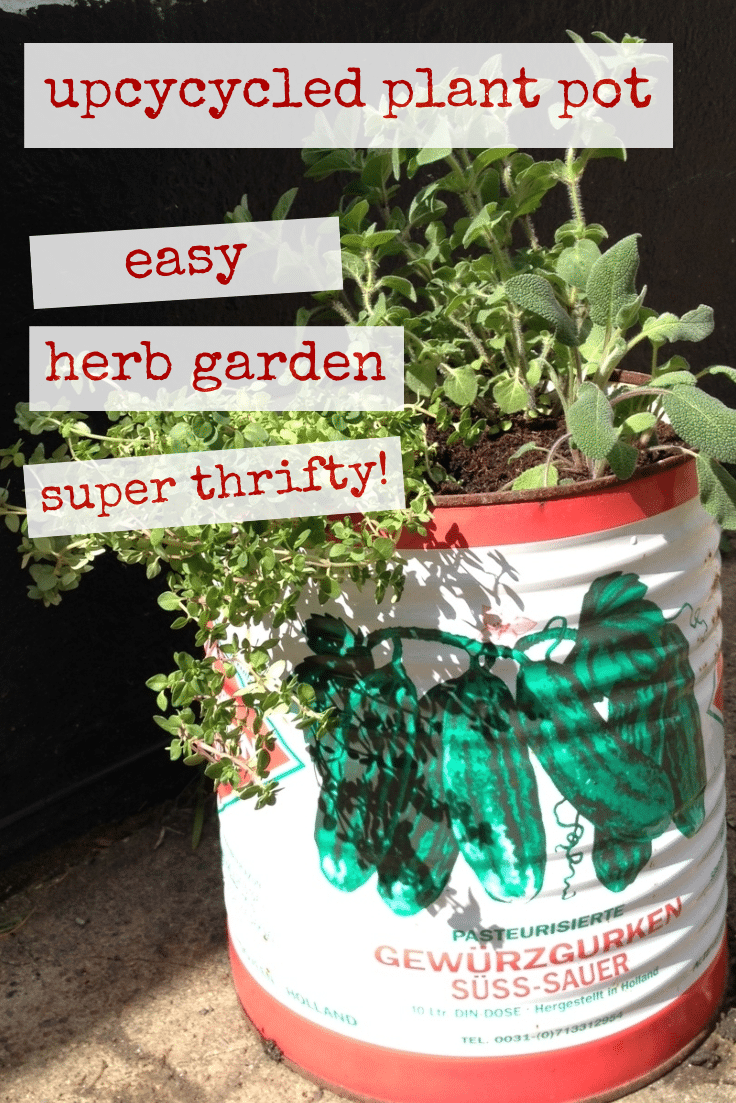
I’m a big fan of using stuff that we already own rather than buying new things. This plant pot was bought at the WI for the grand total of one pound and I fell in love with it. My husband, naturally, was horrified so I decided to turn it into an upcycled plant pot. This meant that my son and I could happily spend the afternoon planting a new herb garden, result.
How to make an upcycled plant pot
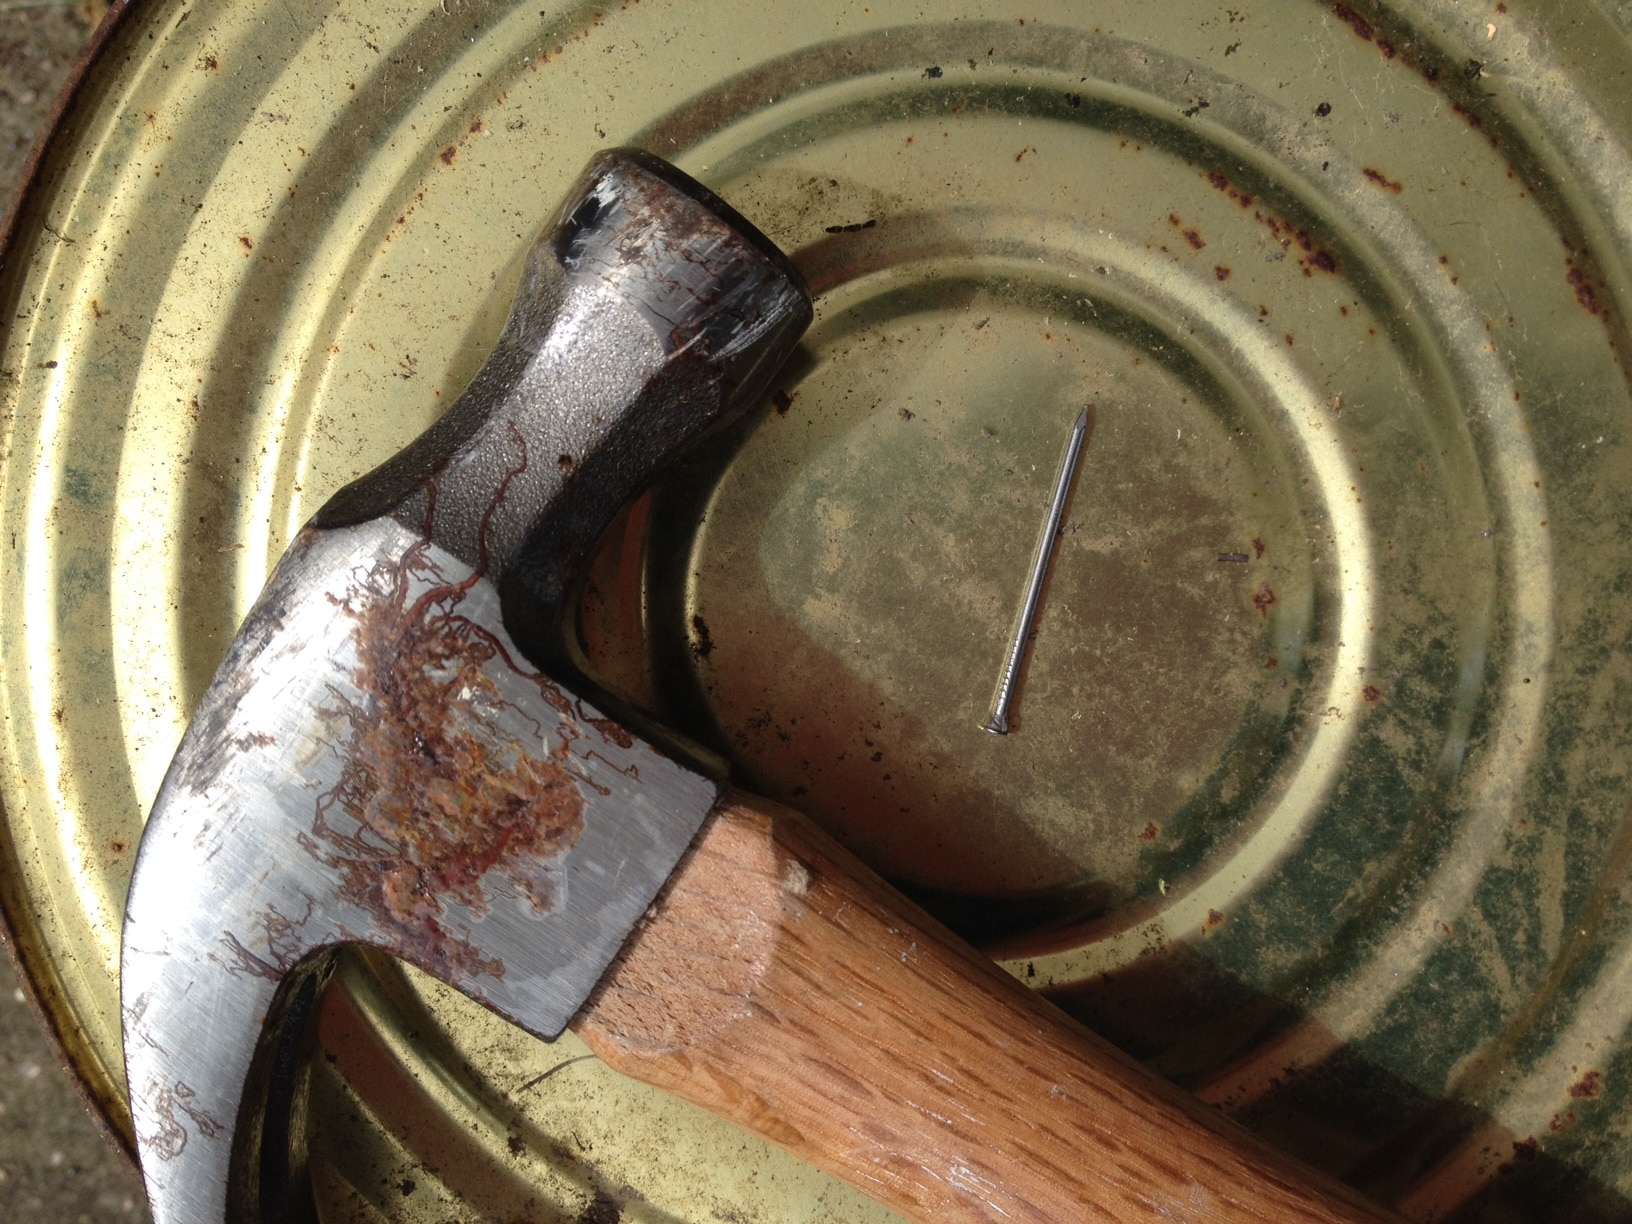
First I cleaned my canister up a bit as it had been sat outside for a while and was looking a little worse for wear! I then turned it over and made some holes for drainage in the bottom using a hammer and nail. I wasn’t sure if these would be big enough (you can use a drill) but I’ve checked with my Officially Qualified In Gardening Step Mum and she says it will be fine, it just won’t need as much watering as normal (bonus!)
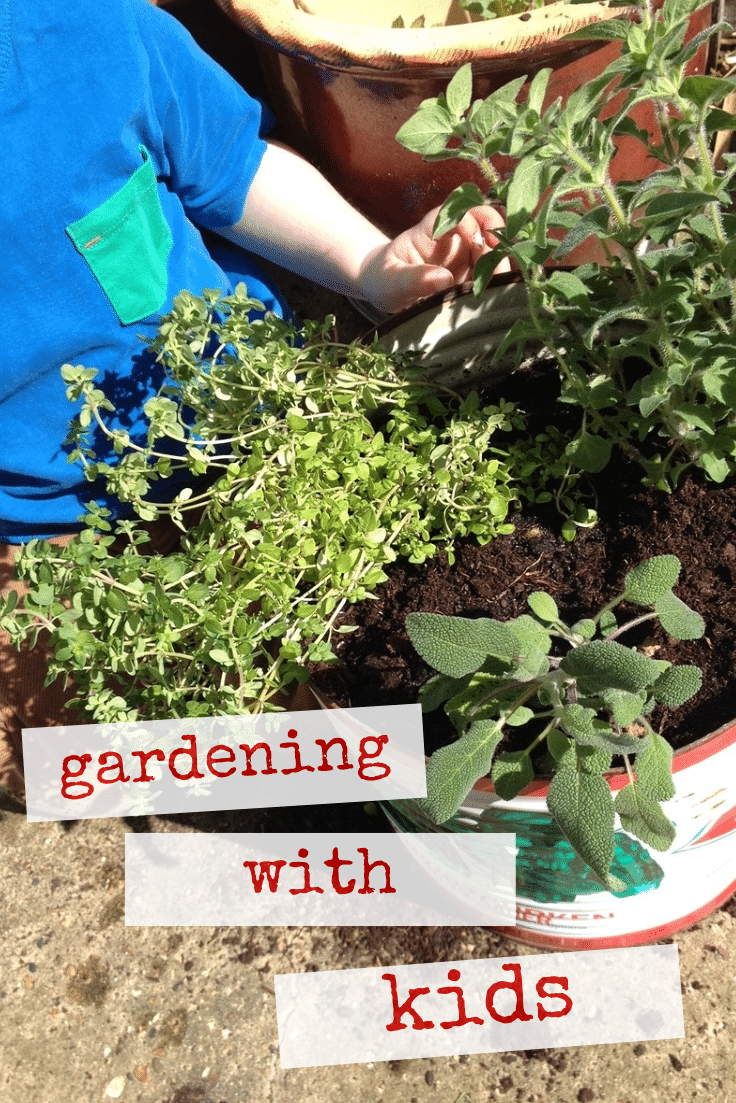
With my sons help I filled the bottom with some rocks and stuff and then filled with compost and added my plants.
I’m really pleased with the way my little upcycled plant pot looks and I’m looking forward to having more easy access to fresh herbs at meal times too.
What upcycling projects have you done? And are you busy in the garden too?
This looks amazing! Our herbs have died a death over the winter so I really need to sort out some new planting – will be keeping an eye out for a fancy container…
Love it!
Hahaha….we never get to have any time to do anything by ourselves. Bless em…..like blooming limpets 😉
I know! Always got someone small attached to my leg these days 😉
Pinned! I am loving your new big Pinterest images btw 😀 I wish I was better at gardening, It’s one of these things that I would love to do but feel like I never know where to start
Thank you! Fancy new big pictures tutorial to follow!!!
I would so have brought that tin as well – I think I need to visit more junk sales :D. Loving the pots I’ve been using an old laundry sink for the kids salad bed the last couple of years (must write that one up!) brilliant for growing lettuce and other salad leaves that don’t need too deep a root – it’s a shallow sink
Oh I love the idea of using a sink!!
That looks lovely. We love a good gardening project
Aaah you’ve inspired me! We have an old plastic bin, which I’ve been meaning to upcycle….I’ll let you know when I’ve turned it into a fancy plant container! I love the design on your tin….
Yeah! Send me the pictures, that’d be great 🙂
that looks brilliant, what a great idea! bet you had great fun putting it together too, lovely! #weekendbloghop
Gorgeous container and I love what you did with it with your “trusty assistant”. I remember that stage when they were clinging to my legs but it is well past now. It goes by so quickly, make the most of it. They only cling to their ipods and ipads now 🙂
I love the painted tin, it’s a shame they usually have paper labels on them.
Such a brilliant idea! I love your comment about your husband and your blog. Did make me chuckle!
Thank you for linking up with the #WeekendBlogHop
Laura x x x
I love that you up cycled for this project. This is something I am just starting to do and am very excited to make things more useful and pretty. Thanks for some inspirations.
It looks lovely. Pinning for some garden inspiration! #tuesdaytutorials
Thank you 🙂
Love this! Always feels like a bit of a coup when you get to upcycle something and turn it into something new and awesome doesn’t it!
Thanks for linking up with #WeekendBlogHop