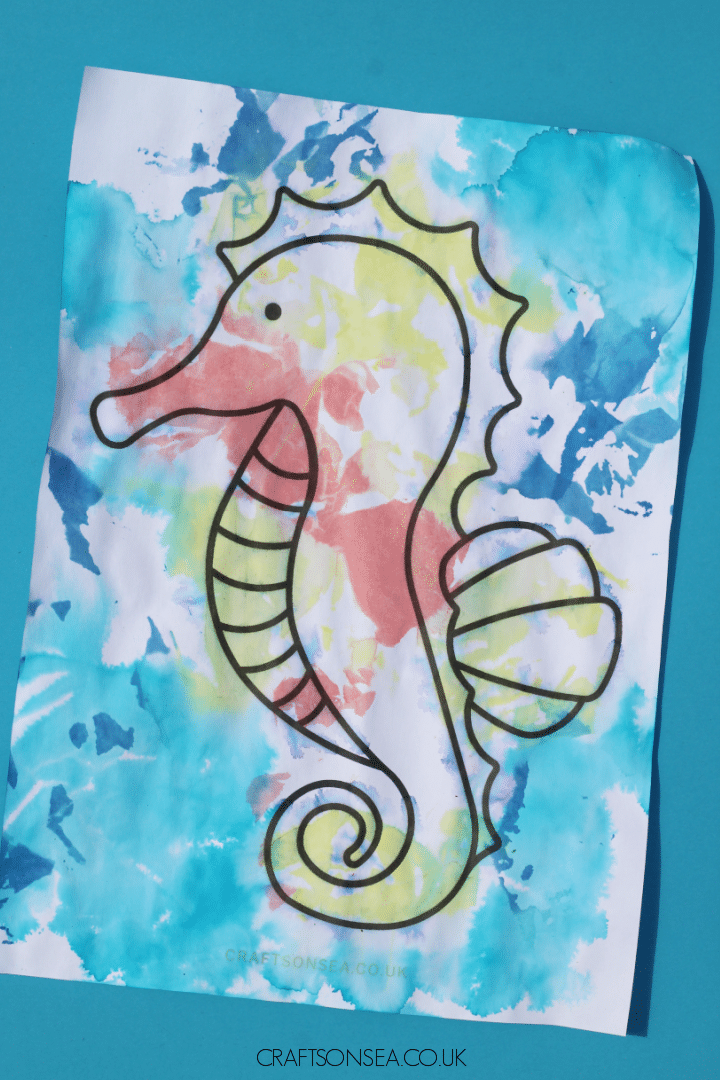
I love how this cute tissue paper seahorse craft turned out and I’m sure you will too! This craft uses our printable template to help you prepare you activity and decorates it using bleeding tissue paper.
If you haven’t tried bleeding tissue before it’s great fun and makes a great alternative to the normal paints and colouring pens.
I’ll be sharing all my tips in this post to make it as easy for you as possible to make this cute under the sea craft as well as some alternatives that you might like to try.
We have included affiliate links to some of the products and resources and as an associate we may earn from qualifying purchases.
What You'll Find on This Page
What Is Bleeding Tissue Paper?
Bleeding tissue paper is where you use water to make the ink from tissue paper bleed onto another piece of paper below. It’s a great way to make kids art and a fun alternative to painting. I think it looks a bit like watercolors but obviously these aren’t ones that come out of a pot!
Do I Need To Buy Bleeding Tissue Paper?
You can buy bleeding tissue paper online which looks really effective and the reviews I’ve looked at show that the colours on these bleed fabulously. If I could buy these I would, however living in the UK I haven’t found these available here and I’ve used normal kids crafts tissue paper instead.
This can be a little blotchy (the whole of my paper was covered but not all of it has ink on it) however you can always put more tissue paper on afterwards and wet it again to get more colours.
Whether you choose to buy specific bleeding tissue paper is therefore very much up to you and also depends on what is available in your area.
Seahorse Craft Materials
- Seahorse template printed onto white paper
- Tissue paper
- Spray bottle with water in it
- Table covering
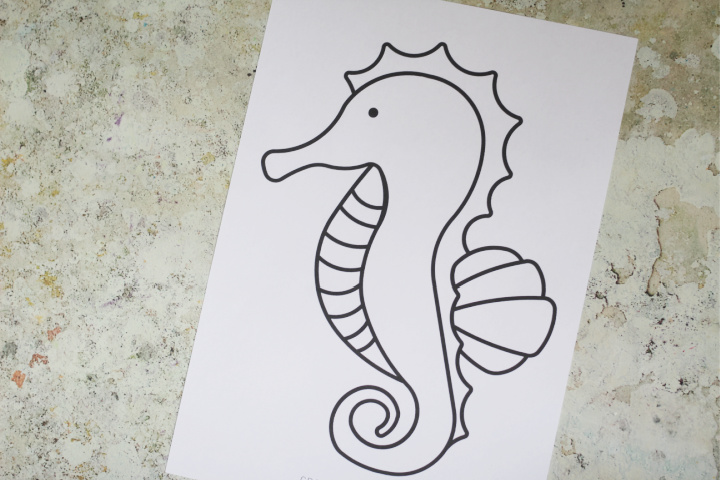
Seahorse Template
While you can of course just draw a seahorse yourself, using our free template makes this activity easy peasy to set up (and seahorses are a bit tricky to draw!)
You can print as many copies of our seahorse template as you like which is helpful if you are making this activity with a group.
How To Make Your Seahorse Craft
Print out your seahorse shape onto white paper and make sure that you place it on something that will protect your table or whatever you are creating your artwork on.
Bleeding tissue is a really fun creative process and makes for a really colorful seahorse craft but the point of it is to ultimately make the ink leak and it’s really easy to stain tables or anything else with this. I would recommend using some a table top cover to make sure that yours is protected.
If you are using large sheets of tissue then tear it into pieces and place it onto your template. If you are using pre-cut squares then just place them on the template without needing to tear them.
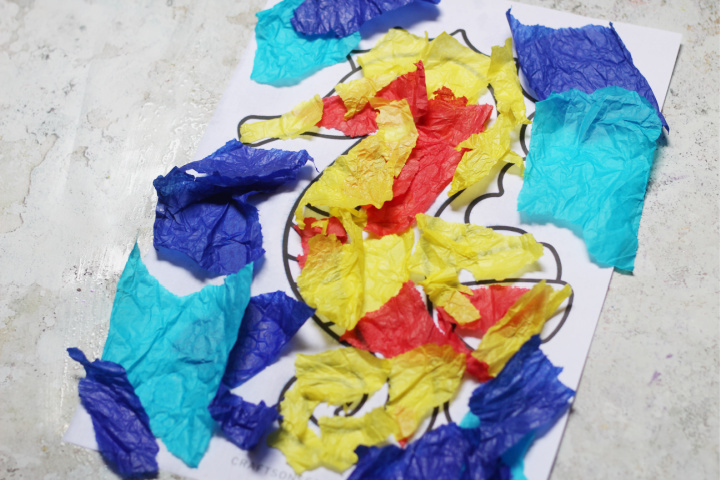
Carefully squirt water from your spray onto the tissue and template. I would add here that the pressure of the water can make the tissue move so again be careful that you have covered all surfaces.
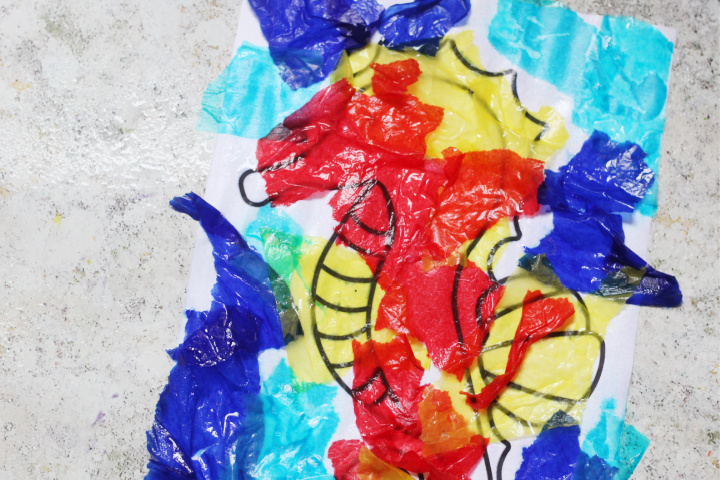
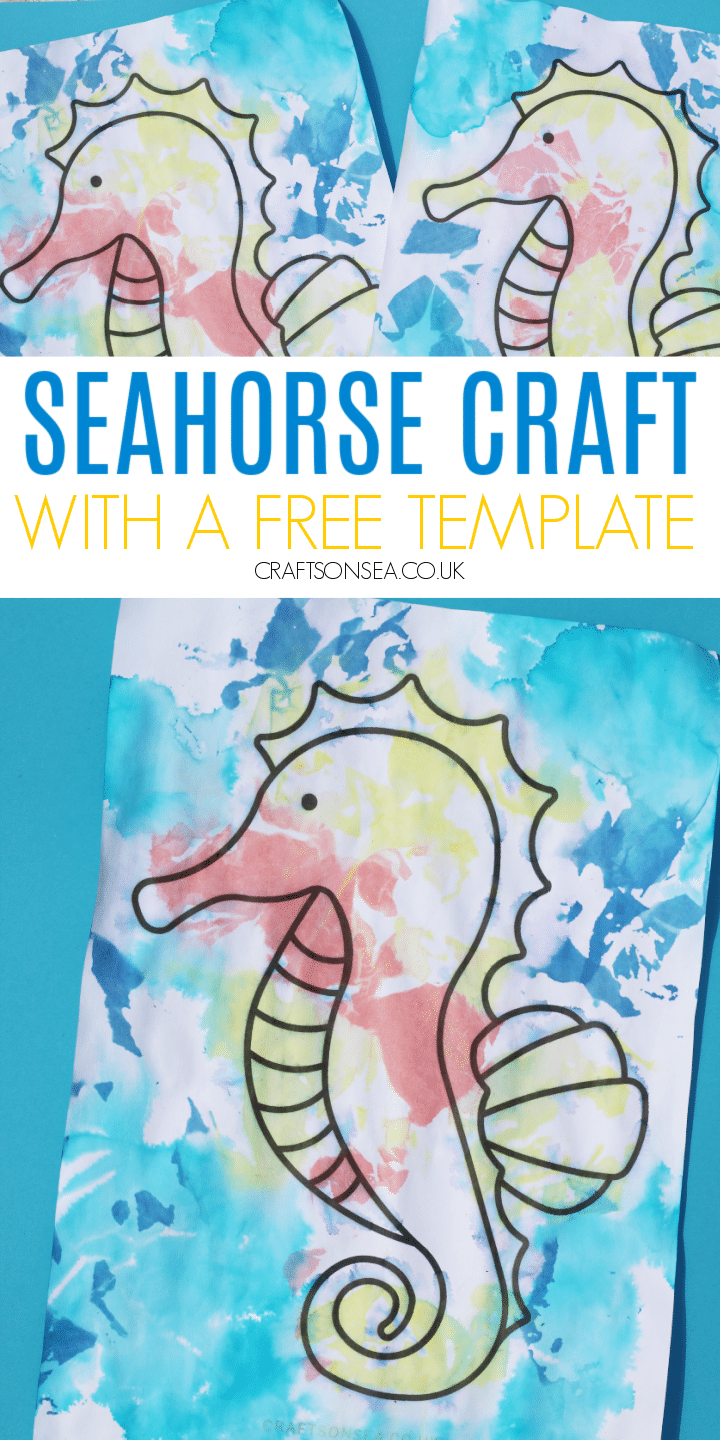
When I was making this craft I tried two separate ways of bleeding the tissue to see if it made any difference, spraying as mentioned above and first spraying the paper and then adding the tissue.
You can see the two different results on this page. To my mind it made little difference either to the end result or to the risk of making a mess but I though that I would mention my results here.
Once your tissue is all wet leave it to dry while the ink leaks out of it. If you are using traditional coloured tissue paper then you can always remove any where the ink has ran and add some more (and more water) if you like.
When it’s all dry, remove all of your tissue paper and your seahorse craft is ready to display.

More Under The Sea Crafts for Kids
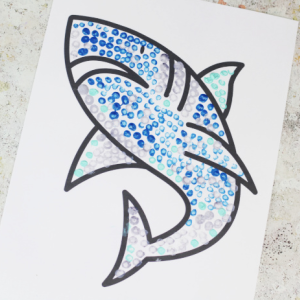
Grab the paints and another of our templates to make this simple shark craft.
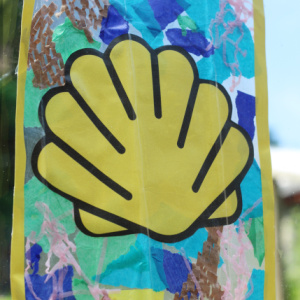
Or why not brighten up one of your windows with this sweet shell suncatcher craft, all you need is our tutorial and our sea shell template.
Great ART activity