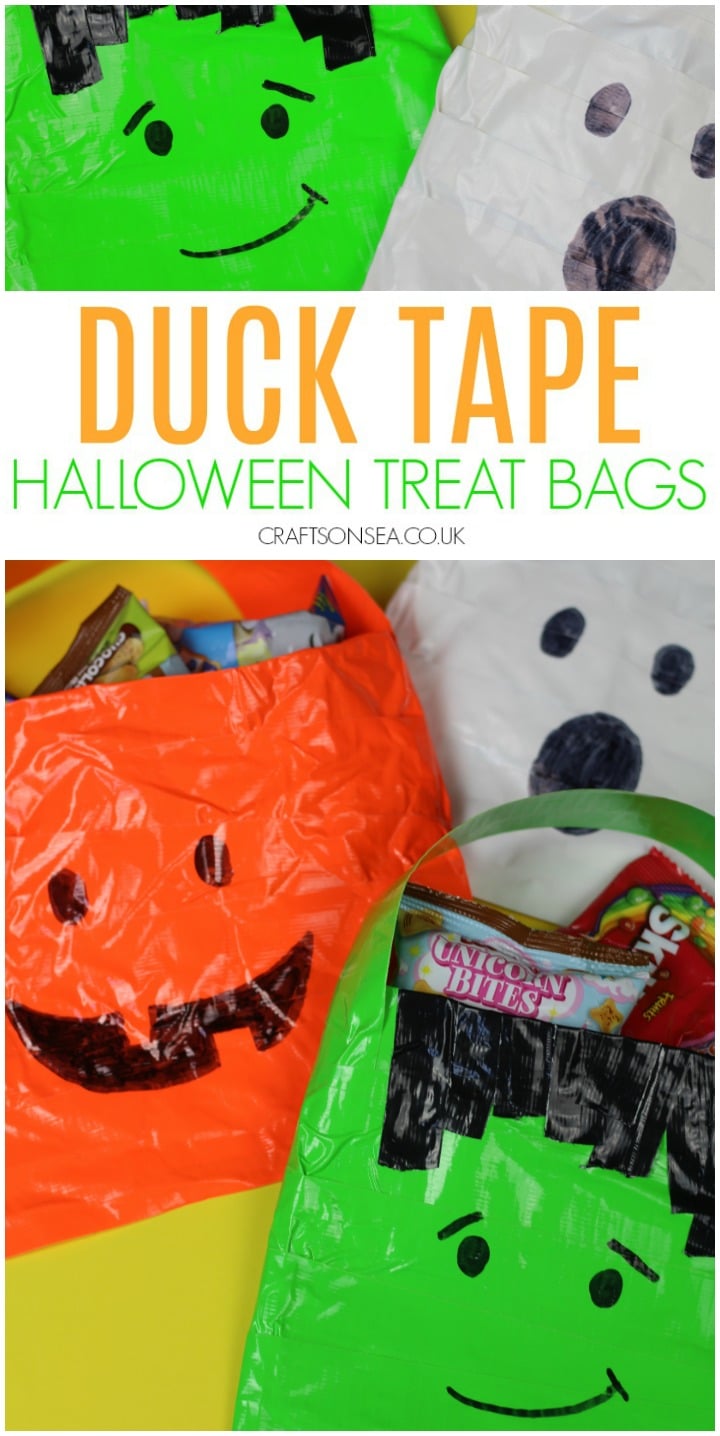
 Advert. I’m really excited to be working with Duck Tape to bring you this sweet Halloween treat bag tutorial! Using Duck Tape you and your kids can make your own bags perfect for taking out trick or treating this Halloween with your own personalised designs. In this tutorial I’ll be sharing how to make the basic treat bag as well as how to personalise it with designs for pumpkins, ghosts and Frankenstein’s Monster.
Like this craft? Make sure that you bookmark this page or pin an image so that you don’t forget about it, you’ll also find more of our favourite Halloween crafts and activities at the end of this post for even for inspiration.
My kids absolutely love Halloween – dressing up and going out in the dark is really fun and they love seeing other kids walking around too and looking at everyone’s outfits. I’m not going to lie though – the sweets are a big aspect of why they love Halloween so much (at least it’s only once a year, eh?!) so getting to make their own treat bags is a good way to help build up the Halloween excitement.
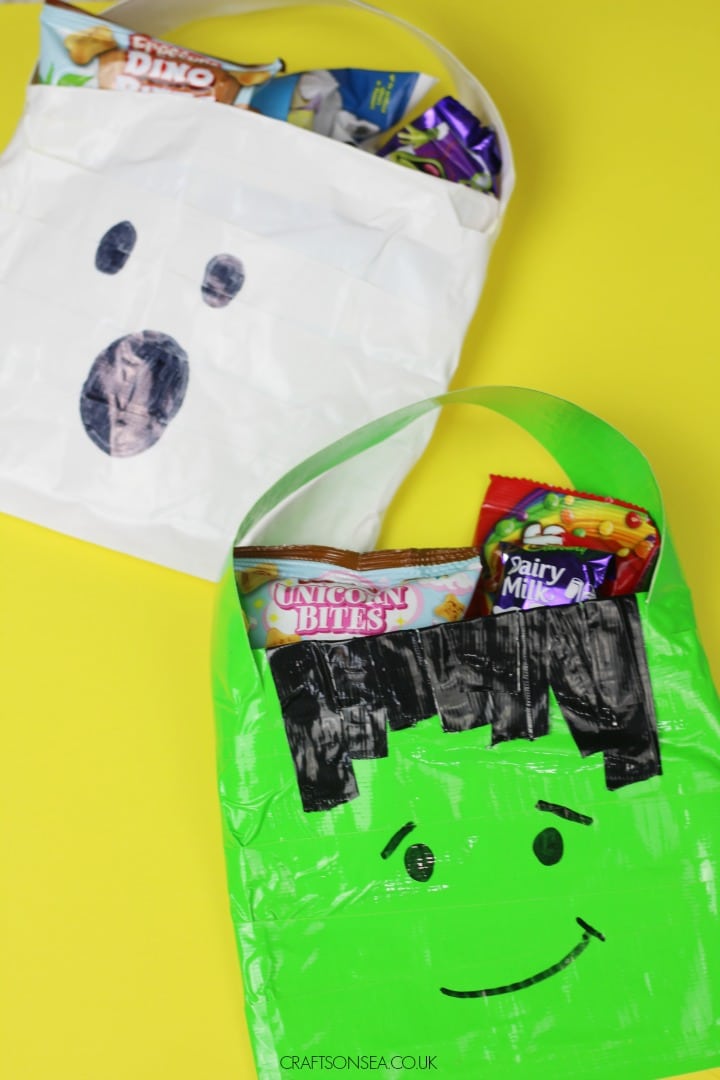
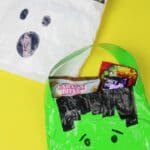
I made these bags using Halloween coloured tapes from Duck Tape in both the normal sized rolls and the smaller Duckings size. For the insides of these bags I’ve used packaging that we weren’t able to recycle – some that I’d received clothes in and some wrappers from multipacks of food. I would recommend only using things that haven’t had food directly in them previously (due to my experiance earlier this week of thinking an old bread bag was clean and then discovering very Halloween looking grimness in it.) Using old bags inside these makes it a lot easier to craft with as you don’t have to worry about your child’s treats getting stick to anything. For this craft I’ve used green Duck Tape for Frankenstein’s monster, white for the ghost and orange for the pumpkin.

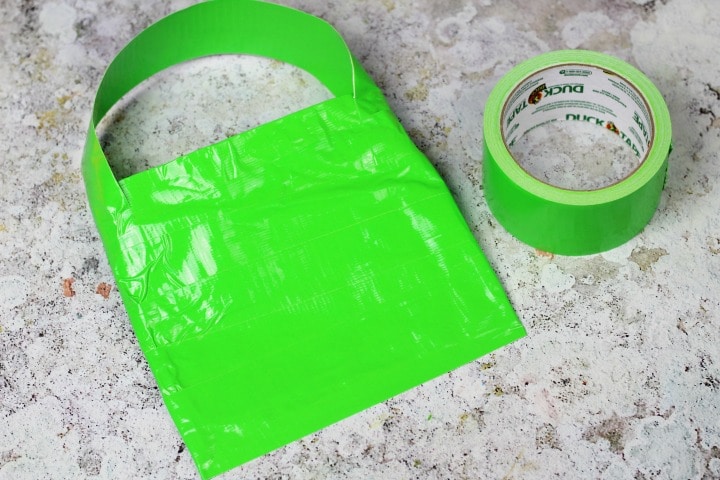
Start by cutting your bag to size – if it looks a bit big you might want to trim off the top. Then take a long piece of Duck Tape and wrap it around the open edge folding some of the Duck Tape over the top to seal it.
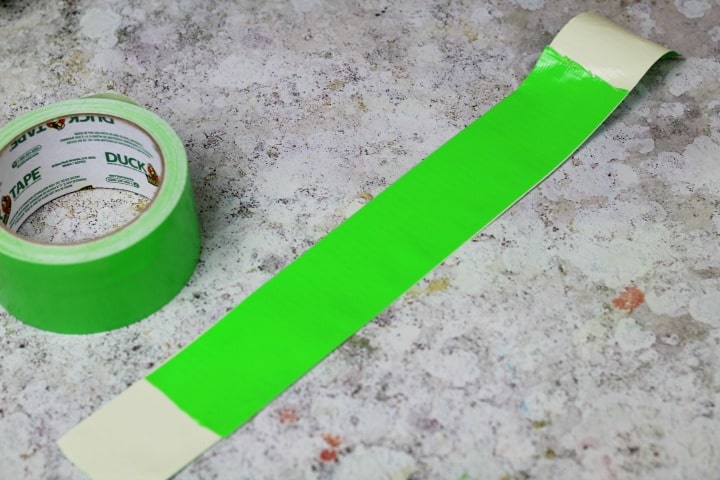
Next cut a long piece of Duck Tape to make a handle. Cut another shorter piece and stick this along the centre of the longer piece so that a sticky part is available at either end.
Stick the handle onto your treat bag using the two sticky ends. You can now wind your Duck Tape around the rest of your treat bag until the whole area is covered.
Once your DIY treat bag is covered it’s time to decorate it! I’ve used a black marker pen to make the eyes and mouth on each bag and the hair for Frankenstein’s monster is made using black Ducklings tape from Duck Tape which is a much smaller size.
All that’s left to do now is to take them out on our adventures and hope we get to put some treats into them – something I’m sure won’t be an issue!
What You'll Find on This Page
Duck Tape Halloween Treat Bags
Equipment
- Duck tape
- Old plastic bag
- Scissors
Instructions
- Cut your plastic bag to the size you would like your treat bag to be.
- Place a piece of Duck Tape around the top edge of the bag, folding it over to seal the top edge.
- Cut one long piece of Duck Tape to make a handle, then cut a shorter piece.
- Stick the shorter piece along the longer piece to make a handle with a sticky area at each end.
- Place your handle onto the bag with the sticky ends holding it on place.
- Cover the remaining parts of your bag with Duck Tape.
- Use Duck Tape or a marker pen to add in features onto your treat bag.
More Halloween Crafts and Activities
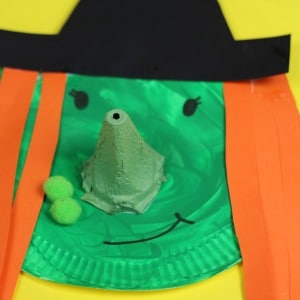
We love this fun paper plate witch craft with her three dimensional nose!
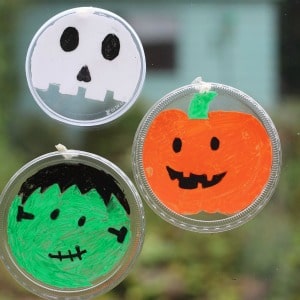
These recycled Halloween suncatchers look great in the sunlight!
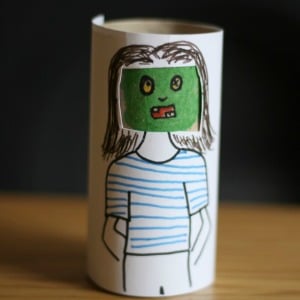
My kids loved making this fun zombie craft using old cardboard tubes.
Leave a Reply