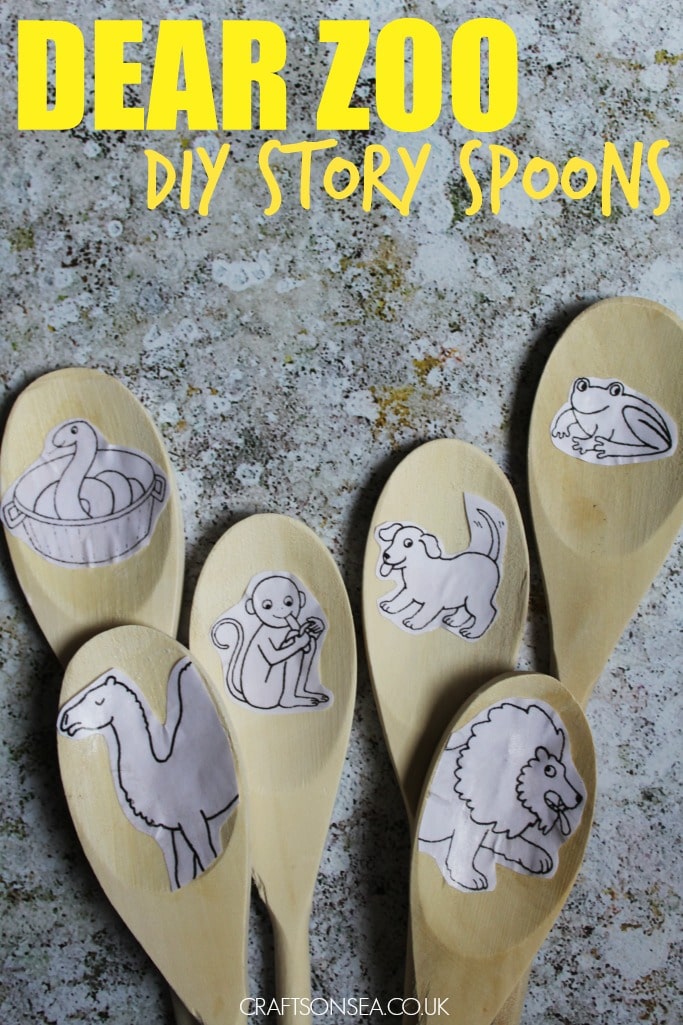
I’ve had a few ideas in my head for the last few weeks of some Dear Zoo activities and crafts but due to some issues with printers and *ahem* the kids using up every craft supply we own they just didn’t happen. I’m very excited therefore to finally be able to share with you these Dear Zoo story spoons. They’re easy enough for kids to make but they’re also simple enough for adults to create as a simple accompaniment to storytelling.
This post contains affiliate links
What You'll Find on This Page
Supplies for your Dear Zoo story spoons
Scissors

Dear Zoo Activities: How to make your story spoons
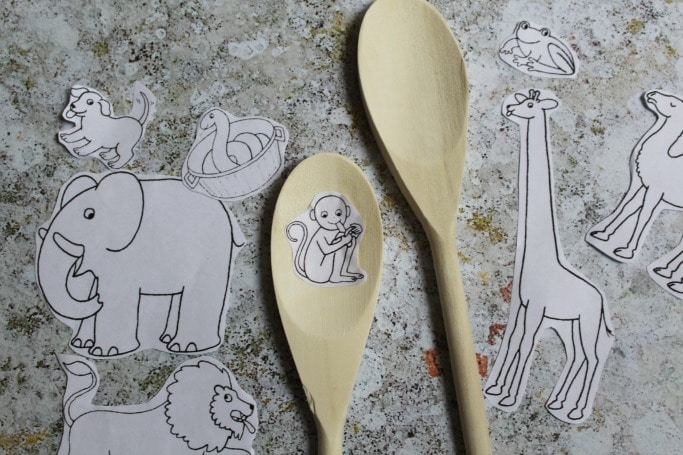
The first thing you need is to print off this colouring sheet from the Dear Zoo and Friends website, there’s lots of Dear Zoo activities on there too so it’s worth having a browse around it. Cut out all of the animals, at this point you could colour in the animals but I decided that my colouring looked a bit naff – the kids having used all the decent felt tips we owned and left me with the less than awesome ones.
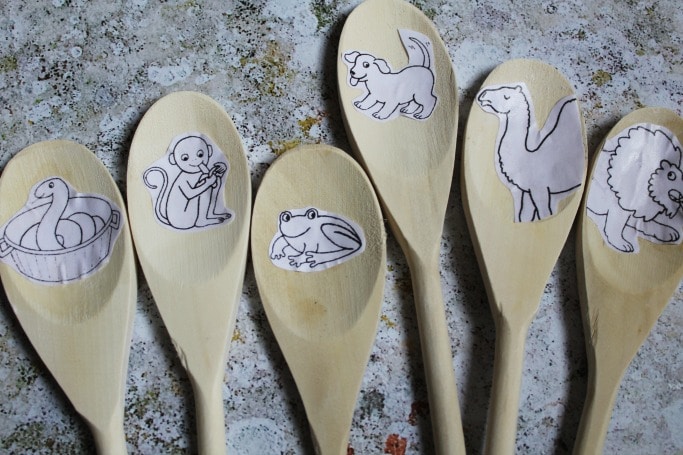
Once you’ve done this use Mod Podge glue to stick your Dear Zoo animals to your wooden spoons. I prefer Mod Podge to normal PVA glue for things like this because I find Mod Podge is better if you also want to do a layer of glue over the top to seal them – this particularly helps with the larger animals which get stuck over a larger and therefore rounder area. Where the animal was bigger than the spoon just press your cut out animal shape against the spoon so you get a line showing you where to cut for it to fit nicely.
Once your Dear Zoo story spoons are dry you are free to go and play with them. I find that my kids enjoy using them as a way to re-tell the story themselves but I’ve also seen them used really effectively in Children’s Centres as a way of getting larger groups of children involved in telling a story.
You may also like:
More activities for kids books
Supertato activities and crafts
A Squash and a Squeeze activities and crafts
The Very Hungry Caterpillar activities and crafts
Leave a Reply