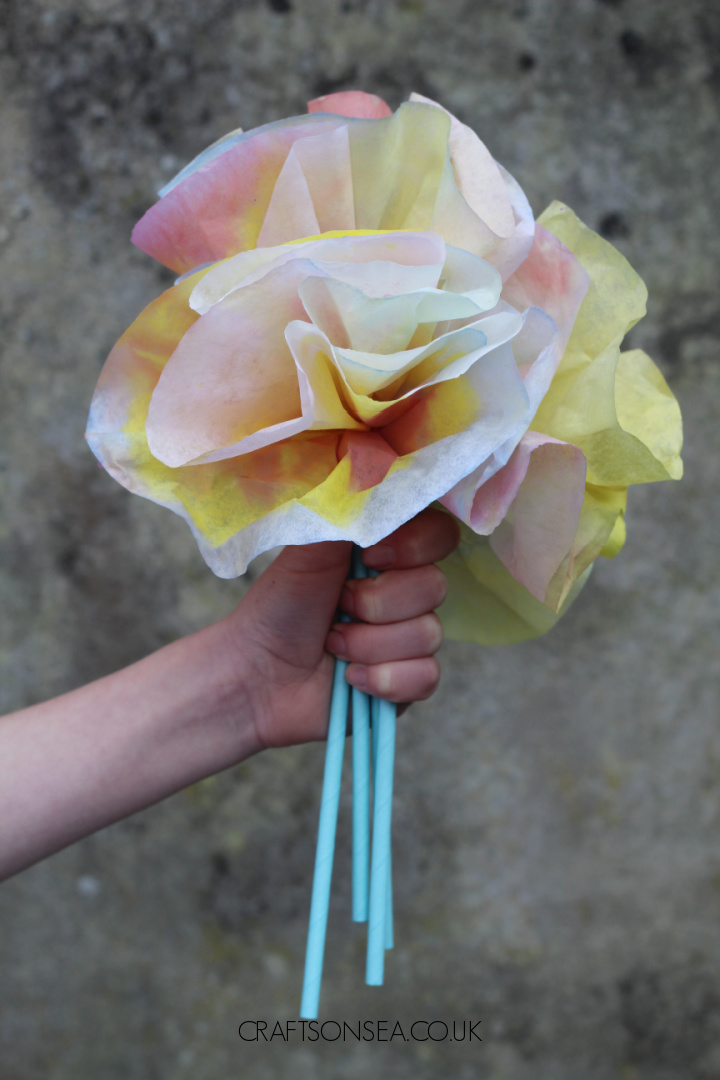
Advert. This coffee filter flower craft is so simple to make and so cheerful too, perfect as a Mother’s Day gift or just for brightening up a room. The colours are perfect for spring!
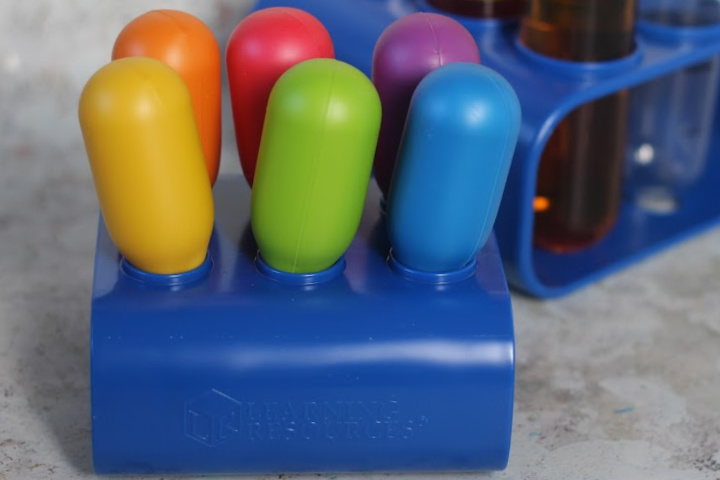
We used the jumbo test tubes and eye droppers from Learning Resources with this activity, the pipettes are great for helping kids develop fine motor skills and both them and the test tubes are really durable so you can use them for science activities with your child as well as art ideas like this.
What You'll Find on This Page
Coffee Filter Flower Craft
These coffee filter flowers are super easy to create with a bit of help from a grown up. The chunky materials mean that younger children can get involved and I think that the finished craft would make a super sweet gift for someone too.
I made these flowers with my daughter and I can honestly say that we had a great time together dying the coffee filters and trying out different ways to paint them – no paintbrush needed here!
We also learnt about colour mixing on the way so it’s a great activity if you want to sneak in a bit of learning in a fun way.
Materials Needed
- Coffee Filters
- Learning Resources Jumbo Eye Droppers
- Learning Resources Jumbo Test Tubes
- Liquid Food Colouring
- Protective Materials – we used a PVC sheet and an old towel
- Tray
- Paper straws
- Sellotape
How Do You Prepare the Ink Colours?
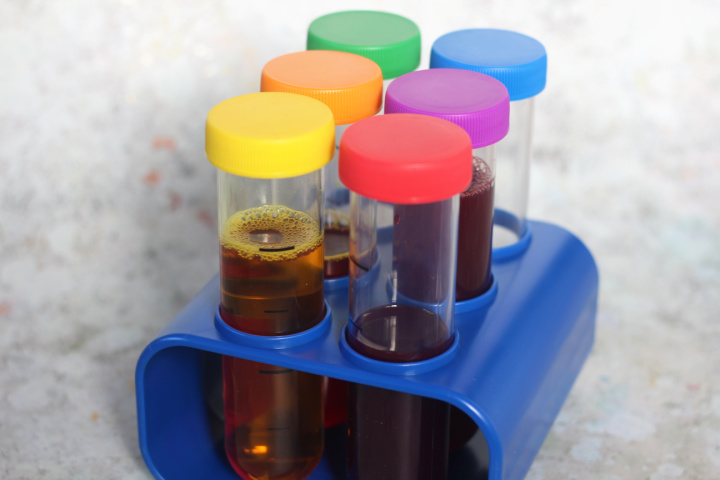
We made our ink colours for this activity using liquid food dye, I liked using these as they’re a material that lots of us already have at home or they’re easy to get hold of in most supermarkets.
To make the coloured in I poured some of the food colouring into our jumbo test tubes and then I topped it up with water.
This was also a really good excuse to discuss colour mixing with my daughter as we didn’t have all the colours we wanted so we tried to make a few in the test tubes by mixing primary colours.
Do be aware that some food dye can stain. To combat this we did our crafting on a plastic tray on top of a wipe clean PVC sheet to protect surfaces. As the dye is obviously a liquid it can and will probably spread when you are using the droppers.
We also used an old towel to put our coffee filters on as they dried.
How To Make DIY Coffee Filter Flowers
Prepare Your Space
Before you start make sure that everything is prepared. Make the watercolour ink from food dye in your test tubes and cover your work surface.
I really like the products from Learning Resources because they are so sturdy, great for activities with kids where you don’t want to worry about anything getting broken.
Flatten out your round coffee filters and place them onto a tray, we had a big stack of coffee filters ready so we could make as many of these as we liked.
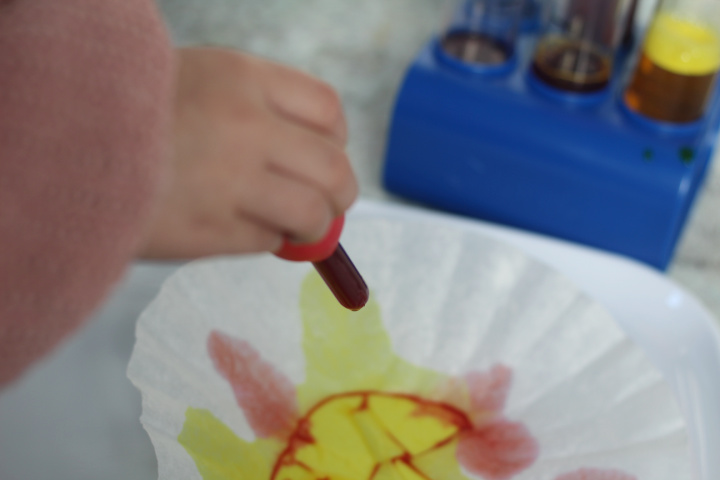
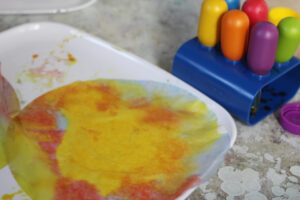
Paint With The Eyedroppers
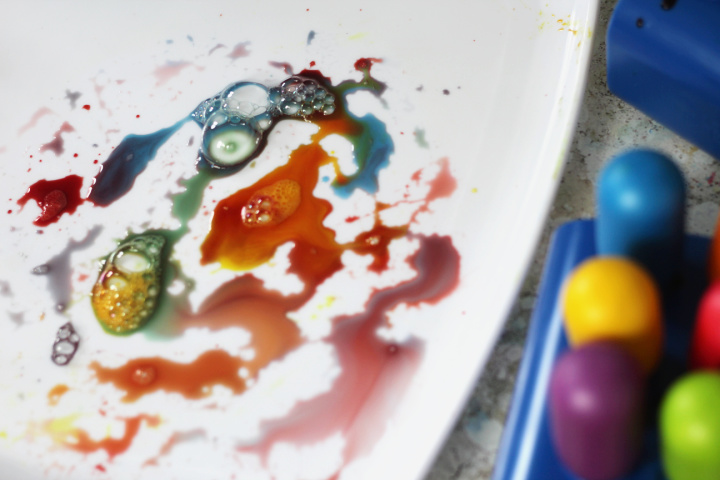
This is obviously the fun bit! Using your eyedroppers get some ink out of the test tubes and drop these onto your coffee filters.
You can go for one colour or mix them together on the filter.
We really enjoyed trying to get a few colours onto each coffee filter and trying out different ways to do this, from just squishing the whole of the coloured water from the eyedropper onto the filter to adding a few drops of food colouring at a time and seeing how they mixed.
After we decorated a few of the coffee filters we also decided to put some of our coloured water onto the tray itself and then place the coffee filter on top of the water.
This gave us a really good way to practice mixing colours as well as we mixed yellow and blue together to make green and blue and red together to make purple.
This was a really good hands on way to help my daughter learn about this as when we started the activity she was a bit unsure about how to make secondary colours but by the time we finished she was really confident in doing this and really enjoying it too – she made loads until we ran out of room to dry them!
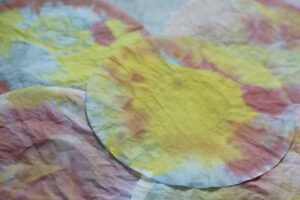
Once you have finished decorating your coloured coffee filters put them onto your old towel to dry. We found that our coffee filters dried really quickly with the first ones we made being dry before we finished decorating the final ones.
Making the Flowers
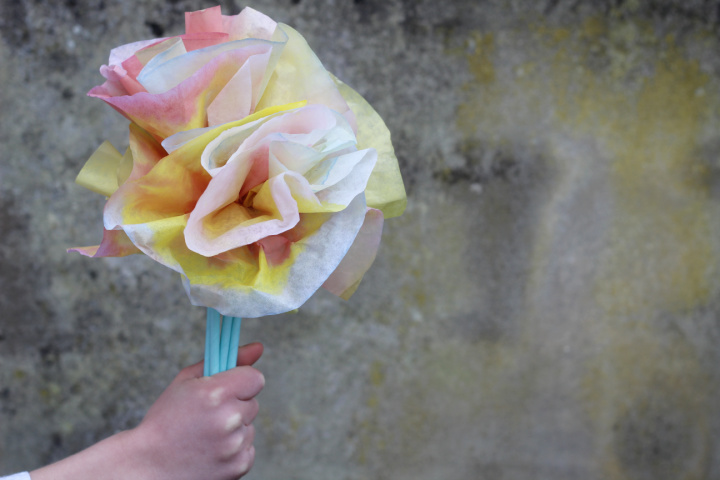
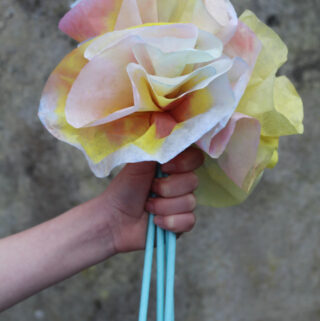
Your final step is to make the stems for your flowers. You can have them as a bunch, as a singular flower or even pop them in a vase once you are done.
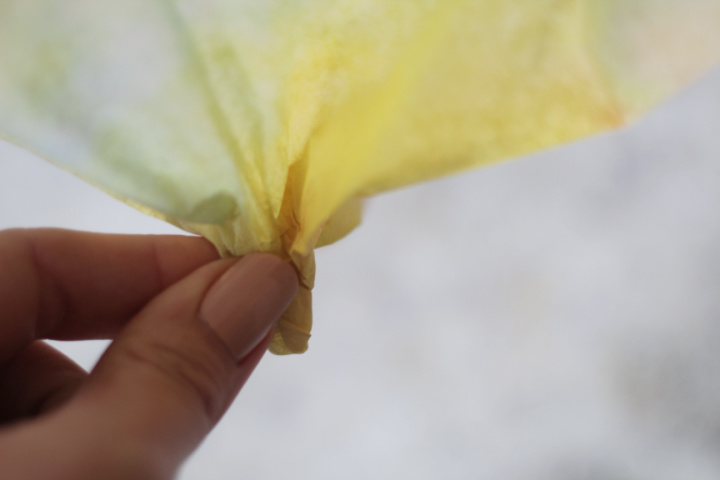
Pinch the centre of your coffee filter so that you have a centimetre or two gathered and then tape this to the top of your paper straw, winding the tape around both the filter and the centre of the flower to hold it in place.
Because we wanted our flowers to be quite big we then added another layer to them. To do this take a second coffee filter and make a small hole in the centre.
You could use scissors for this but we just folded them in half and made a small tear.
Thread this onto the bottom of your straw and push it up to the top of the straw then secure this in place by winding a bit more tape around it, covering both the straw and a bit of the coffee filter.
If you only want one layer of coffee filter petals then you could use a green pipe cleaner instead.
Simply pinch the centre of the coffee filter as before but instead of using tape to wind around it wind the end of a pipe cleaner.
In both cases you could also tape some paper or card leaves onto the stem of your flower but we left these plain as it meant they were easier to hold and make a little bouquet with or to put them in a vase.
What Else Can You Make With Your Coffee Filters?
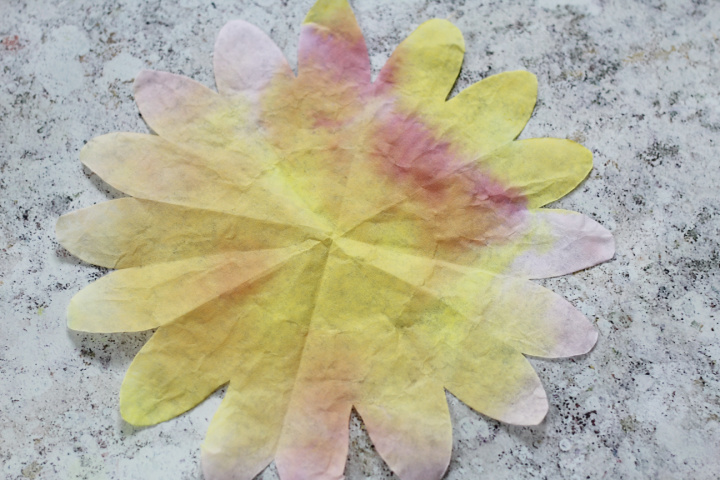
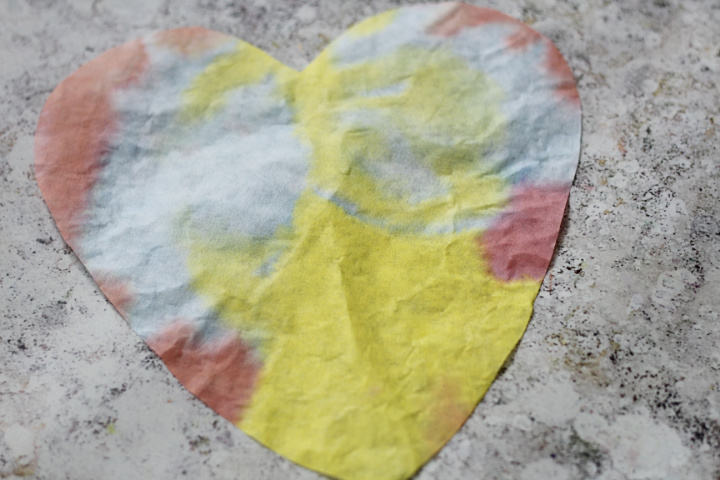
Once we finished making our coffee filter flowers we still had a few decorated ones left so we decided to cut these into different shapes.
We cut ours into hearts, flowers and an egg shape as both Mothers Day and Easter were coming up.
To make an easy flower shape from coffee filters simply fold your filter in half and then do this again twice more then cut a curved shape out of the edge to give a petal shape.
You could use these coffee filter crafts to decorate a window or a bulletin board in classrooms or preschools or just to brighten up the walls of your kid’s bedroom perhaps making them into a garland.
More Flower Crafts and Activities
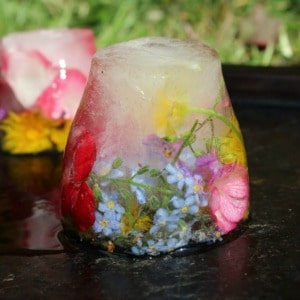
These frozen flowers are super simple to make and they’re perfect for sensory play.
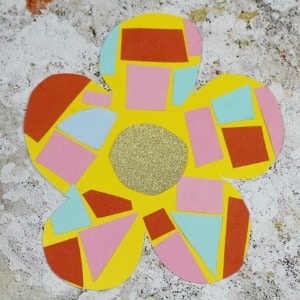
This mosaic flower craft is a great way for kids to practice scissor skills and you could also glue the flowers on to the front of a card for a simple DIY.
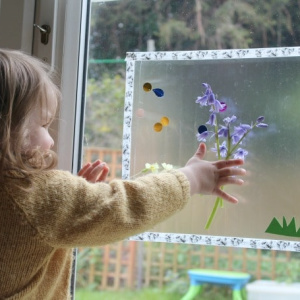
This flower sticky wall was a huge hit with my toddler and was surprisingly easy to prepare too.
Coffee Filter Flowers
Equipment
- Learning Resources Jumbo Eyedroppers
- Learning Resources Jumbo Test Tubes
- Sellotape
- Paper straws
- Plastic tray
- Table covering and old towel
Materials
- Coffee filters
- Food dye
Instructions
- Make the dye for your flowers by adding a few drops of liquid food colouring to water in your test tubes.
- Place a coffee filter on your tray and use the eyedroppers to drop the coloured liquid onto the filters.
- Place the wet filter paper onto an old towel to dry.
- Once dry pinch the coffee filter in the centre of the circle to make a flower shape.
- Tape this to the top of a paper straw.
- If you wish to add more petals to your flower take a second coloured coffee filter and make a small cut or tear in the centre. Thread this onto your straw and move it to where the first filter is before securing this in place with more tape.
I love this type of craft activity as it involves so much interaction with the senses. How about adding a touch of smell with essential oils or mild perfume??
Great idea!
I never thought coffee filters could be this useful. Nice idea though 🙂