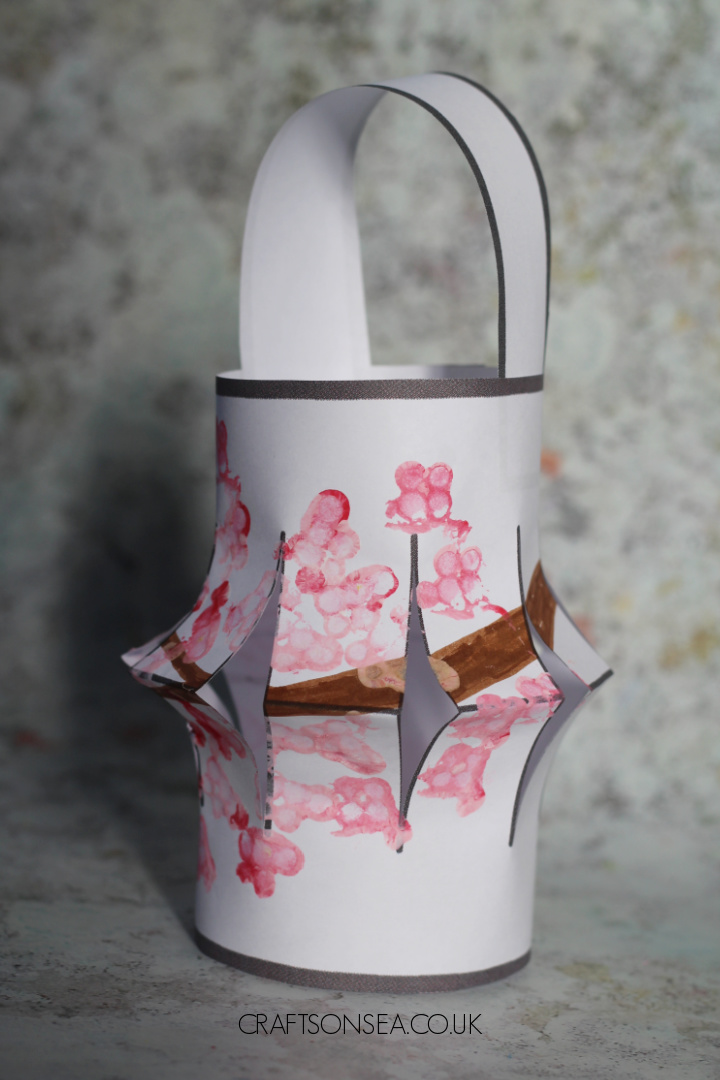
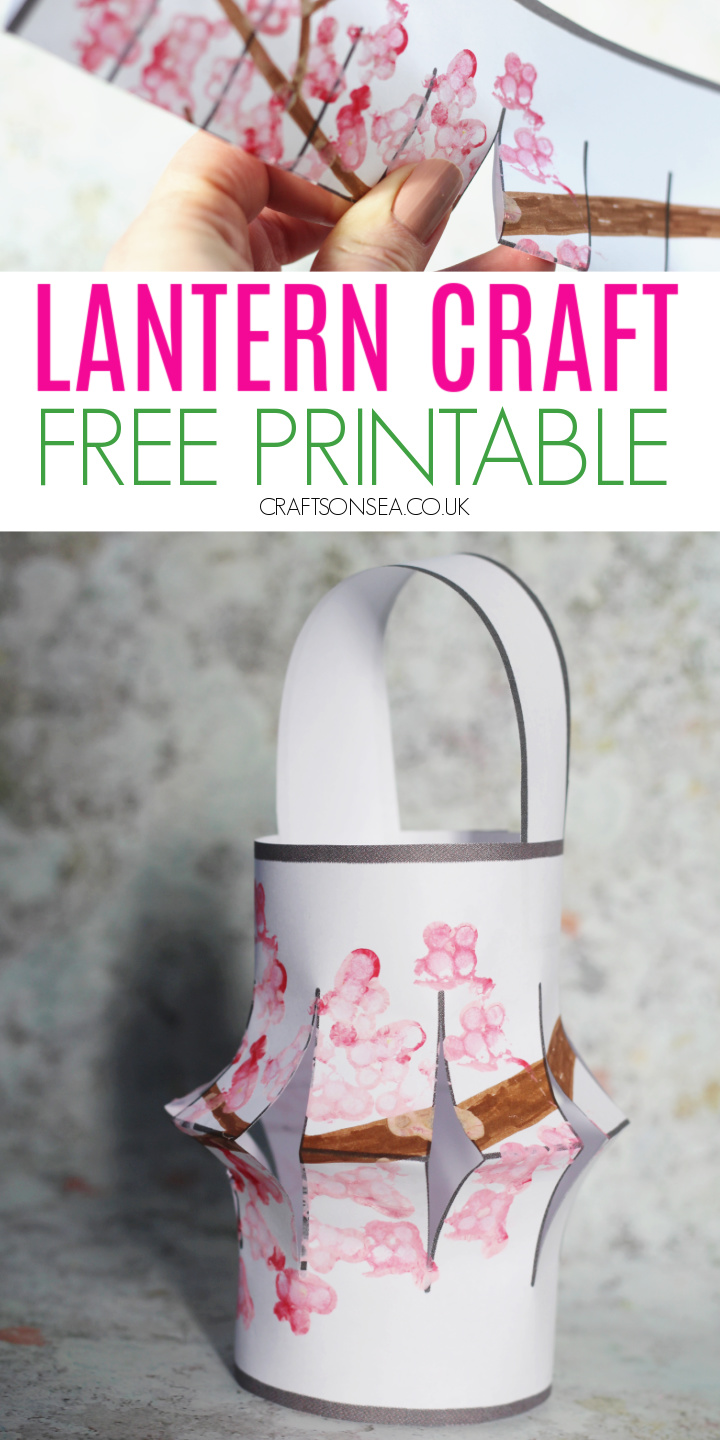
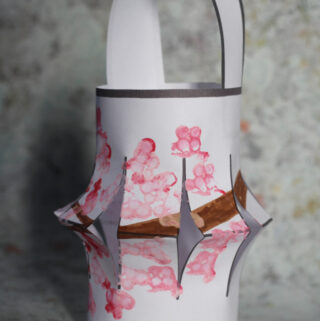
This cute spring blossom Chinese lantern craft is super easy to make using our free lantern template.
I’ve taken inspiration from spring blossom paintings to make a craft that’s easy, fun and pretty – perfect for Chinese New Year or celebrating the beginning of spring.
What You'll Find on This Page
Chinese Lantern Craft
These Chinese paper lanterns make great decorations and they’re a brilliant way to cheer a room up and invite a bit of spring into your home, after all who doesn’t like looking at blossom after the long winter months?
This craft is a simple way to get creative combing both an art activity and a chance to practice using scissors.
It’s also an easy craft to adapt – older kids can do all the cutting out themselves while you will want to help younger children or do the cutting out for them.
I’ve also added some alternative ideas for creating the blossom on your lantern so while younger kids might want to go with the method I’ve uses, older kids can go with drawing the blossom themselves if they would prefer and in this post you’ll also find details of both templates for Chinese New Year crafts and some more ideas for spring blossom crafts.
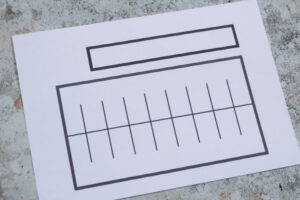
Free Paper Lantern Template
While you can make a Chinese lantern using paper or cardstock I’ve used our printable paper lantern template for this activity which has guidelines on it to show you where to cut.
You can print as many copies as you like so it’s great if you are doing this activity with a group.
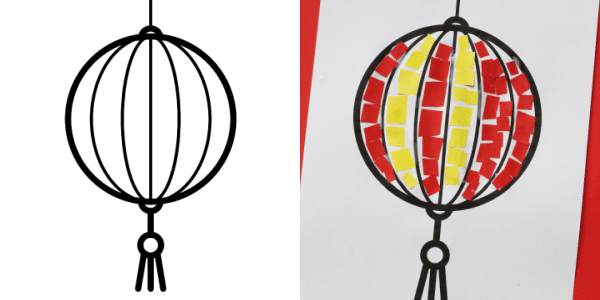
More Chinese New Year Templates
If you’re celebrating Chinese New Year with your child why not check out some more of our printable templates that are perfect for creating some simple crafts together.
Both of these templates come with ideas for how you can use them to help give you some inspiration and you can print as many copies as you like.

Chinese Lantern Materials
- Paper lantern template (see above)
- White printer paper or cardstock
- Brown marker, coloring pencil or crayons
- Plate or tray to put paint in
- Kids paints in pink, red and/or white
- Q-tips / cotton buds
- Small elastic band
- Scissors
- Stapler / double sided tape
How To Make Your Cherry Blossom Lantern Craft
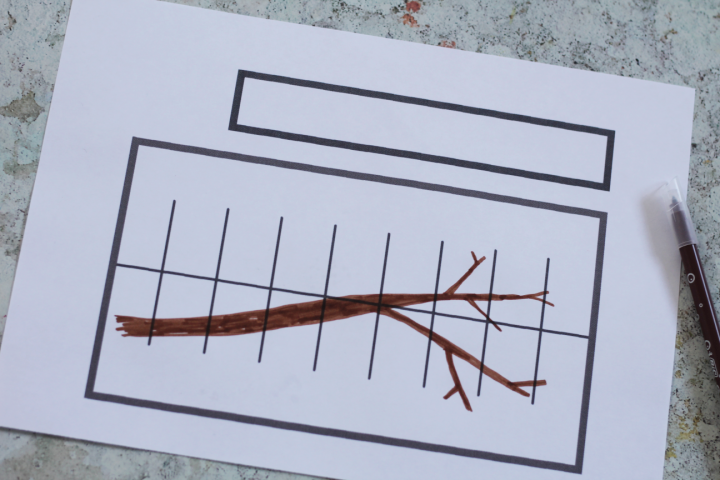
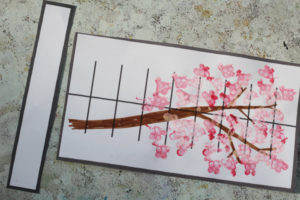
Start by printing out your lantern template onto white paper or cardstock. Green paper might also me a nice choice as a signifier of the tree but be mindful to go with a light shade so that you can see your painting on the top of it.
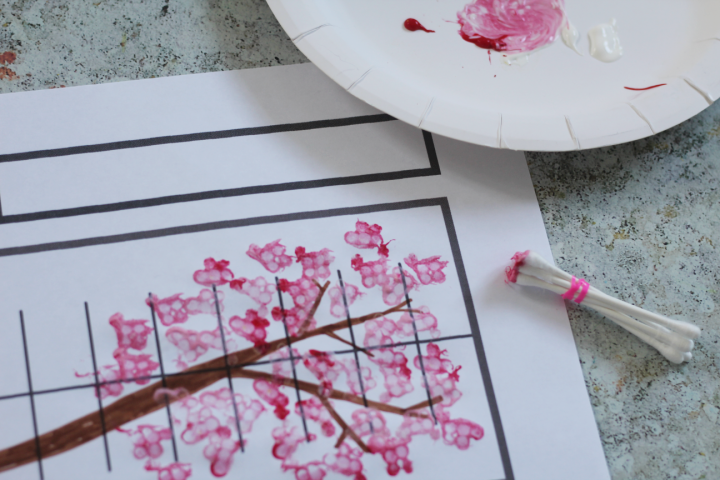
Start by drawing a branch with a brown marker or crayon across the main part of your template. You can also draw smaller lines coming off of this for smaller branches. I’ve made my branch a bit wider at one end but go with what works for you.
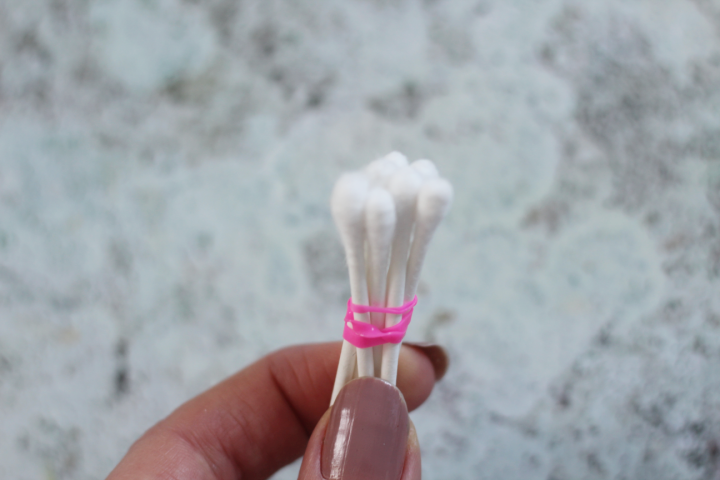
Next it’s time to paint your cherry blossom. Take a few q-tips (cotton swabs or cotton buds) and tie them together. I’ve used a small rubber band for this.
Pour some white paint into a plate or tray and add a small amount of red paint. You can of course just use pink paint but this gives you the opportunity to make the color pink yourself which will give it different shades of the color for your painting as well as giving you the opportunity to discuss color mixing.
Dab your cotton swabs into the paint and then dab them onto your branches to paint the blossom.
Once you have finished painting leave your template to dry.
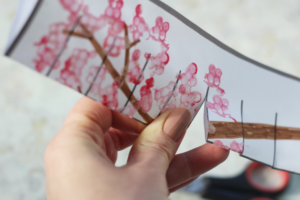
While you could cut the template shapes out in advance I would highly recommend waiting until your paint is dry. Firstly, this ensures that you don’t loose either piece and secondly if any paint goes over the edge of the paper there’s less chance of it ending up on your table.
When your paint is dry cut out the two parts of the template.
Fold the larger part in half along the central line and then using scissors carefully cut along the smaller straight lines.
Unfold your paper and then staple the two ends together. For this craft you will need a stapler or double sided tape rather than glue to help hold it in place.
Take the other strip of paper from your template and staple or tape this at the top of the lantern to make a handle.

Alternative Ways To Paint Your Blossom
If you don’t have q-tips or a rubber band at home why not try one of these alternatives to paint your blossom with.
- Paint with pom poms
- Finger painting
- Lego
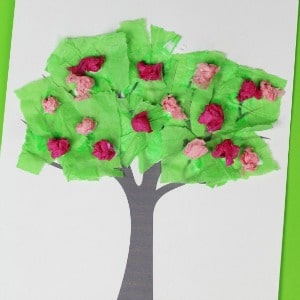
More Spring Blossom Crafts
Make easy spring tree crafts using our free tree template. This post has four ideas to try with your child.
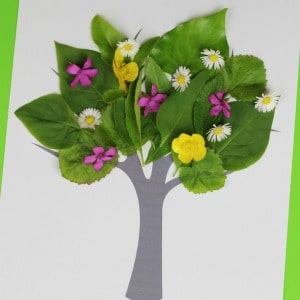
Or why not try grabbing some real blossom for this hands on nature tree craft?
Spring Lantern Craft
Equipment
- 1 Pair of scissors
- Stapler or double side tape
- Plate or tray
- Paint red and white
- Marker brown
Materials
- Paper lantern template Print on paper or cardstock
- Cotton swabs (Q-tips or cotton buds)
- Small rubber band
Instructions
- Print your lantern template out onto white printer paper or cardstock.
- Draw a branch on the template using a brown marker.
- Tie your cotton swabs together with the rubber band.
- On your plate, mix together the red and white paint and then print the blossom onto your tree branch by dabbing the cotton swabs in the paint and then onto the template.
- Once your paint is dry cut out the two template parts.
- Fold the larger piece in half along the long central line.

- Cut along the shorter lines, ensuring you don't cut the template in half.
- Unfold the template and then fold it so that the two short ends meet, securing with staples or double sided tape.
- Attach the handle of the lantern using a stapler or tape.
Leave a Reply