Aloha! Today’s brilliant guest blogger is Emma who blogs at Life is Peachy. Emma runs the #craftblogclub twitter party which is a great way to get ideas from other craft bloggers and has some challenges to get people inspired! She’s also just starting her Frugally Fabulous Year which is a great idea for those of us who are trying not to spend too much cash but also want to look nice!!! You can follow Emma on twitter at @LivePeachy over here on Facebook and if you do the bloglovin thing (Do it! Dooooo it!) then you can sign up for updates from Life is Peachy here. Anyway, here’s Emma with your guide to learning how to applique, enjoy!
Firstly, a huge thank you to Kate for letting me guest blog on her wonderful blog – she is a truly inspirational blogger!
So I love to craft and I love to make things that fall directly in my comfort zone. My comfort zone falling between the knitting bag and the odd bit of hand-sewing. But recently, after reading a few really exciting, contemporary craft books, I began to play with the idea of appliqué, a craft form I had not touched since adding a little felt cockerel to a tea cosy for my Nan!
I think what first attracted me to appliqué was the malleable nature of the craft, not to mention the depth perspective this layering technique can bring to simple picture ideas. I love creating pictures but I’m not a dab-hand with paints or watercolours, so why not use those scraps of fabrics I have lying around, to create something a little special?
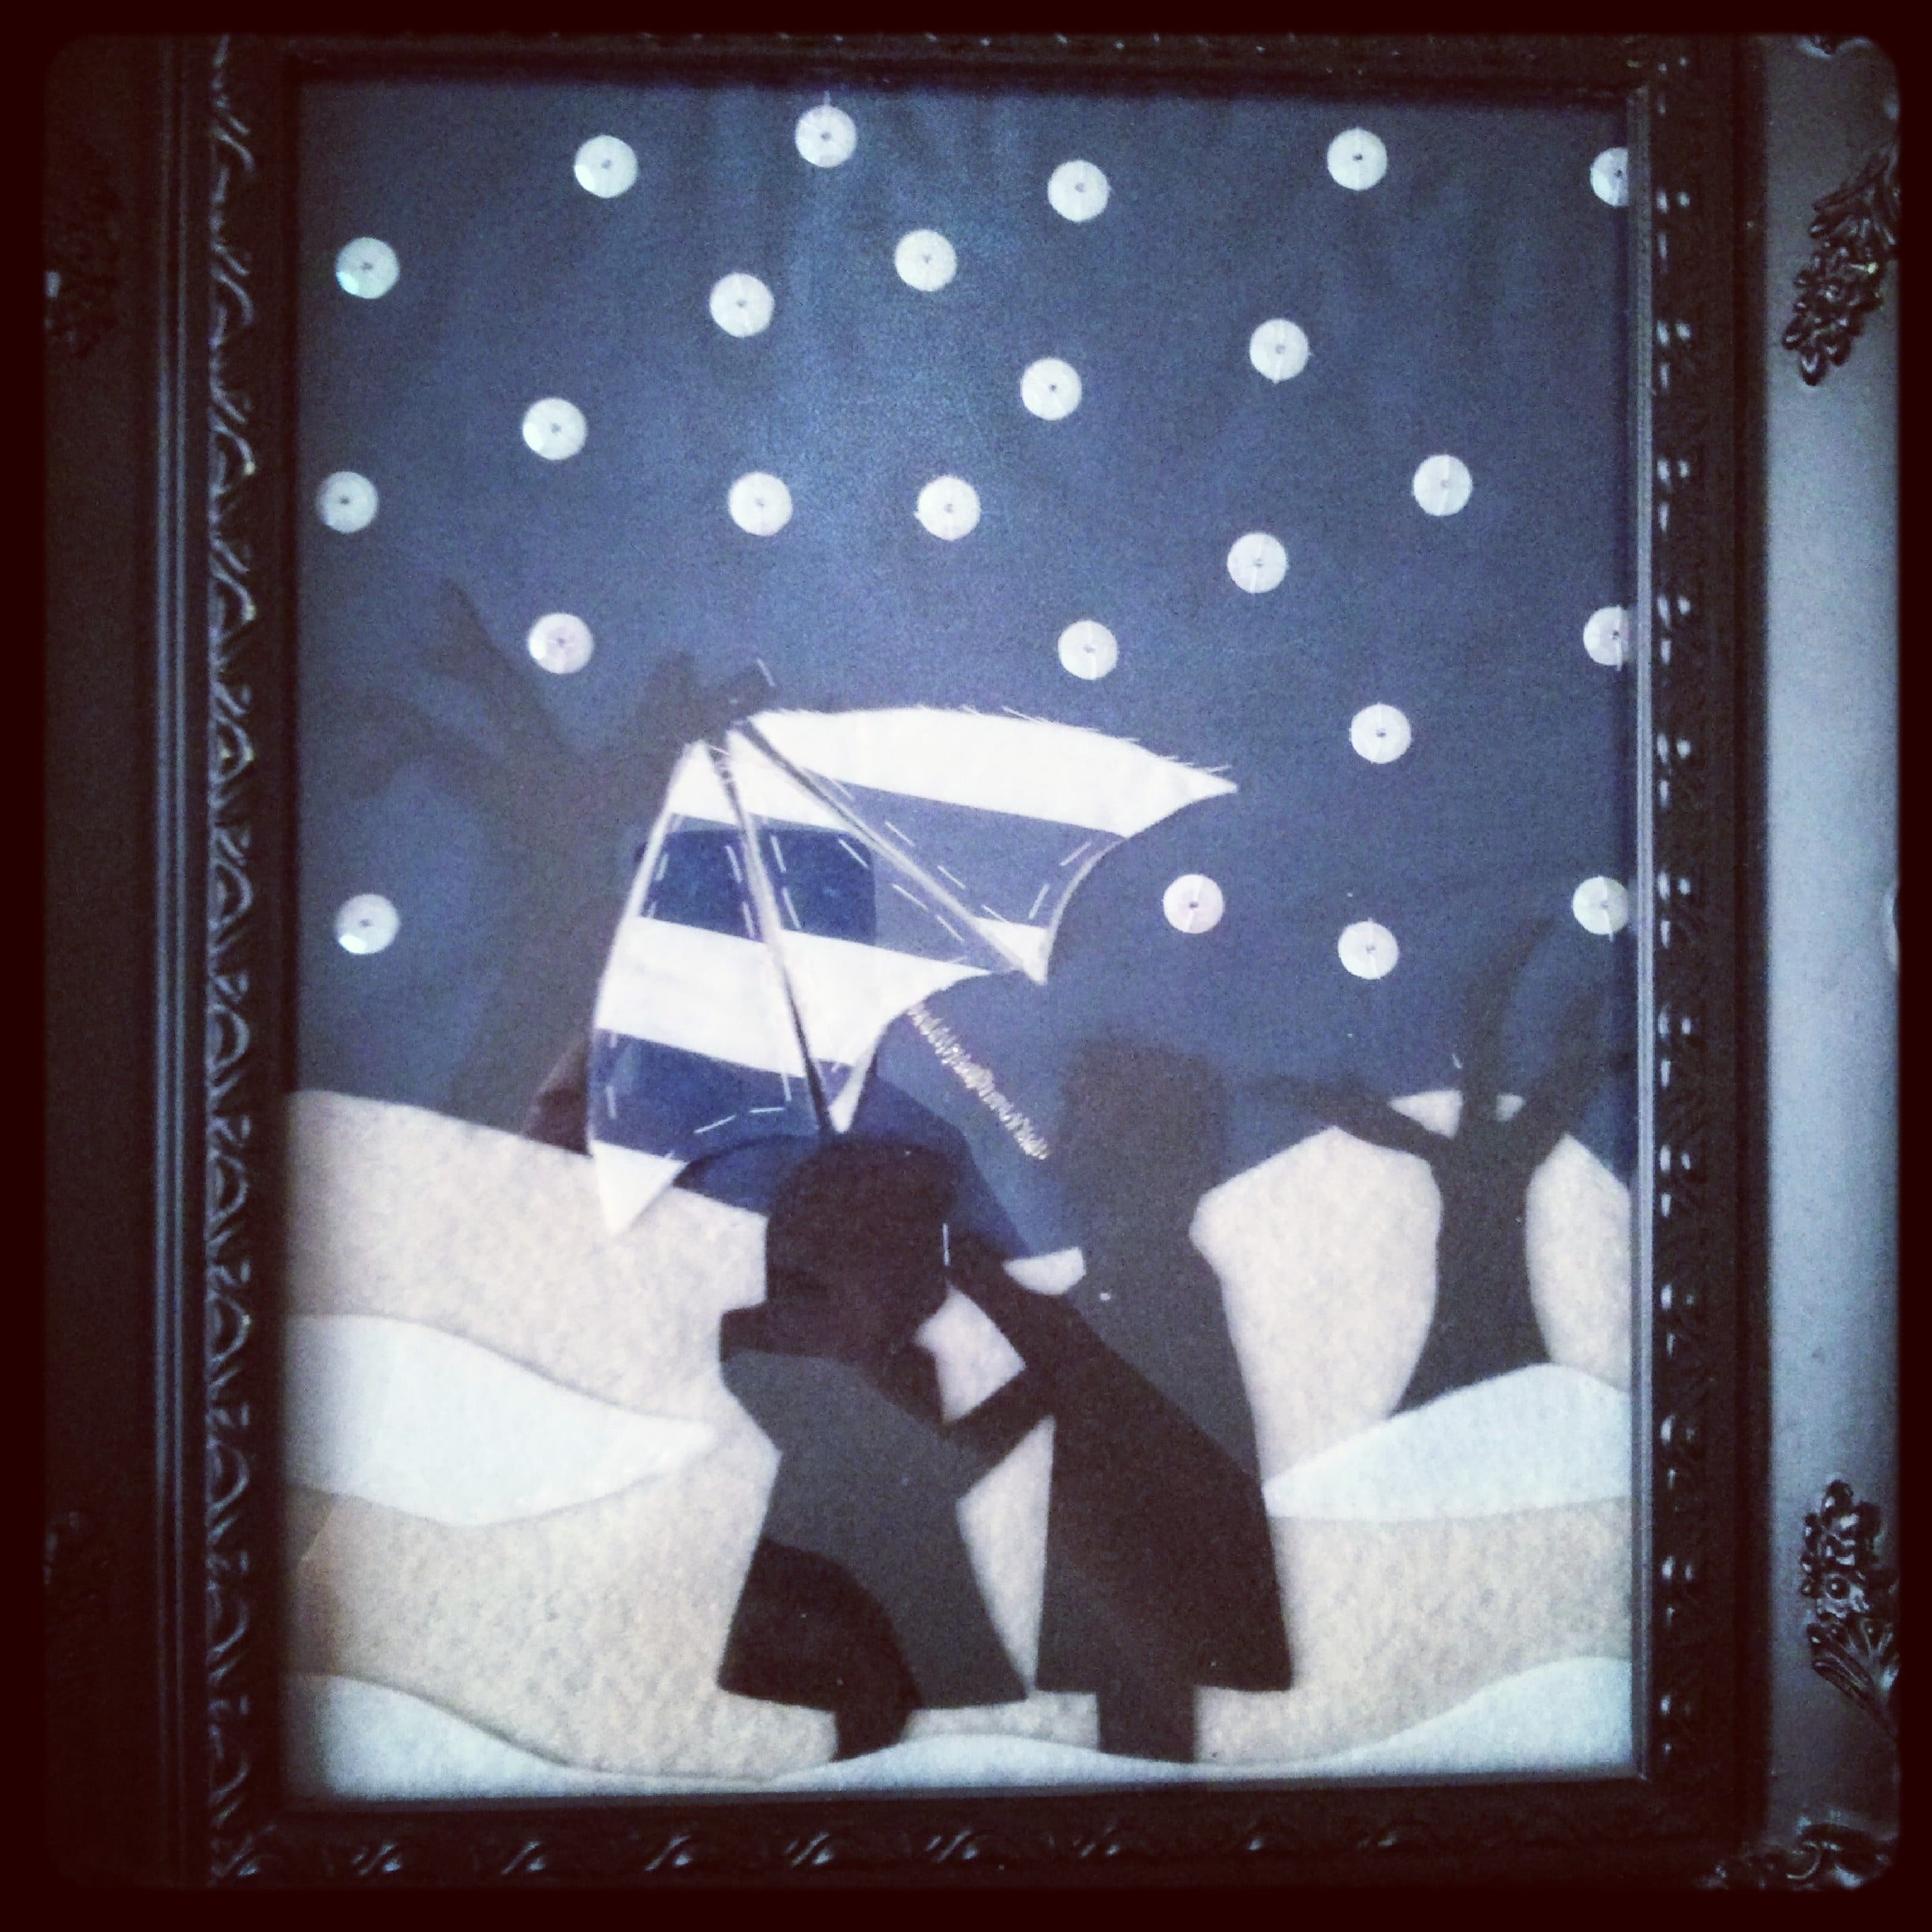
I posted about this Anniversary Applique Print I made for my boyfriend, as we recently celebrated our 2 year milestone – but I thought I would run through a basic tutorial on appliqué using this as a base. The tools list is very basic and it is really dependent on what you decide to create.
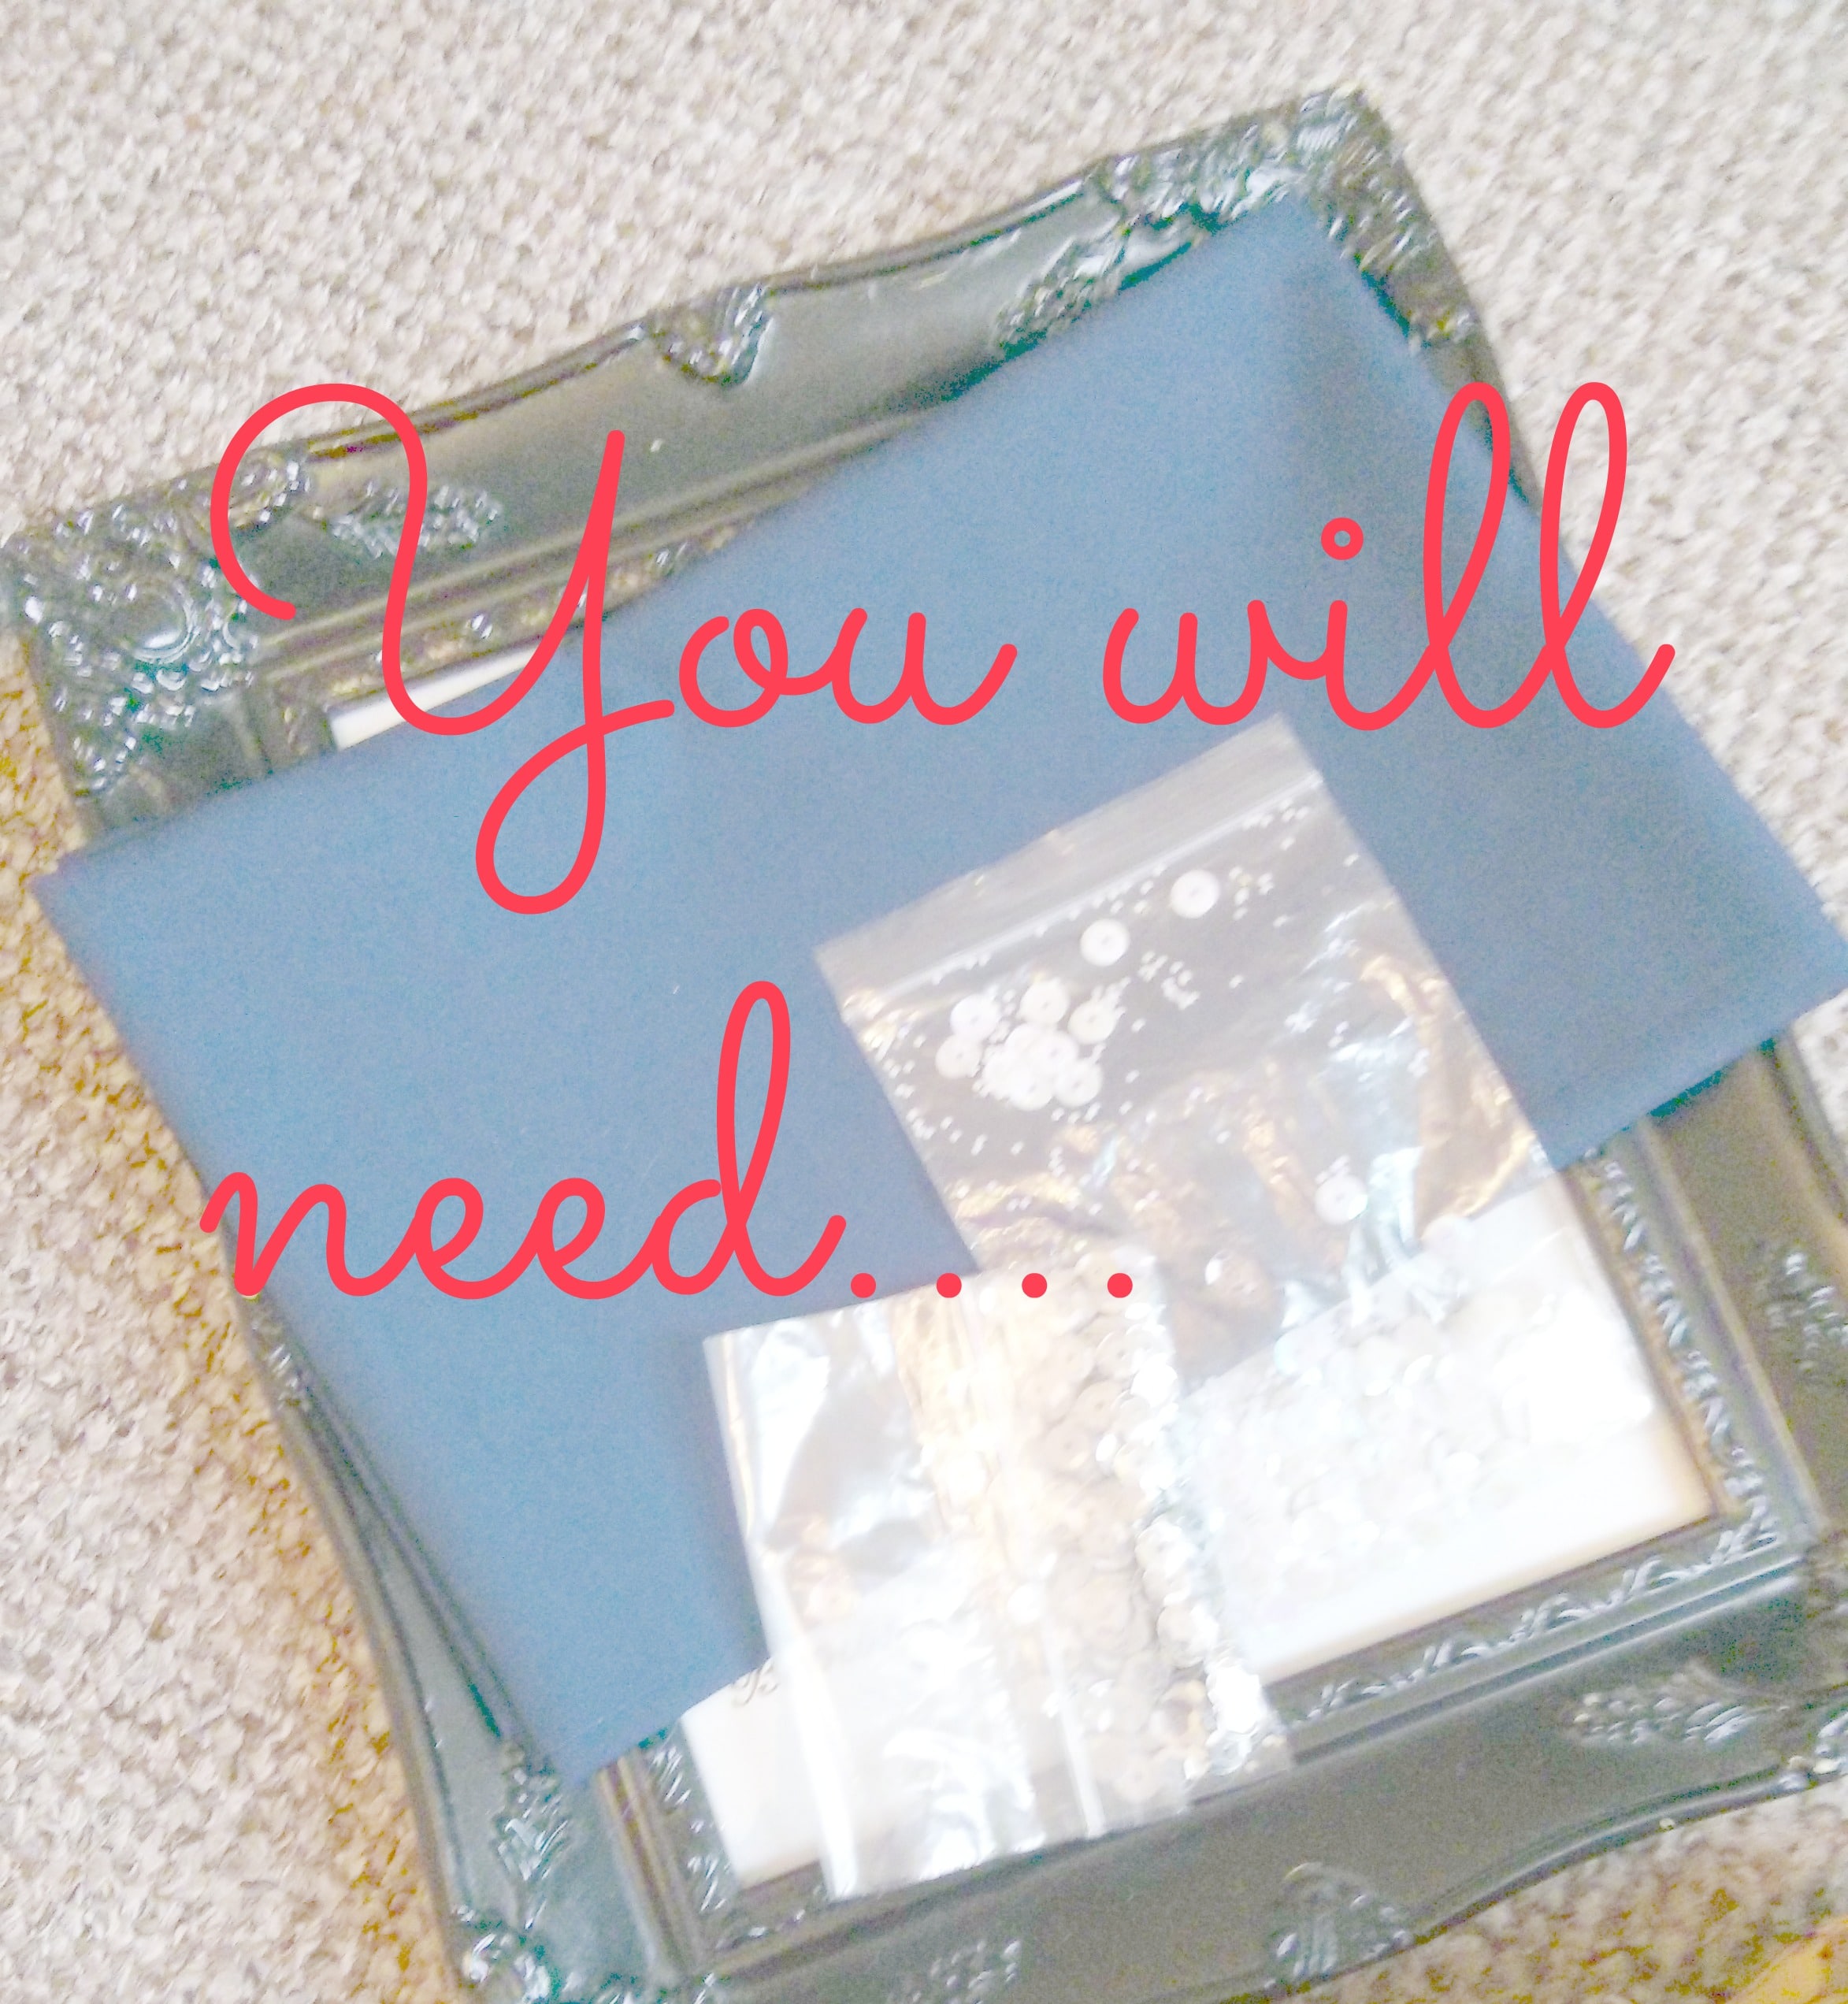 You Will Need
A large piece of canvas – any colour
A selection of fabrics and coloured felts
A Fabric Pen and sharp scissors for cutting
Plain paper and drawing pencil
Pins
Coloured threads for stitching – basic blacks and white work or you can match with your fabrics.
A picture frame
Method:
1. The first step is completely optional – but I always recommend drawing your design idea, to get an idea of perspective and how the picture will fit into a frame. We’re not talking Van Gogh here – look at mine, but it can really help clarify your vision for your piece.
2. Measure out a piece of canvas that will directly fit into your picture frame. This will be your base piece, so needs to be quite an accurate fit.
3. Next – to create a simple scene, choose a plain background to start sewing on – I wanted to create a night scene, so chose a lovely piece of navy jersey cotton as my base piece. You can also directly appliqué onto the canvas (See what I mean? Malleable)!
4. The next thing to do is, using your paper and pencil, plot out some templates for each piece of appliqué. I plotted out my figures, the umbrella and the trees for mine.
5. Once you are happy with your templates, cut them out and begin cutting your shapes out onto your fabric and felt.
6. Plot each shape onto your base board, pinning into place.
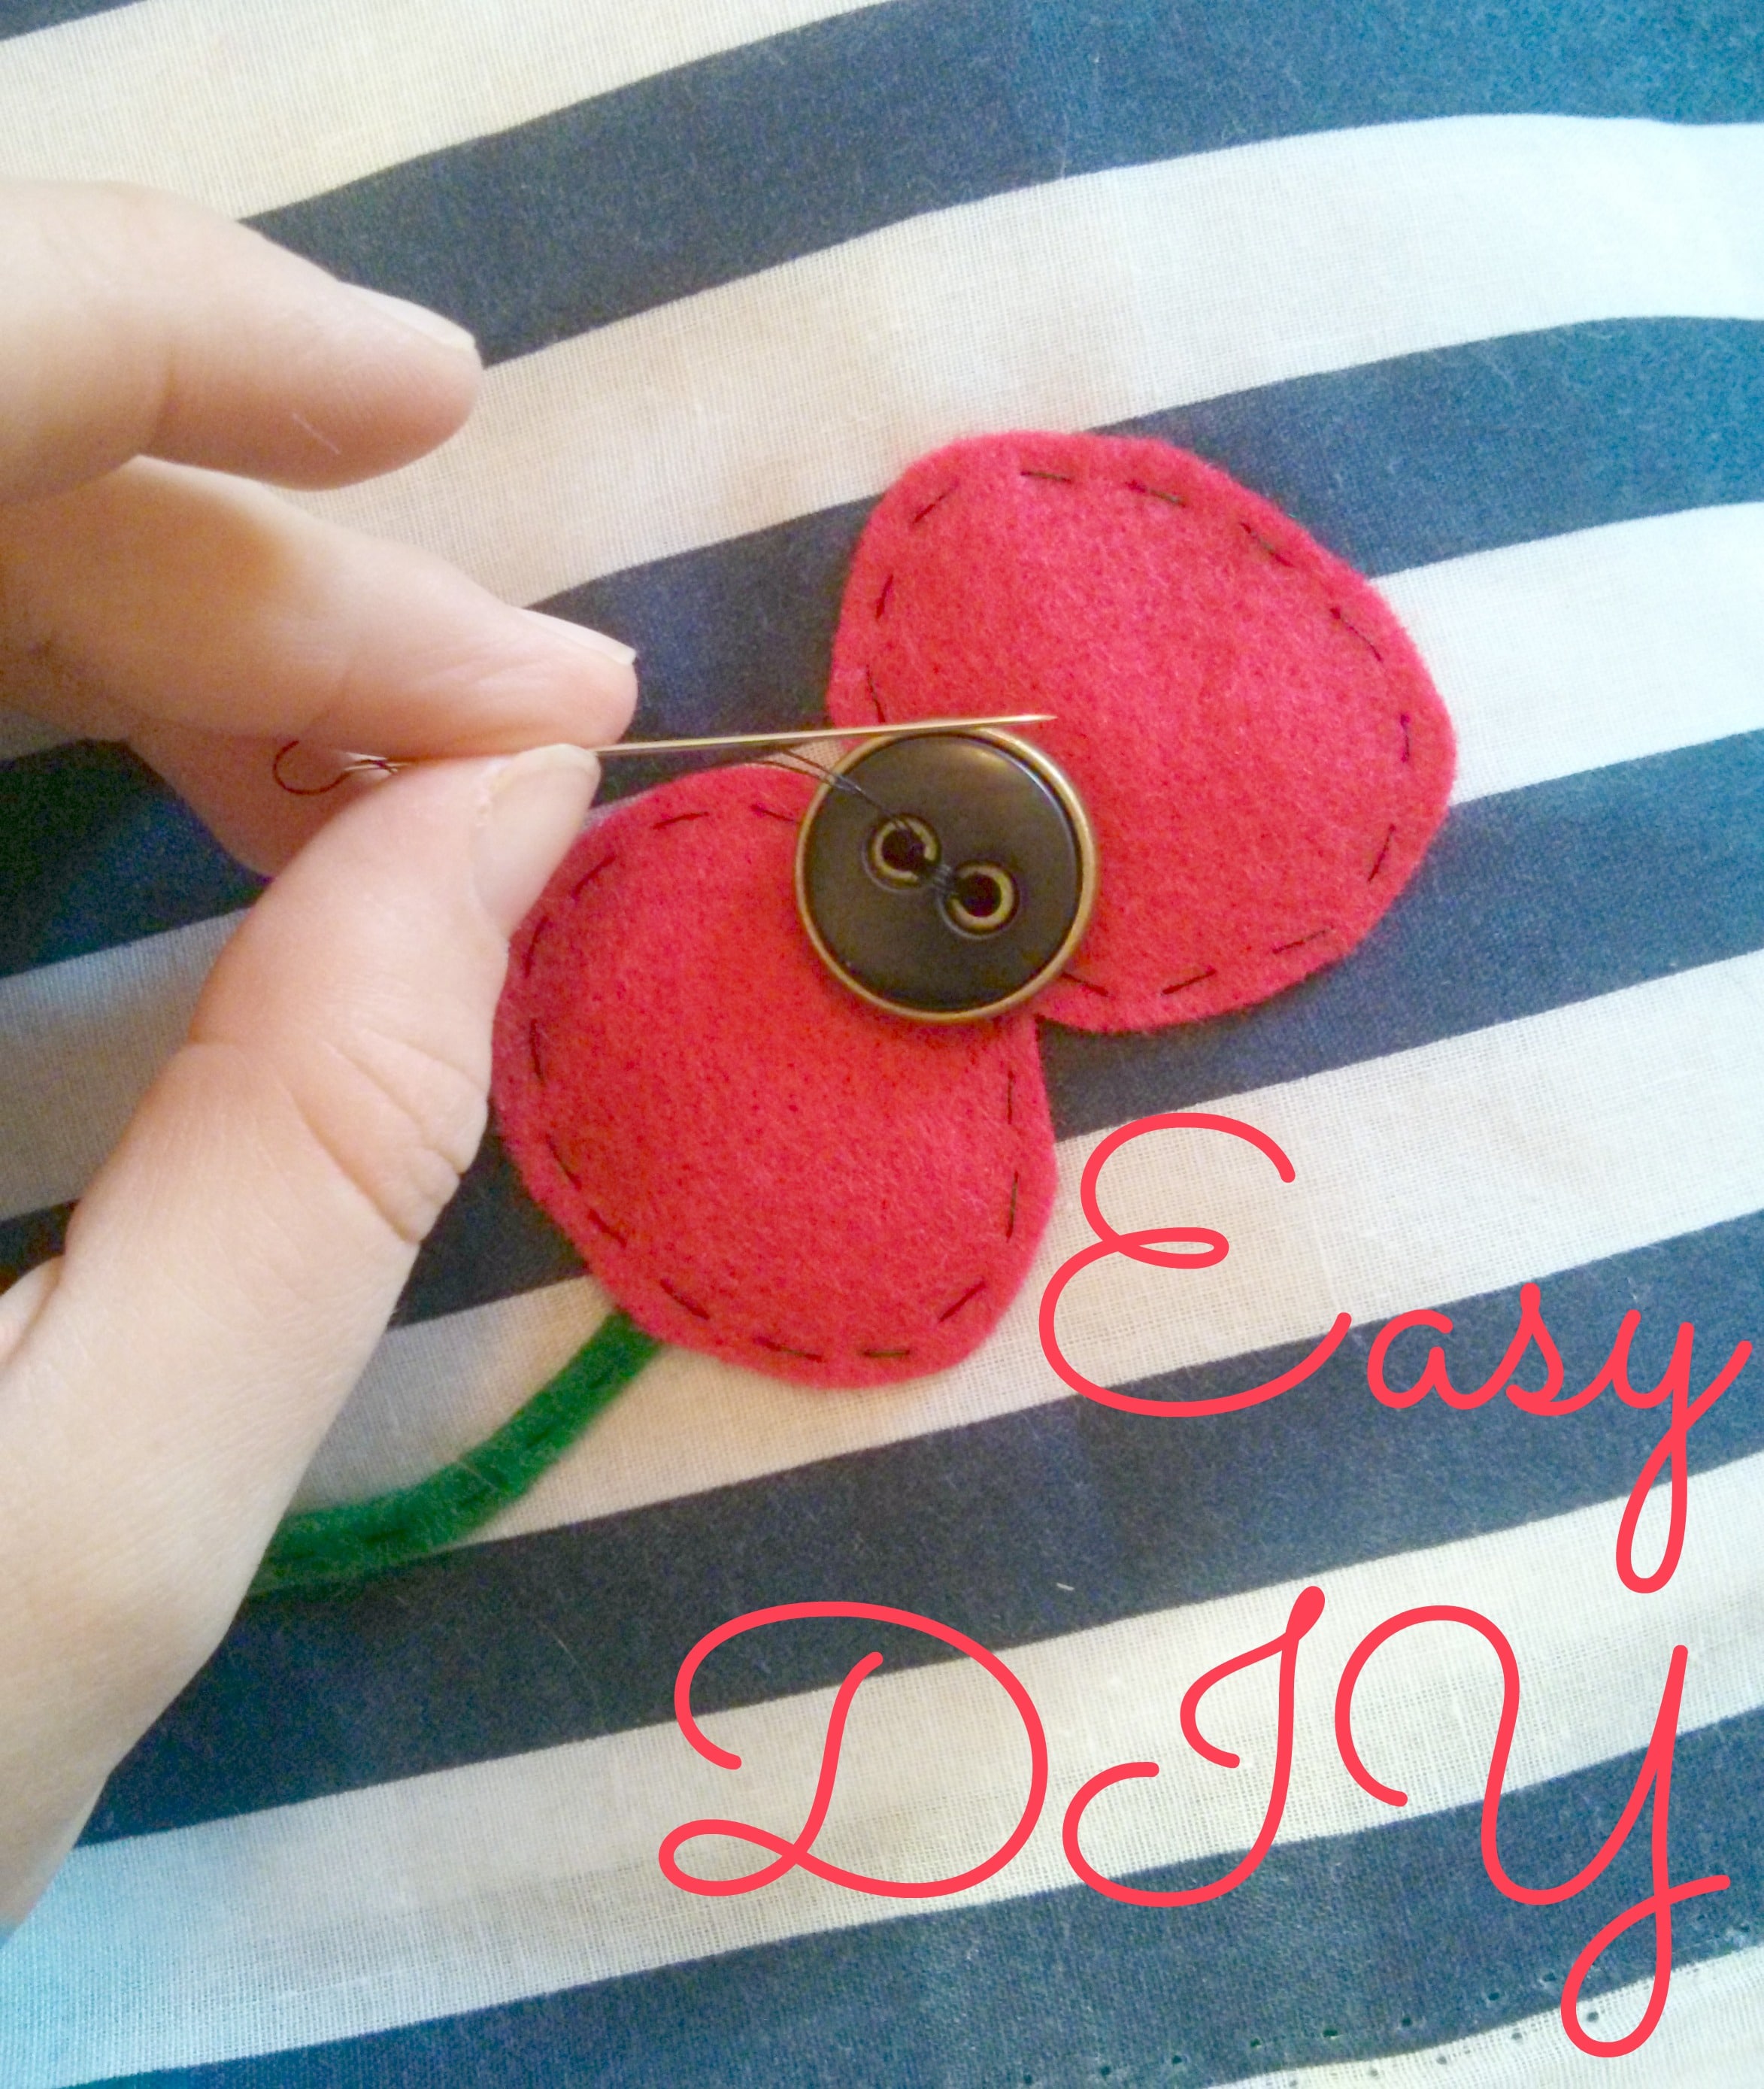
7. You are ready to begin sewing. If you are great with an embroidery pedal on the sewing machine, you can really practice with some of the effects the pedal can give you. I decided to keep mine simple with basic stitching in matching colours, but I equally think contrasted stitching gives a real ‘shabby chic’ effect – check out the black stitching on this poppy I appliquéd. Tip: Keep your stitching neat and basic – only go over where you need to and try to create thin clean lines for added effect.
8. Once your stitching is complete you are ready to frame and present!
As simple as that – appliquéing can really bring a picture to life and, once the basics are mastered, why not try patterned fabrics and other bric a brac to represent different landscapes and objects?
I hope you enjoyed this basic tutorial – another notch to add to the crafty belt!
Great post! I’m appliqueing (sp?!) a stocking atm (it’s a numbered kit), but you have inspired me to try free-style next time 😉
I am awful at following instructions for anything! Gotta be free-style every time 🙂
That is beautiful. I might even give it a go myself
Oh yes, do!! 🙂
I’ve not thought about trying this before but it looks so lovely – I’m tempted!