Advert. Earlier this month I was challenged by A Space to create a Christmas decoration for my children’s bedroom. I love decorating the kids rooms at Christmas time as it helps get them all excited about the big day, although arguably my kids don’t need that much encouragement!
At first I thought about making some bunting for my daughters room but after a bit I realised that this probably wasn’t the best idea as I would spend all evening panicking that she had wrapped herself up in it.
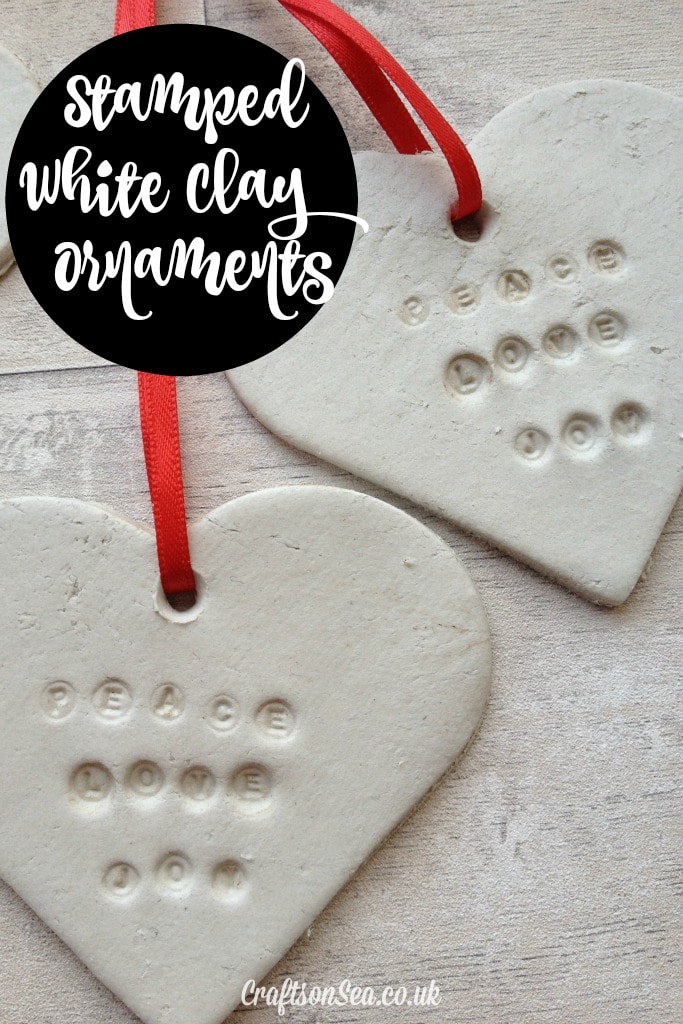
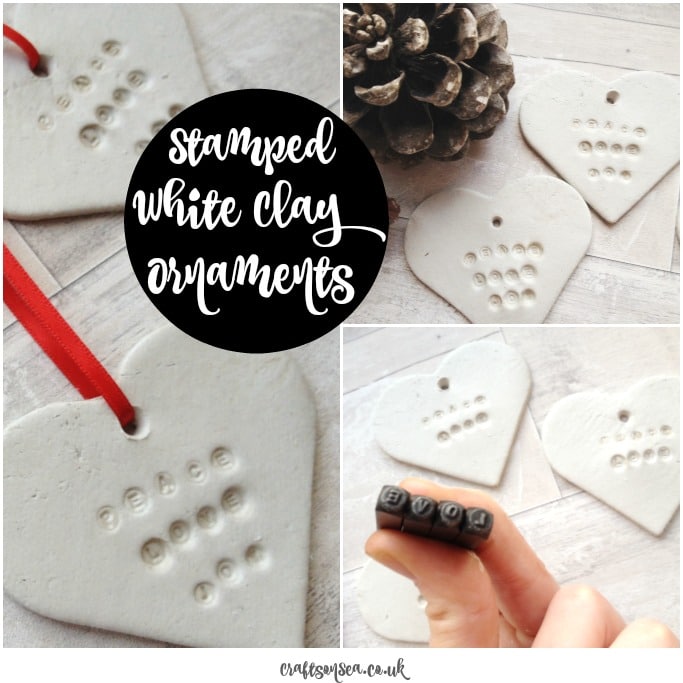
Instead I opted to make these pretty white clay ornaments which are now on the end of her cot. Not only are these super easy to make and personalise but apart from waiting for the clay to dry they are super quick to do too so they’re a great way to bring a bit of festive cheer to your kids rooms.
I’ve included some tips below to make these as easily as possible and I’d love to hear if you try these at home!
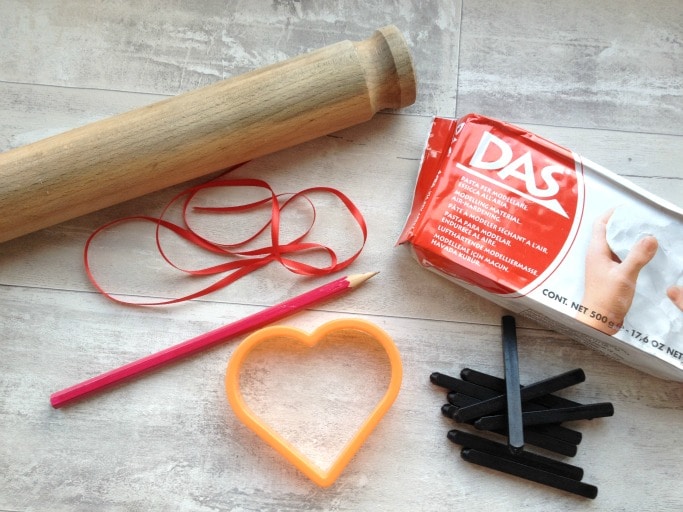
You will need:
White Clay – I use the prepackaged stuff as salt dough can go a bit yuck over time
Rolling pin
Heart shaped cookie cutter
Sharp pencil
Red ribbon
Letter stamps – mine are 3mm ones that I bought on Amazon and were originally for silversmithing.
How to make your stamped white clay ornaments:
Take a ball of the white clay and roll it between your hands to warm it up and then roll it out flat with your rolling pin until it is a couple of millimeters thick. The thicker it is the longer it will take to dry but obviously very thin ornamensts are more at risk of being broken by little hands!
Use your heart shaped cutter to cut out the shape of your ornament and then use your pencil to make a hole for the ribbon. Using your fingers, smooth out the back of the whole you made with your pencil and the edges of the heart shape as these can be a little rough.
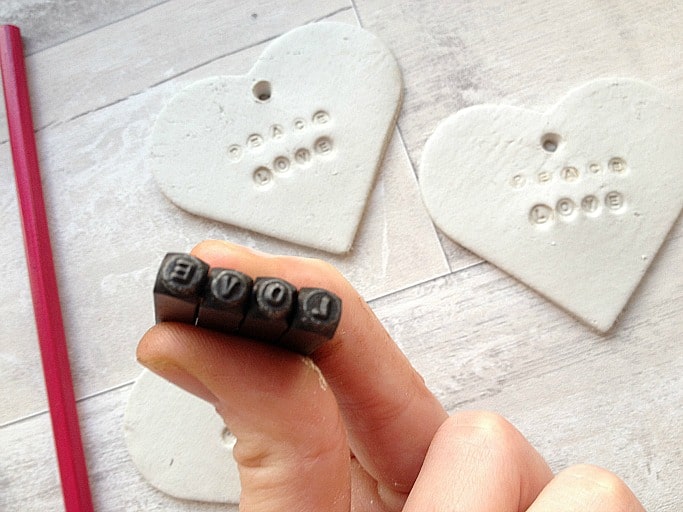
Decide what words you would like to print on your ornament (mine say ‘peace, love, joy’)and then arrange your letter stamps one word at a time so that you can print these, practice printing on a spare bit of clay.
This is especially useful if, like me, you have used your letter stamps in mucky stuff before so that any dirt will come off in your practice run and not on your lovely white clay ornaments.
It’s also a good opportunity to practice how hard and if you need to move any letters round: to make the word peace I had to print ‘peac’ and then move the letter ‘e’ while holding the rest in place.
Once finished your ornaments will take a day or two to dry depending on how thick they are, you can move them to a warmer place such as an airing cupboard or near a radiator to try and speed up the process.
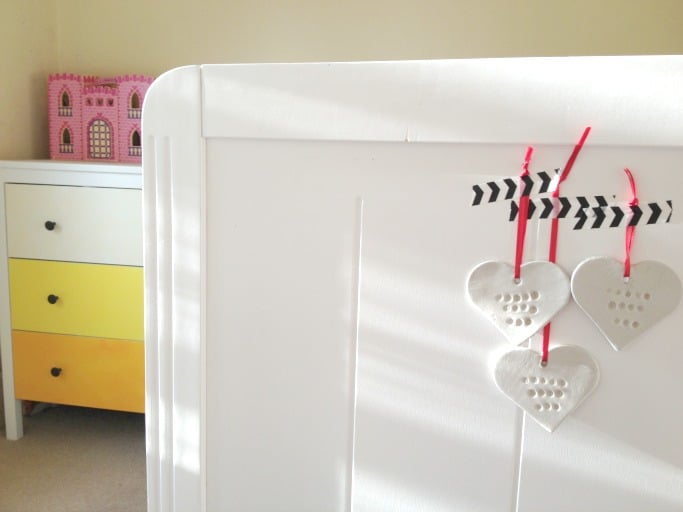
Once they are dry make a loop with your red ribbon for each one and you are done! I’ve attached mine with some washi tape to the end of my daughters cot as washi tape not only looks prettier than sellotape but in my experience is far less likely to leave a mark on any paint work.
Enjoy! What words would you print on your decorations?
Sponsored Post Disclaimer – I was sent a voucher by A Space in return for this post.
Ooh I think I need to try this sort of clay – we did salt dough a while ago but even though I baked it after a while it went a bit doughy again – yuk – but this could be so much fun for the Christmas holidays – thanks for sharing 🙂
My pleasure, I’ve had exactly the same issue with salt dough!
These are gorgeous! I didn’t know you could buy white clay like this so I’m going to look some out, and some letter stamps – these are so simple and effective. Lovely!
Is there a way of neatly painting the letters after you’ve made the imprint on the clay?
Ooh, not sure. I would maybe try with a Sharpie, or you could press the stamp into an ink pad first?