Advert. Struggling to find a home for all your kids art work? I hear you.
Between the things my kids make at school and all the drawing they do at home we seem to have a never ending stack of pieces of paper that deserve a home but I’m never quite sure where!
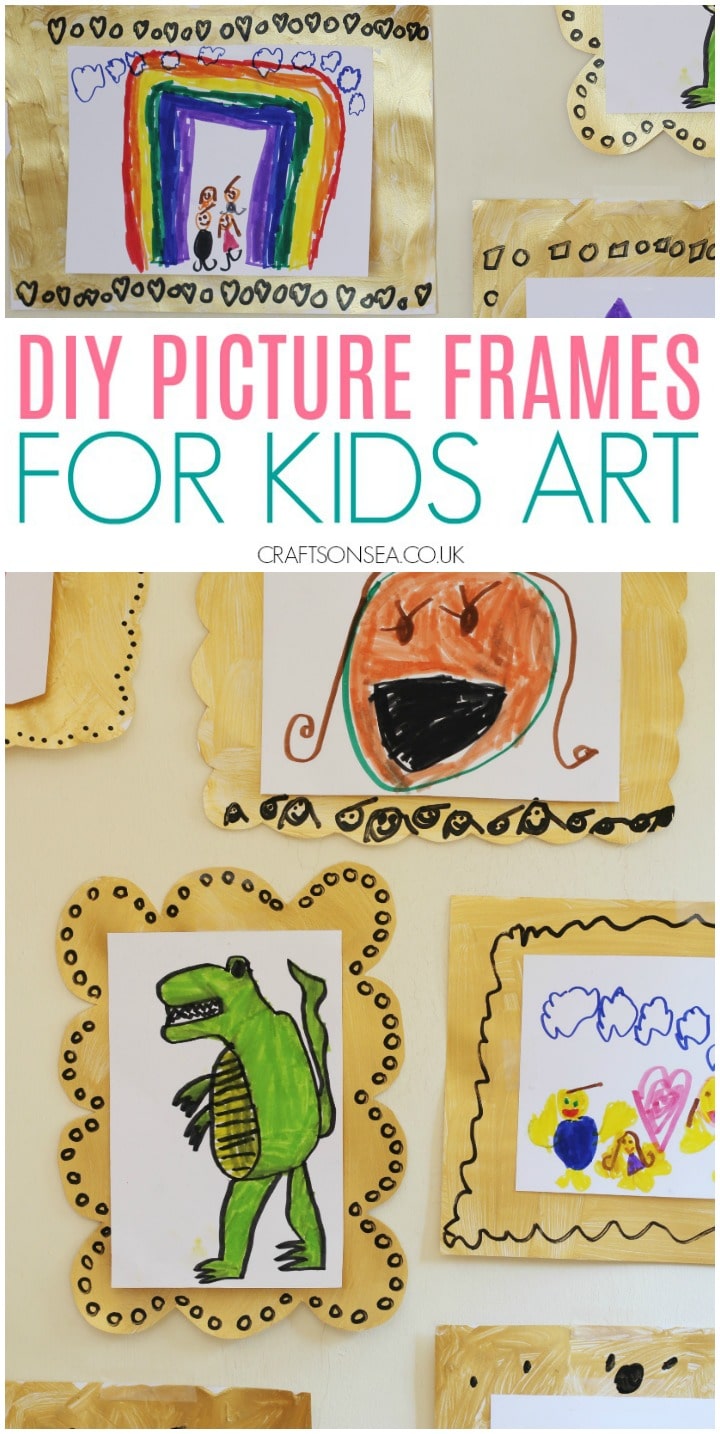
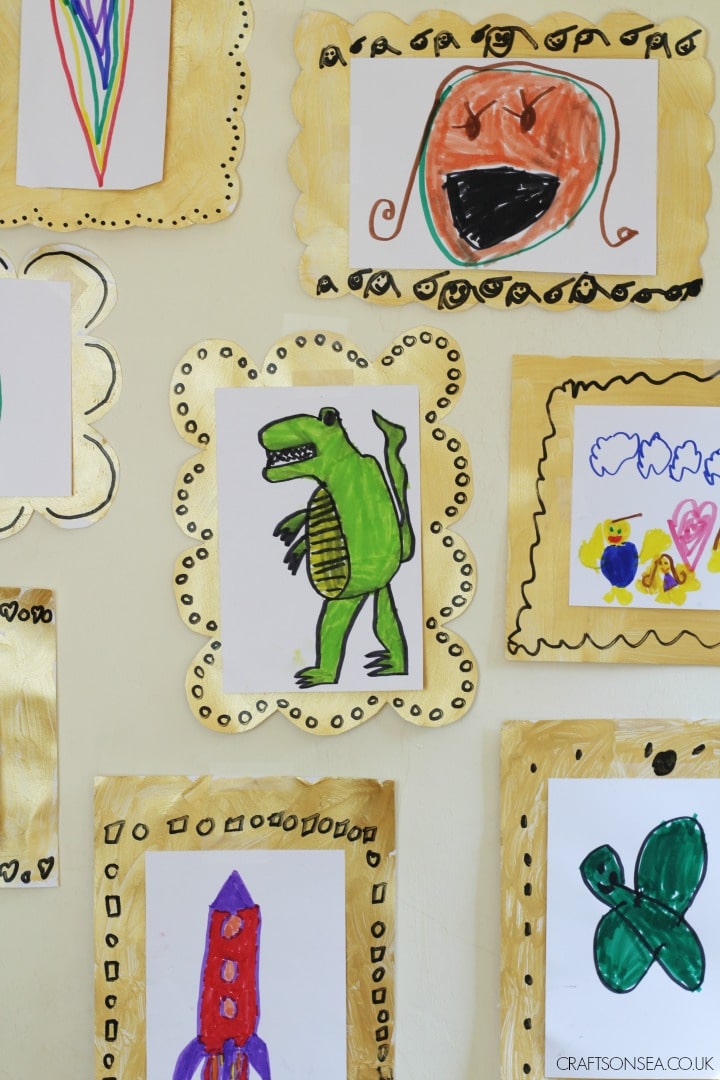
I’ve been working with Scotch trying out their Wall-Safe Tape and we decided to make some easy picture frames for kids art that we could then use to display our pictures.
Scotch Wall-Safe Tape means that we can put these on our walls for up to 30 days without any worries and the kids loved creating these frames to display their masterpieces.
About Scotch Wall-Safe Tape
Scotch Wall-Safe Tape is great for displaying your kids artwork at home, it sticks securely to walls and other surfaces for up to 30 days and removes cleanly with no rips or residue.
You can use it on painted walls, stainless steel, plasterboard and mirrors so it’s great for to-do lists, travel plans or hanging up your children’s latest awesome picture. We’ve used this tape for our butterfly suncatcher crafts so you can see how it looks when it’s used on windows too – plus the suncatchers look really pretty!
Like this idea? Make sure that you bookmark this page or pin an image so you don’t forget about it!
Making our DIY Picture Frames
To make the frames themselves we started off with some white card and gold paint, card generally holds the weight of paint a lot better than paper so it’s a good idea if you’re going to be using a lot.
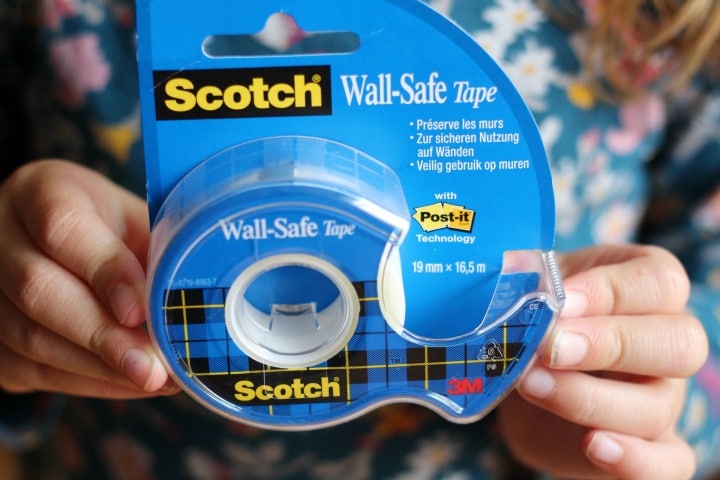
We left some of our card as it was and cut some into ‘fancy frame’ shapes with rounded edges then we got painting. We used quite a bit of paint on them but I figured that helped them look more three dimensional anyway!
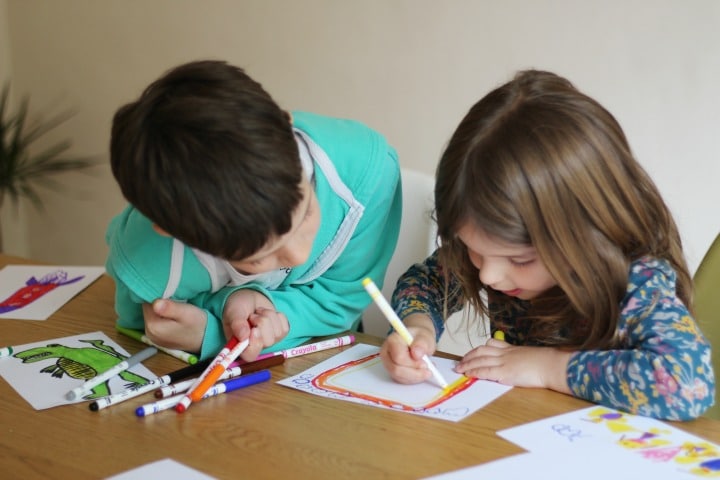
While the paint was drying my kids decided to get stated on drawing some new pictures to display. They came up with dinosaurs, crocodiles, rockets and rainbows and a whole host of other ideas.
Drawing is always really popular in our house but it was lovely to really see them concentrating on creating some new pictures worthy of being framed.
Once the paint was dry we stuck our pictures onto the frames using Scotch Wall-Safe Tape and then we decided to add some detail to our frames using a black pen.
I love the one of my daughter’s which has little pictures of her and her brother all around the frame – too cute! Once our details were finished we were able to tape all our picture frames onto our wall.
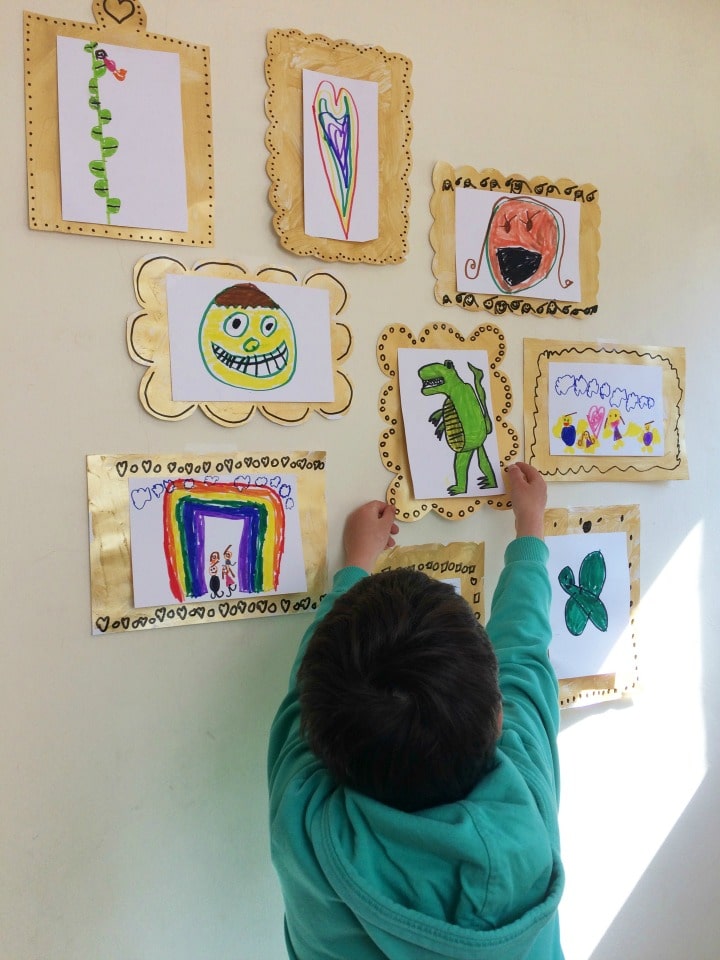
The wall we’ve used is plastered and I’m happy to confirm that as we moved the picture frames around to get them just right the Wall-Safe Tape didn’t leave a mark at all and the pictures in their frames have all stayed firmly in place since, at least they will do until we’re ready to create some more!