Advert. “This is engineering?!” If I’d told my son we were going to be doing an engineering project I think he’d have baulked at the idea. It sounds like school work, it sounds like it might be hard, I’m pretty certain he wouldn’t think it would be fun.
But after making an easy Rube Goldberg machine for kids his opinion has changed – actually I had to drag him and his younger sister away from making up more last night and again this morning so we could make it to school on time.
What You'll Find on This Page
Chain Reaction Challenge
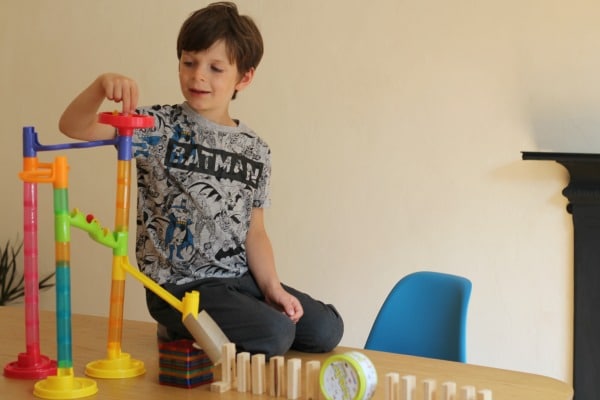
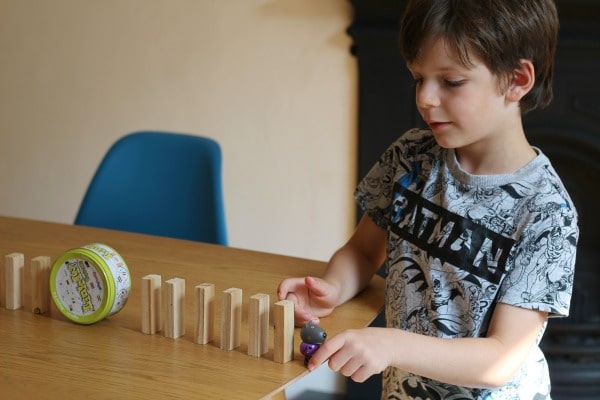
Our challenge was to make a simple chain reaction. The most simple way to think of this is to think of a domino set in which tipping the first domino will knock the next one over until they are all gone, when you have a series of things to make your chain reaction it’s a Rube Goldberg machine.
Rube Goldberg was an American cartoonist, engineer and inventor who came up with the idea of doing a simple task in an indirect or over the top way – tasks for Rube Goldberg machines might be things like ringing a bell, popping or pouring some cereal but always with more steps involved!
There are some amazing Rube Goldberg machines on youtube that you can watch if you want a bit of inspiration however I would be mindful as to exactly how your child will react to these, as the mom of two kids I have one who would be wildly inspired and one who would be frustrated at not being able to make something that fills up a warehouse. You know your kids best!
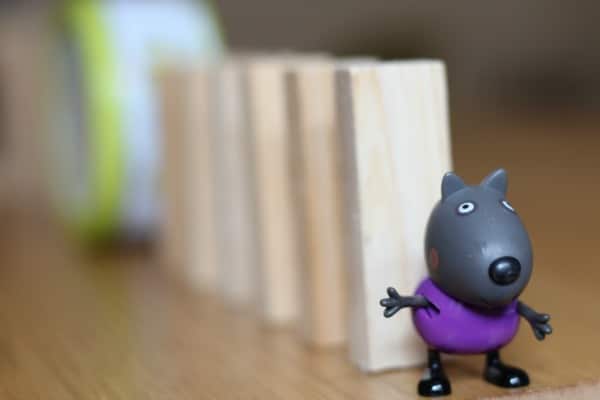
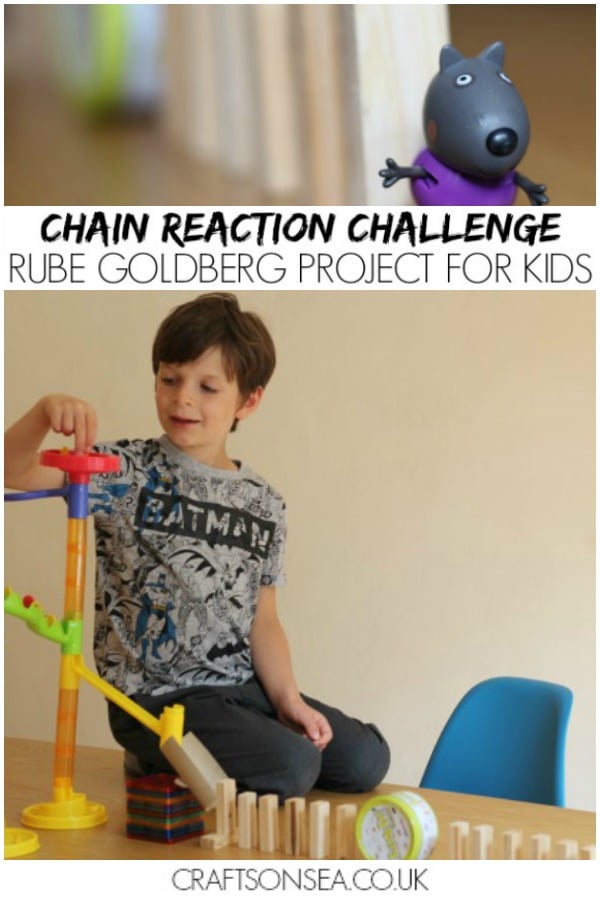
Because this is for kids and you’ll want to keep to items you already own (and make something you know is achievable!) we set ourselves the task of knocking a toy off of the table. Poor old Danny Dog, lets hope he doesn’t take it personally.
You can watch our simple Rube Goldberg machine in action in a little video I’ve shared to this page and I’ve also got some ideas for materials you can use to make your own. The look on my son’s face when our machine finally works is priceless, he was so overjoyed that we managed this challenge.
Simple Rube Goldberg Machine Materials
One of the fun things about making a Rube Goldberg machine is to look around your home for resources and materials that you can use rather than rushing out to buy anything new to make your contraption.
As well as it being a STEM challenge I think that it’s also a good challenge for making the most of what you’ve got!
These are some materials that you might like to include but I’m sure you’ll also be able to think of lots of fun ways to include items that you can find in your home.
Things that move
Marbles, toy cars, skateboards, round tins, balls, dominos, tennis ball.
Ways to move them
Build ramps from cardboard or plastic tubes, marble runs, fans, toy train tracks, have a book falling to knock something.
Other ideas for household objects to include
Books, magnetic tiles, trays, water, aluminium foil, balloons, toys, paper towel tubes, buckets.
What should I make my Rube Goldberg machine do?
There are loads of things that you could make your Rube Goldberg machine do but if you are making this with kids then I’d recommend going for something simple to keep this activity achievable, this is why we’ve gone for knocking a toy off a table.
Some ideas you might like to try are:
- Breaking an egg
- Shutting a door
- Popping a balloon
Our Engineering Challenge
Because this is a challenge it took us a few attempts to get it right, the main thing that we learnt was that you need to get enough speed behind the item that you are moving to propel the next item forwards.
As my son is only seven years old we didn’t include too many steps having instead a marble run followed by some cardboard tubing, some wooden blocks from a Jenga puzzle, a round tin from a card game, more wooden blocks and then poor old Danny Dog.
With older children or to make this into a larger project you might want to go for something bigger with pulleys and levers or whatever but as a starter challenge I found it was better to go for simple machines that were achievable so that we could concentrate on having fun!
Our first attempts didn’t work as the metal tin was just too heavy to get rolling but then my son pointed out that it would be a lot lighter and would probably work if we just took the cards out of the middle of it – he is obviously the engineering superstar of this story and I am just the woman writing up his achievements on a blog post!
We had a great time taking part in the challenge and I’m planning on trying out the others with my kids over the summer as I’ve been bowled over by their new found love of engineering.
If The Holiday Makers can make my kids excited and enthusiastic about engineering then I’m sure it can do the same for your kids too.
Like this post? Make sure you don’t forget about it by bookmarking this page or pinning the image below.
About The Holiday Makers:
This post was sponsored by the Holiday Makers, this was a programme from the Year of Engineering, a scheme designed to change peoples perceptions about engineering, exciting and inspiring the next generation about engineering by showing them what engineers actually do. The Holiday Makers is a series of fun activities and challenges that you can do with your kids, to get them inventing and having fun during the holidays.
This sounds right up my son’s street. He’s very interested in engineering and always likes playing with construction toys or toys that use scientific principles.
This challenge looks so much fun, and that’s the best way to learn. Great to know you can win prizes as well
I love your project! Really creative and looks like you had a lot of fun