Equipment
- Black pen
- Glue
- Scissors
Materials
- 1 Paper doily
- Paper or card white, pink and black
Instructions
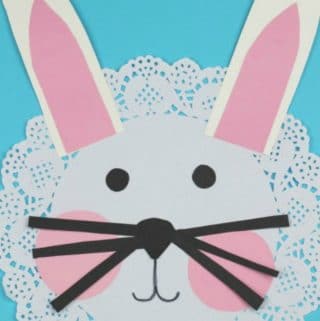
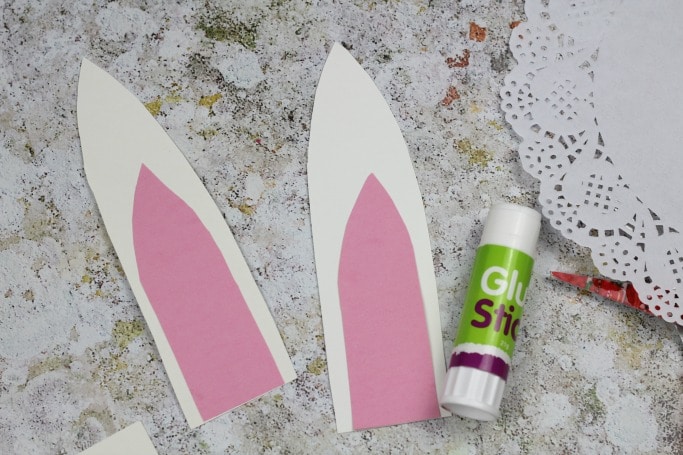
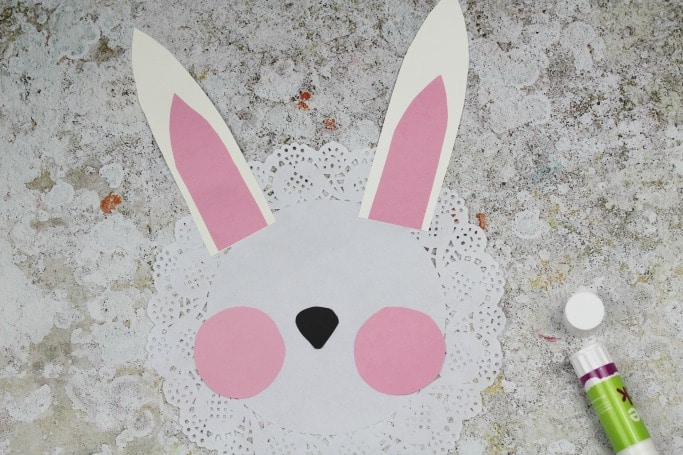
- Start by cutting out some bunny ears from white card and then cut the same shape out of pink paper or card, make the pink ones slightly smaller though so these can fit in the middle of the white ears. You can use paper for this but card or card stock is a lot better as it will hold up and if you’d like to display your rabbit afterwards you might not want the ears flopping over it’s face!
- Use some craft glue to stick the pink insides in the middle of the white ears and then stick these onto the top of your doily with some glue.
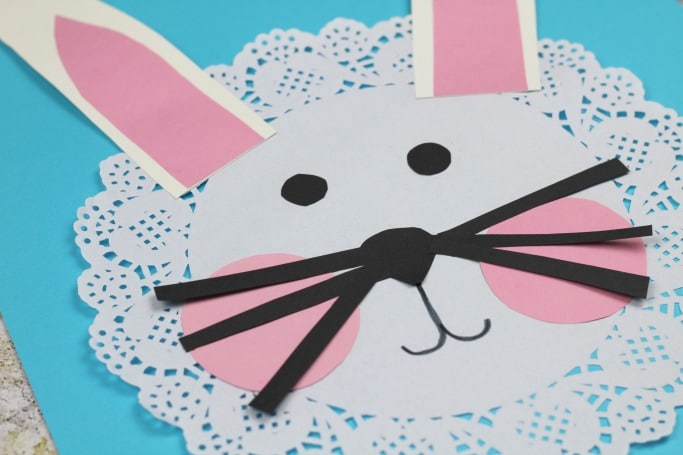
- Next up cut out a black nose and whiskers from your black card and some pink cheeks from your pink card. Of course you don’t *need* pink cheeks but I think they’re way cuter and cuteness is very important in my opinion!
- All that’s left to do now is add your eyes and mouth to your paper bunny. For the mouth I’ve used a black pen to draw it in and for the eyes I’ve used some more of the black card and then stuck these on to the bunny's face. I've tried out two different styles of this, circles and crescent shapes but obviously go with whatever you prefer.
Notes
I've used black card for doing the bunny's eye's but you could just as easily draw them on with a black pen instead which would save your child a slightly tricky job with the scissors.
Tried this?Mention @craftsonsea - we'd love to see and maybe share it!