Aloha! Today’s brilliant guest blogger is Emma who blogs at Life is Peachy. Emma runs the #craftblogclub twitter party which is a great way to get ideas from other craft bloggers and has some challenges to get people inspired! She’s also just starting her Frugally Fabulous Year which is a great idea for those of us who are trying not to spend too much cash but also want to look nice!!! You can follow Emma on twitter at @LivePeachy over here on Facebook and if you do the bloglovin thing (Do it! Dooooo it!) then you can sign up for updates from Life is Peachy here. Anyway, here’s Emma with your guide to learning how to applique, enjoy!
Firstly, a huge thank you to Kate for letting me guest blog on her wonderful blog – she is a truly inspirational blogger!
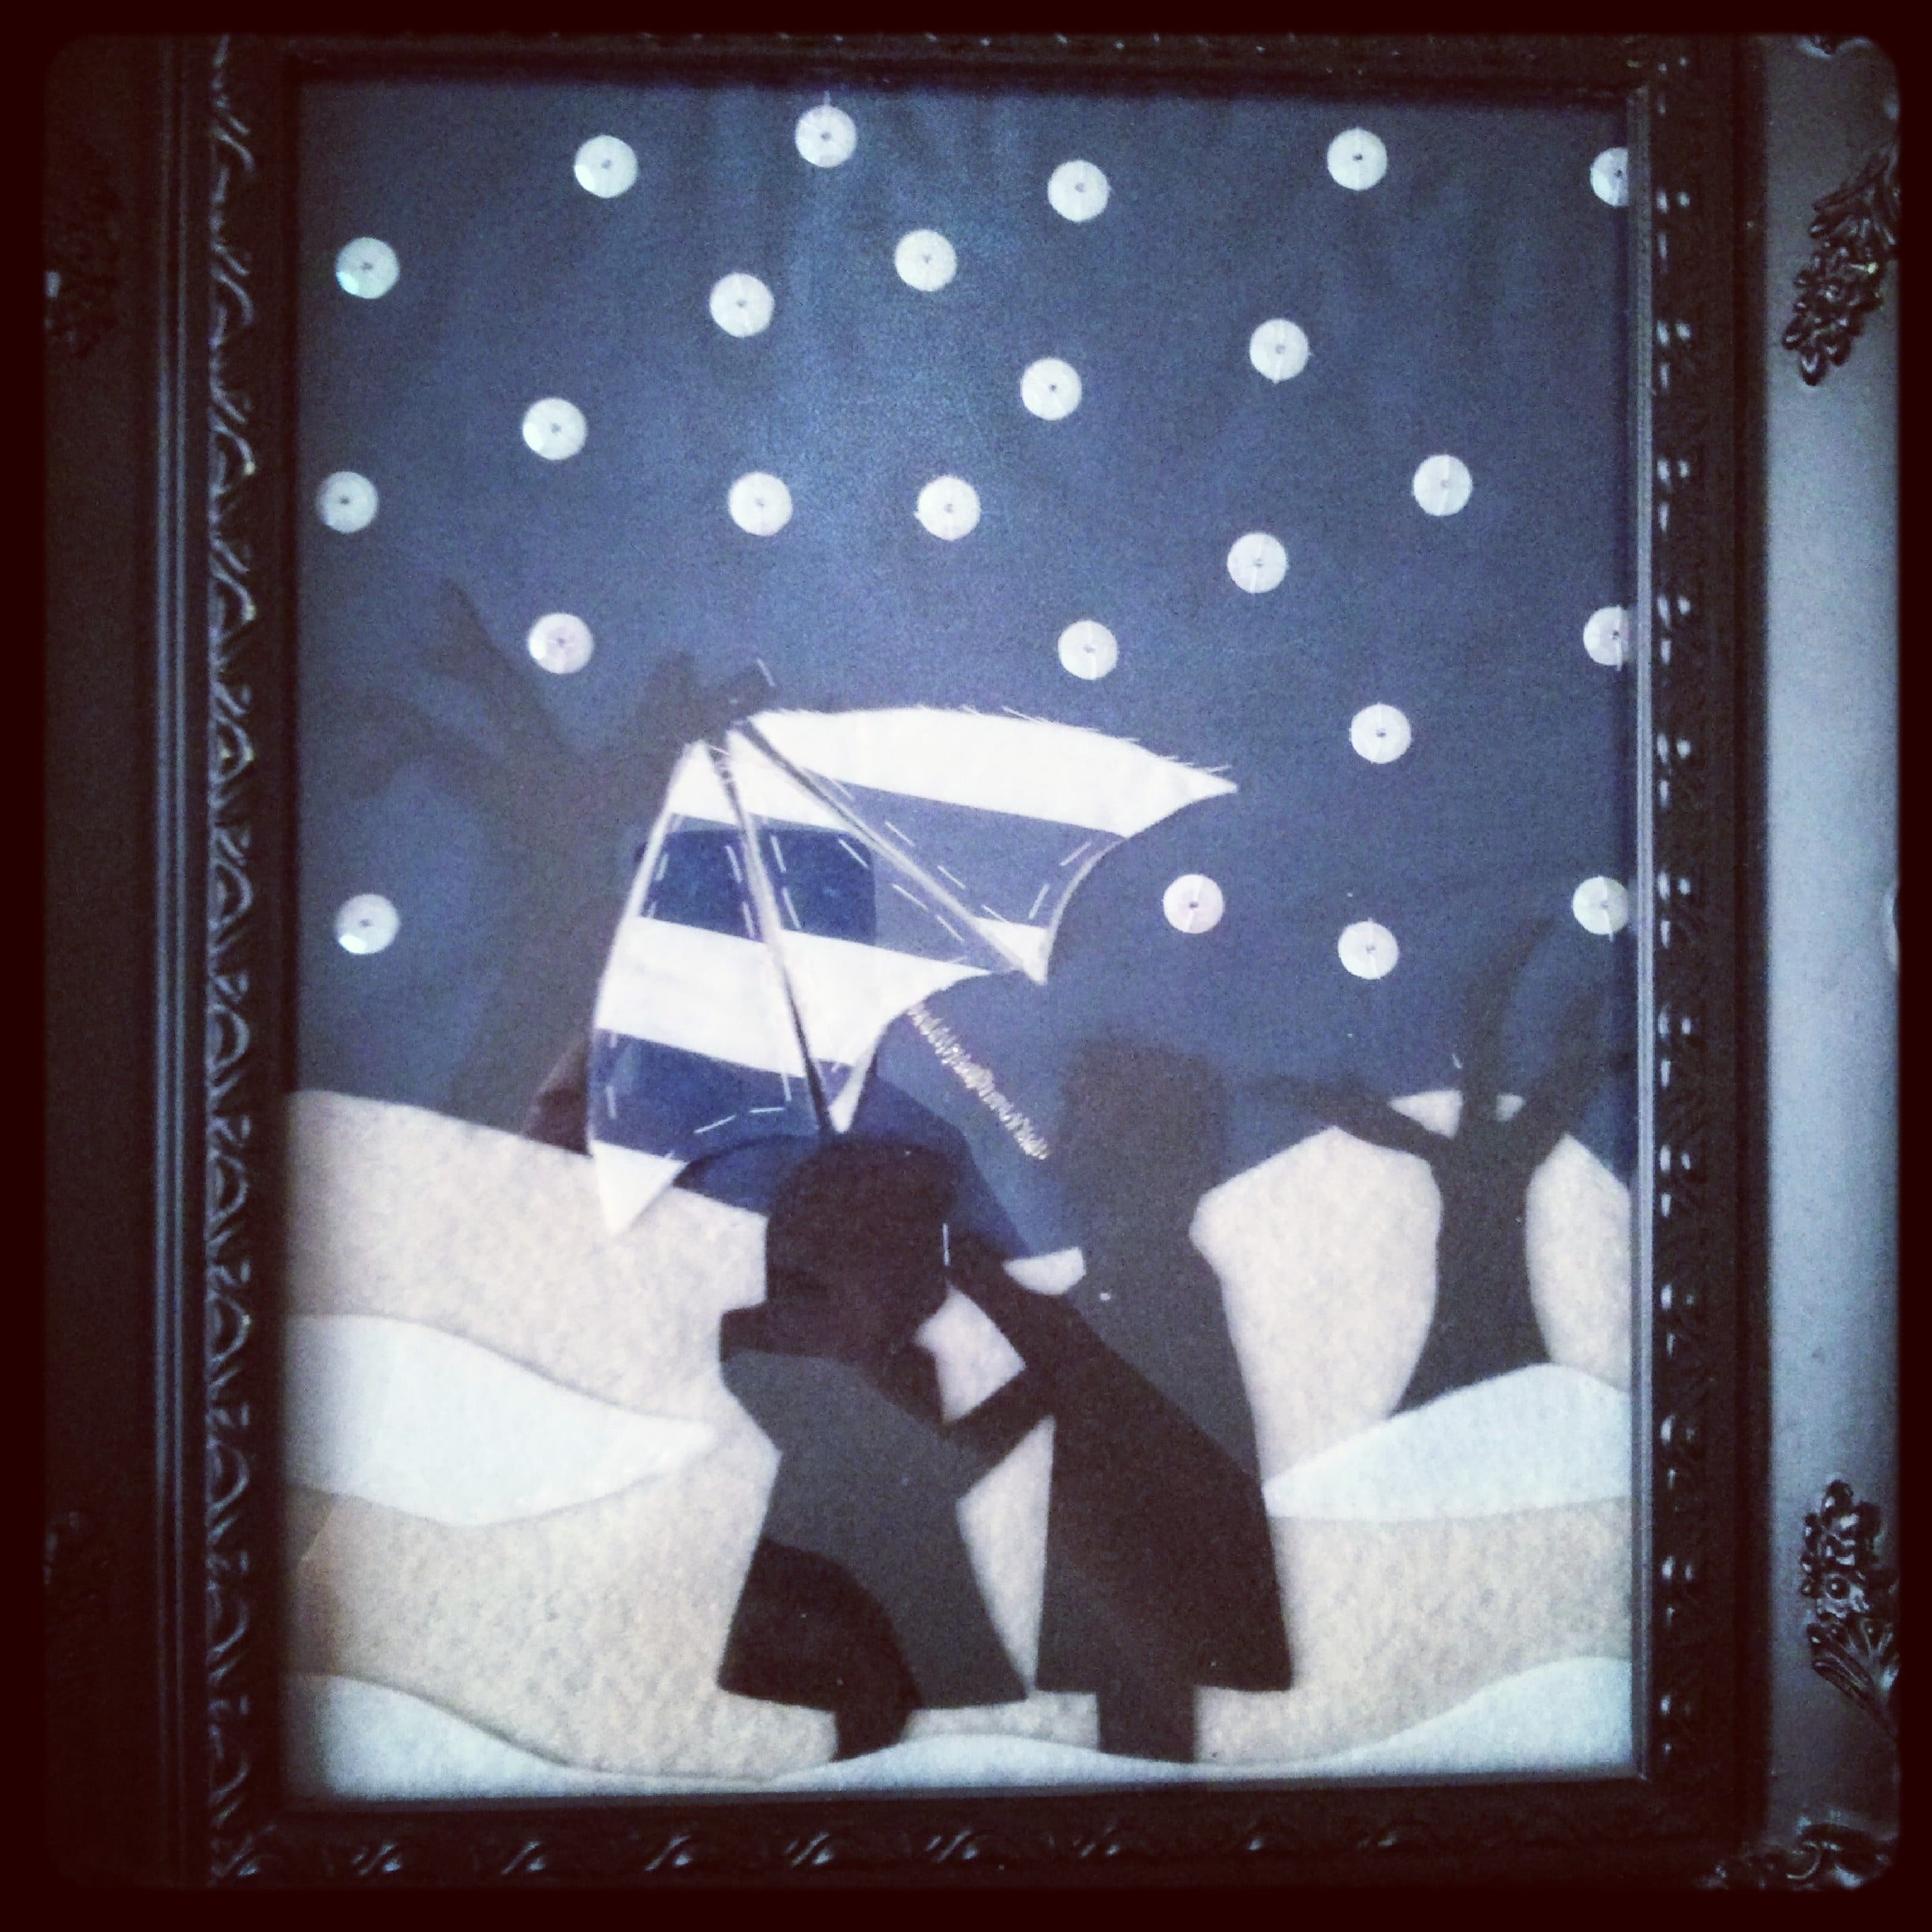
So I love to craft and I love to make things that fall directly in my comfort zone. My comfort zone falling between the knitting bag and the odd bit of hand-sewing. But recently, after reading a few really exciting, contemporary craft books, I began to play with the idea of appliqué, a craft form I had not touched since adding a little felt cockerel to a tea cosy for my Nan!
I think what first attracted me to appliqué was the malleable nature of the craft, not to mention the depth perspective this layering technique can bring to simple picture ideas. I love creating pictures but I’m not a dab-hand with paints or watercolours, so why not use those scraps of fabrics I have lying around, to create something a little special?
 …
…